AR Examples
The AR Examples project provides a pre-configured setup for Augmented Reality (AR) production. All project settings are optimized for maximum real-time performance when compositing AR elements in physical space, including virtual reflections and shadows on the physical floor. You are free to use and modify all assets within the AR Examples project for your own productions.
Usage
- Launch Reality Editor.
- Select the Virtual Studio category in the Unreal Project Browser.

- Navigate to the right and select AR Examples (Augmented Reality | Raytraced).
- Rename your project for better content organization and click Create.
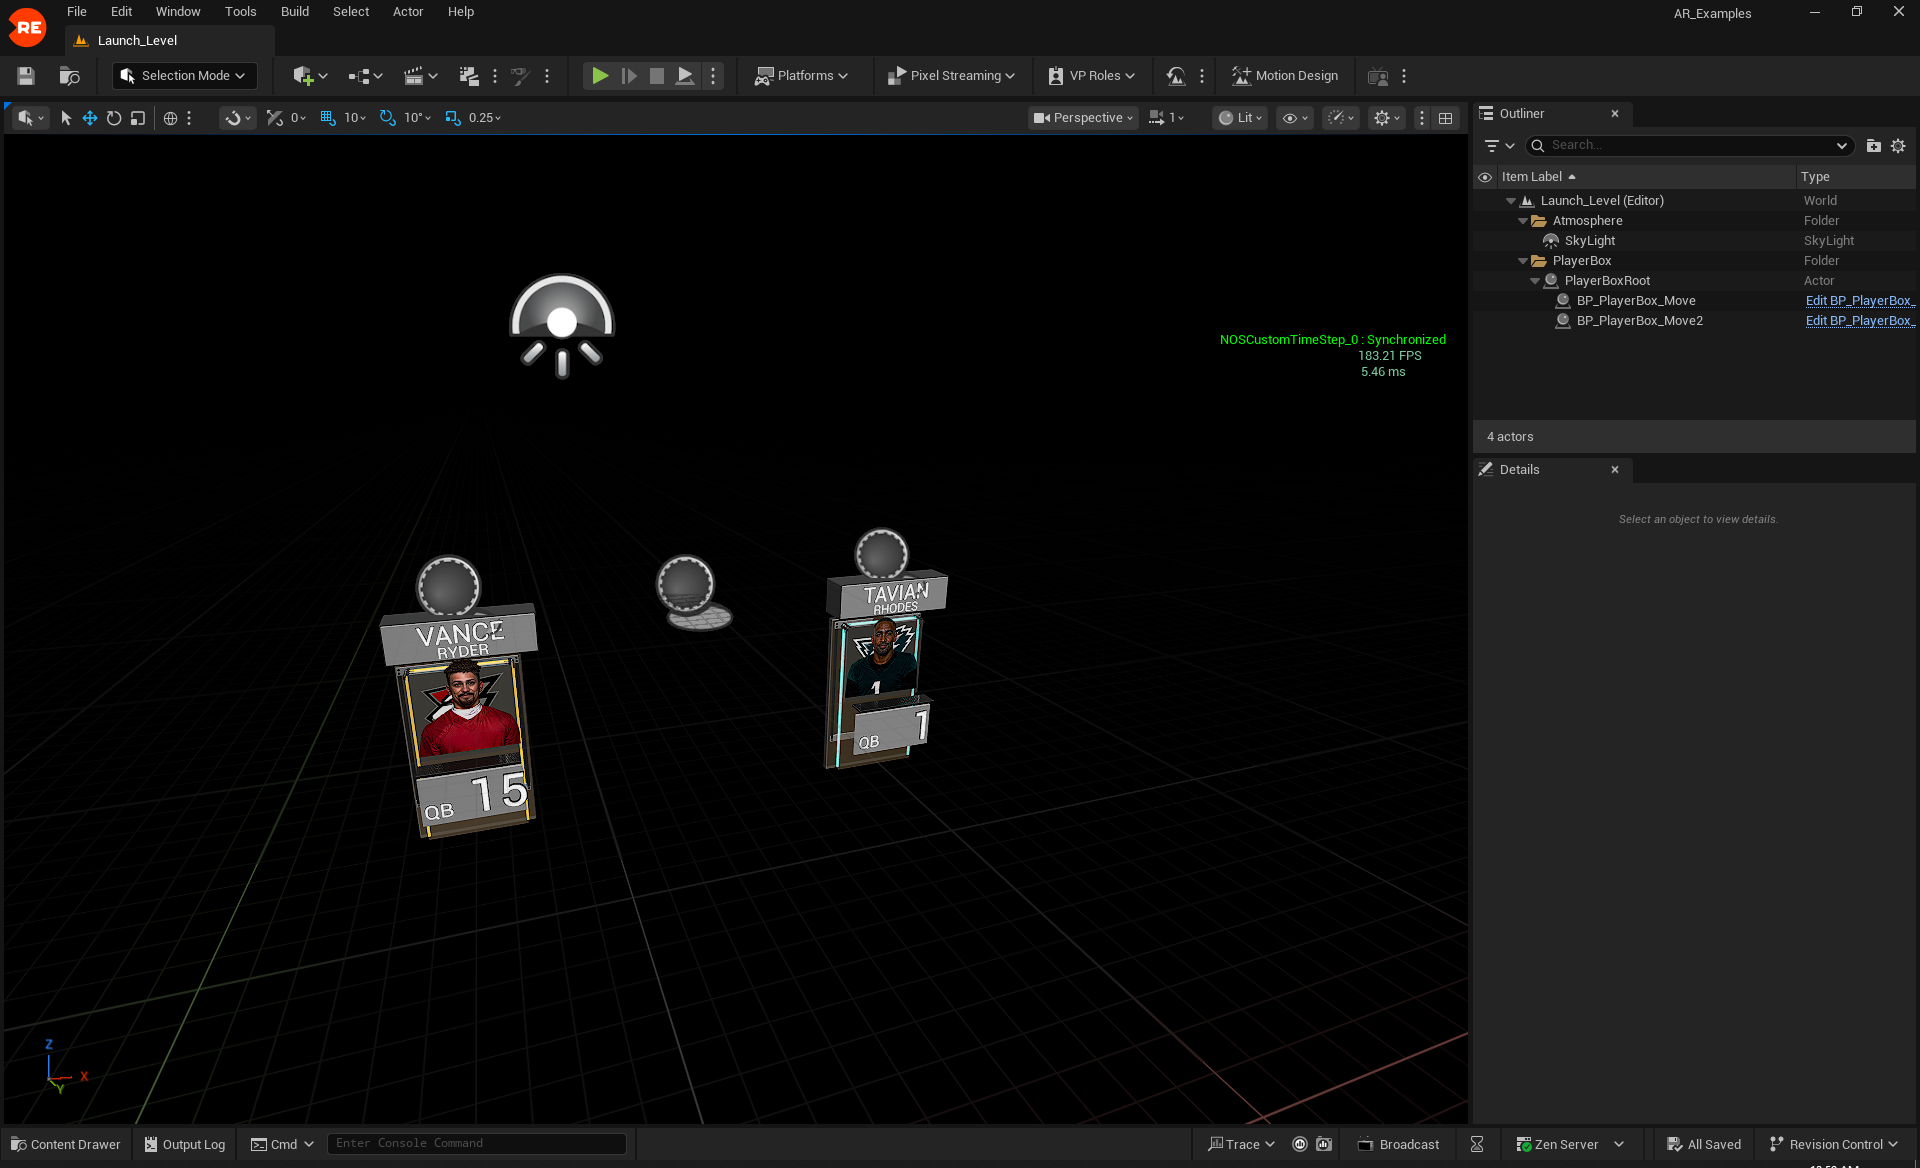
Once the project is open, you will see the Launch_Level, as shown above. At this stage, you will find two Player Box blueprints. By selecting these Player Box blueprint actors via the Outliner, you can inspect and modify their properties in the Details Panel, as illustrated above.
To explore further:
- Open the Content Drawer.
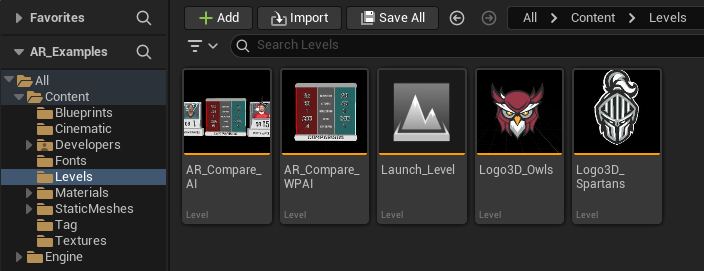
- In the left menu, expand All > Content and select Levels. Here you will see five levels, as illustrated above.
- Double-click on the desired level. For example, open the AR_Compare_AI level.
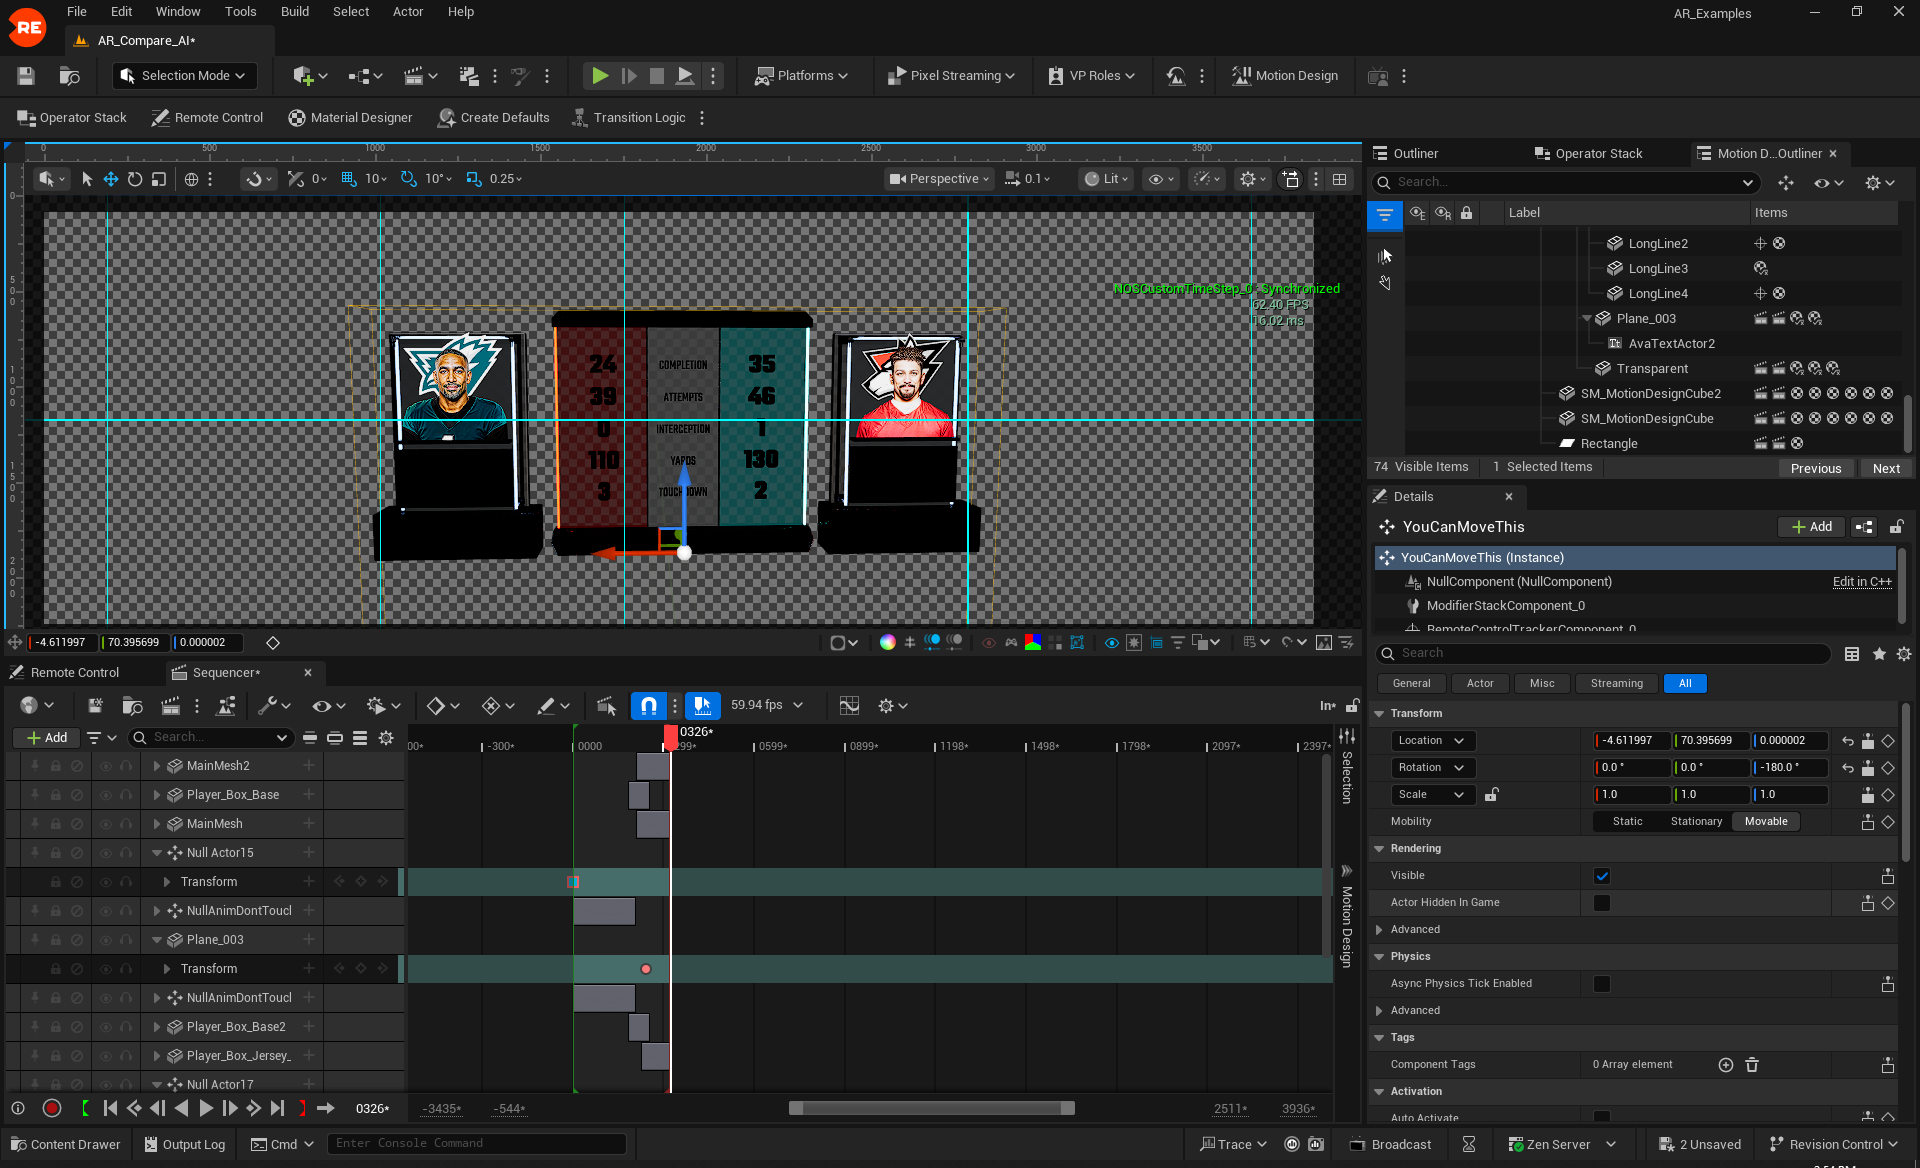
Now you can examine all details about the AR Player Box blueprint, such as animations in the Sequencer, exposed properties within the Remote Control Presets and their controllers, along with the Motion Design Outliner details.
Controlling AR Examples via Lino
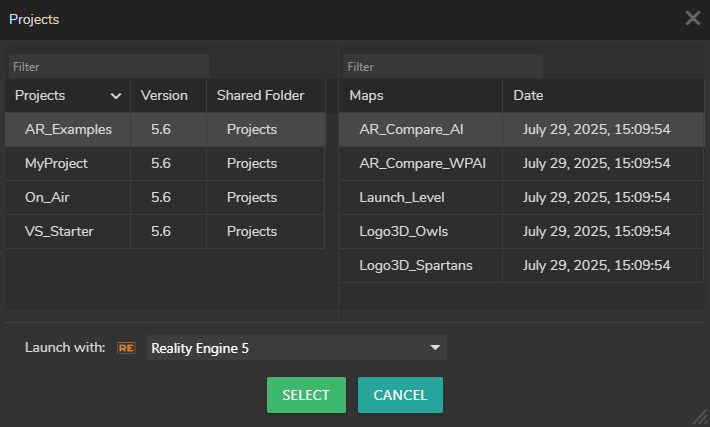
- Log in to Reality Hub, switch to the Launcher module, and select the AR_Examples project. Then, choose the AR_Compare_AI map, as shown above.
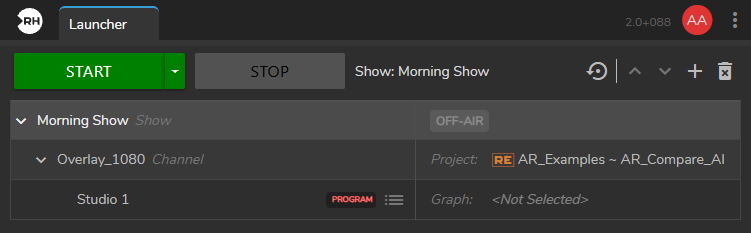
- Select your Show and launch it by clicking the Start button, as illustrated above.
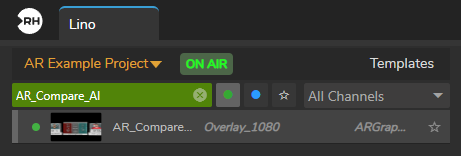
- Switch to the Lino module and select AR_Compare_AI from the Templates panel, as shown above.
- Create a new rundown.

- Drag and drop the AR_Compare_AI template to the Rundown area, as shown above.
- Switch to the Nodegraph.
- Create the Graph connections as shown above.
- Activate the Advanced Preview Monitor on Program output pin of the Mixer node.
- Switch to the Lino module, navigate to the Rundown Area and click on the Program In/Out button.