SSL Configuration
Reality Hub 1.6.3 and above provides native SSL support for configuring SSL (Secure Sockets Layer) to secure communications between clients and the server.
Reality Hub, by default, uses HTTP port 80 to serve its front-end to browser.
To configure SSL, you must obtain a valid certificate from an authorized provider. Please consult your network administrator to get help obtaining the certificate.
SSL Configuration Interface
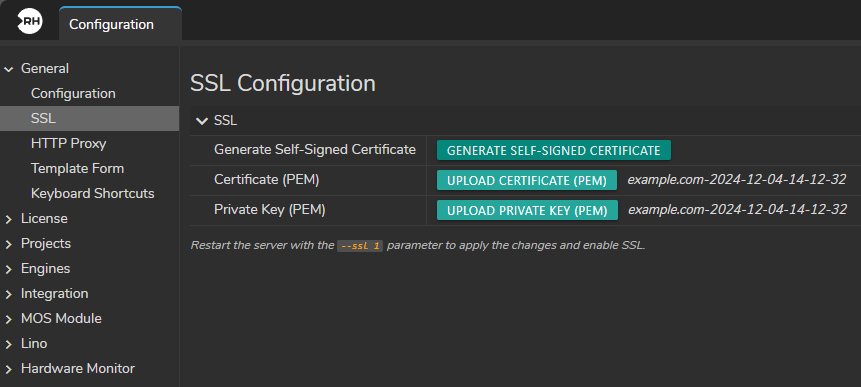
- Generate Self-Signed Certificate: Generates a self-signed SSL certificate.
- Upload Certificate (PEM): Allows uploading an SSL certificate file in PEM format.
- Upload Private Key (PEM): Allows uploading a private key file in PEM format.
Steps
1. Generating a Self-Signed Certificate
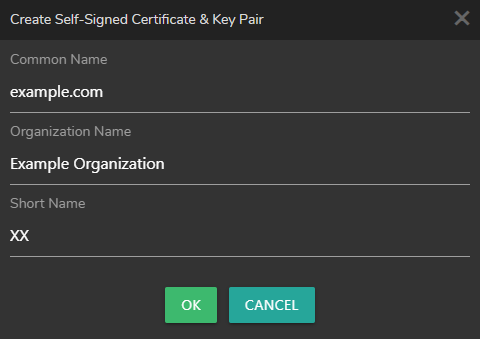
Click on "Generate Self-Signed Certificate" button. This will opens a new window:
- Common Name: The fully qualified domain name (FQDN) for the certificate.
- Organization Name: The name of your organization.
- Short Name: A short name for the certificate.
Fill in the details and click "Ok". The interface will display the message "Self Signed certificate generated and saved."
2. Uploading Certificate (PEM)

Click on "Upload Certificate (PEM)" Button. This will open Upload Certificate (PEM) window:
- Name: The name you want to assign to the certificate.
- File: Clicking this button opens Windows Explorer to select the PEM file.
- Select the Certificate File
- Choose the PEM file from your local machine.
- Click "Import"
With this action, the certificate is now stored in Reality Hub Server.
3. Uploading a Private Key (PEM)

Click on "Upload Private Key (PEM)" Button. This will open Private Key (PEM) window.
- Name: The name you want to assign to the private key.
- File: Clicking this button opens Windows Explorer to select the PEM file.
- Select the Private Key File
- Choose the PEM file from your local machine and click "Import".
The private key will be uploaded to Reality Hub Server.
4. Enabling SSL
To apply the SSL configuration, restart the server with the --ssl 1 parameter. Follow these steps:
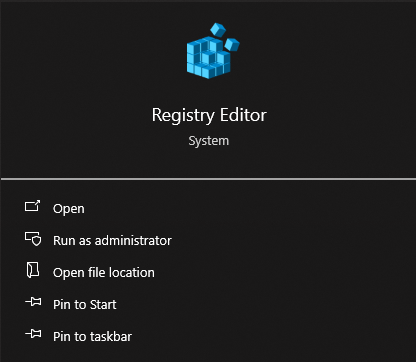
- Open Registry Editor
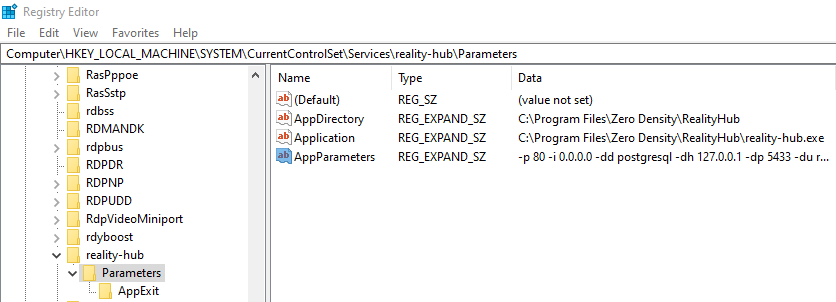
- Navigate to
Computer\HKEY_LOCAL_MACHINE\SYSTEM\CurrentControlSet\Services\reality-hub\Parameters. - Edit the Key: AppParameters
- Add
--ssl 1at the beginning of the value of the key (make sure you add a space after “1”).
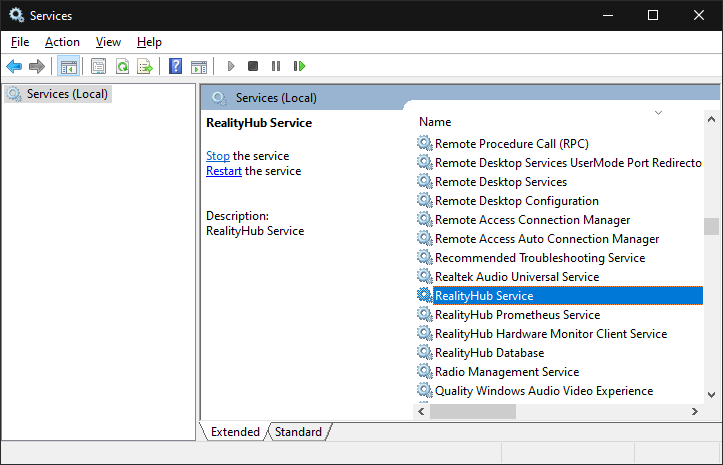
- Restart Reality Hub Service to apply the changes.
Additional Info on Nginx Configuration
The following example demonstrates a basic Nginx reverse proxy configuration for running Reality Hub behind HTTPS. In this setup, Nginx forwards incoming SSL requests to the locally running Reality Hub service over HTTP. The configuration also enables WebSocket support, which is required for proper operation of the web-based interface.
worker_processes  4;

events {
  worker_connections  1024;
}

http {
  map $http_upgrade $connection_upgrade {
    default upgrade;
    '' close;
  }

  upstream rh {
    # HTTP IP & Port configured in the Reality Hub installation
    server 127.0.0.1:3000;
  }

  server {
    # Default SSL port (may configure it to a different port)
    listen       443 ssl;
    server_name  localhost;

    # Locations of the certificate and key files.
    ssl_certificate      d:/nginx/nginx-selfsigned.crt;
    ssl_certificate_key  d:/nginx/nginx-selfsigned.key;

    ssl_session_cache    shared:SSL:1m;
    ssl_session_timeout  5m;

    ssl_ciphers  HIGH:!aNULL:!MD5;
    ssl_prefer_server_ciphers  on;

    location / {
      proxy_set_header X-Real-IP $remote_addr;
      proxy_set_header X-Forwarded-For $proxy_add_x_forwarded_for;
      proxy_set_header X-NginX-Proxy true;
      proxy_pass http://rh;
      proxy_ssl_session_reuse off;
      proxy_set_header Host $http_host;
      proxy_cache_bypass $http_upgrade;
      proxy_redirect off;

      proxy_http_version 1.1;
      proxy_set_header Upgrade $http_upgrade;
      proxy_set_header Connection "upgrade";
      proxy_cookie_flags ~ secure samesite=none;

    }
  }
}