Onair Graphics MSAA Examples
info
Before you begin, open Edit > Project Settings and verify the following:
- Forward Shading is enabled.
- Anti-Aliasing Method is set to Multisample Antialiasing (MSAA).
Creating a Project
- Launch the Reality Editor.
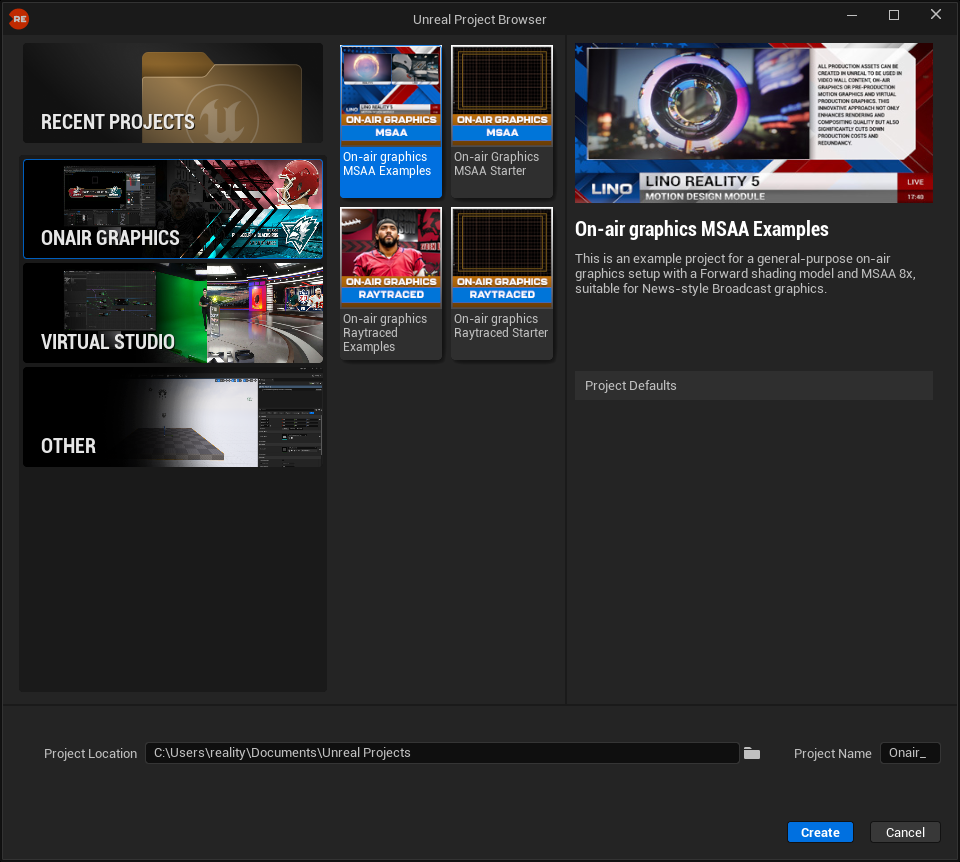
- From the left menu, navigate to On-air Graphics.
- Select On-air Graphics MSAA Examples, rename your project for better organization, and click Create.
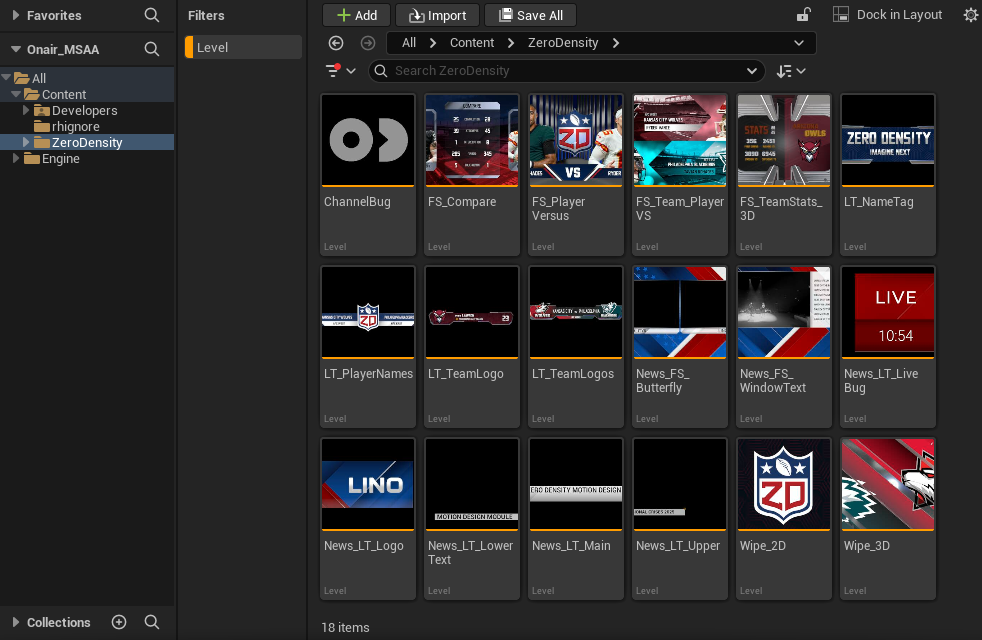
Once the project is created, you will see two folders: MD_Assets and Templates. You can also filter the content to list only templates by choosing Level as the filter type.
-
The Football folder under Templates includes:
- Full-screen graphics such as FS_Compare, FS_PlayerVersus, FS_Team_Stats_3D.
- Lower-third graphics such as LT_PlayerNames, LT_TeamLogos.
- Wipe transitions such as Wipe_2D and Wipe_3D.
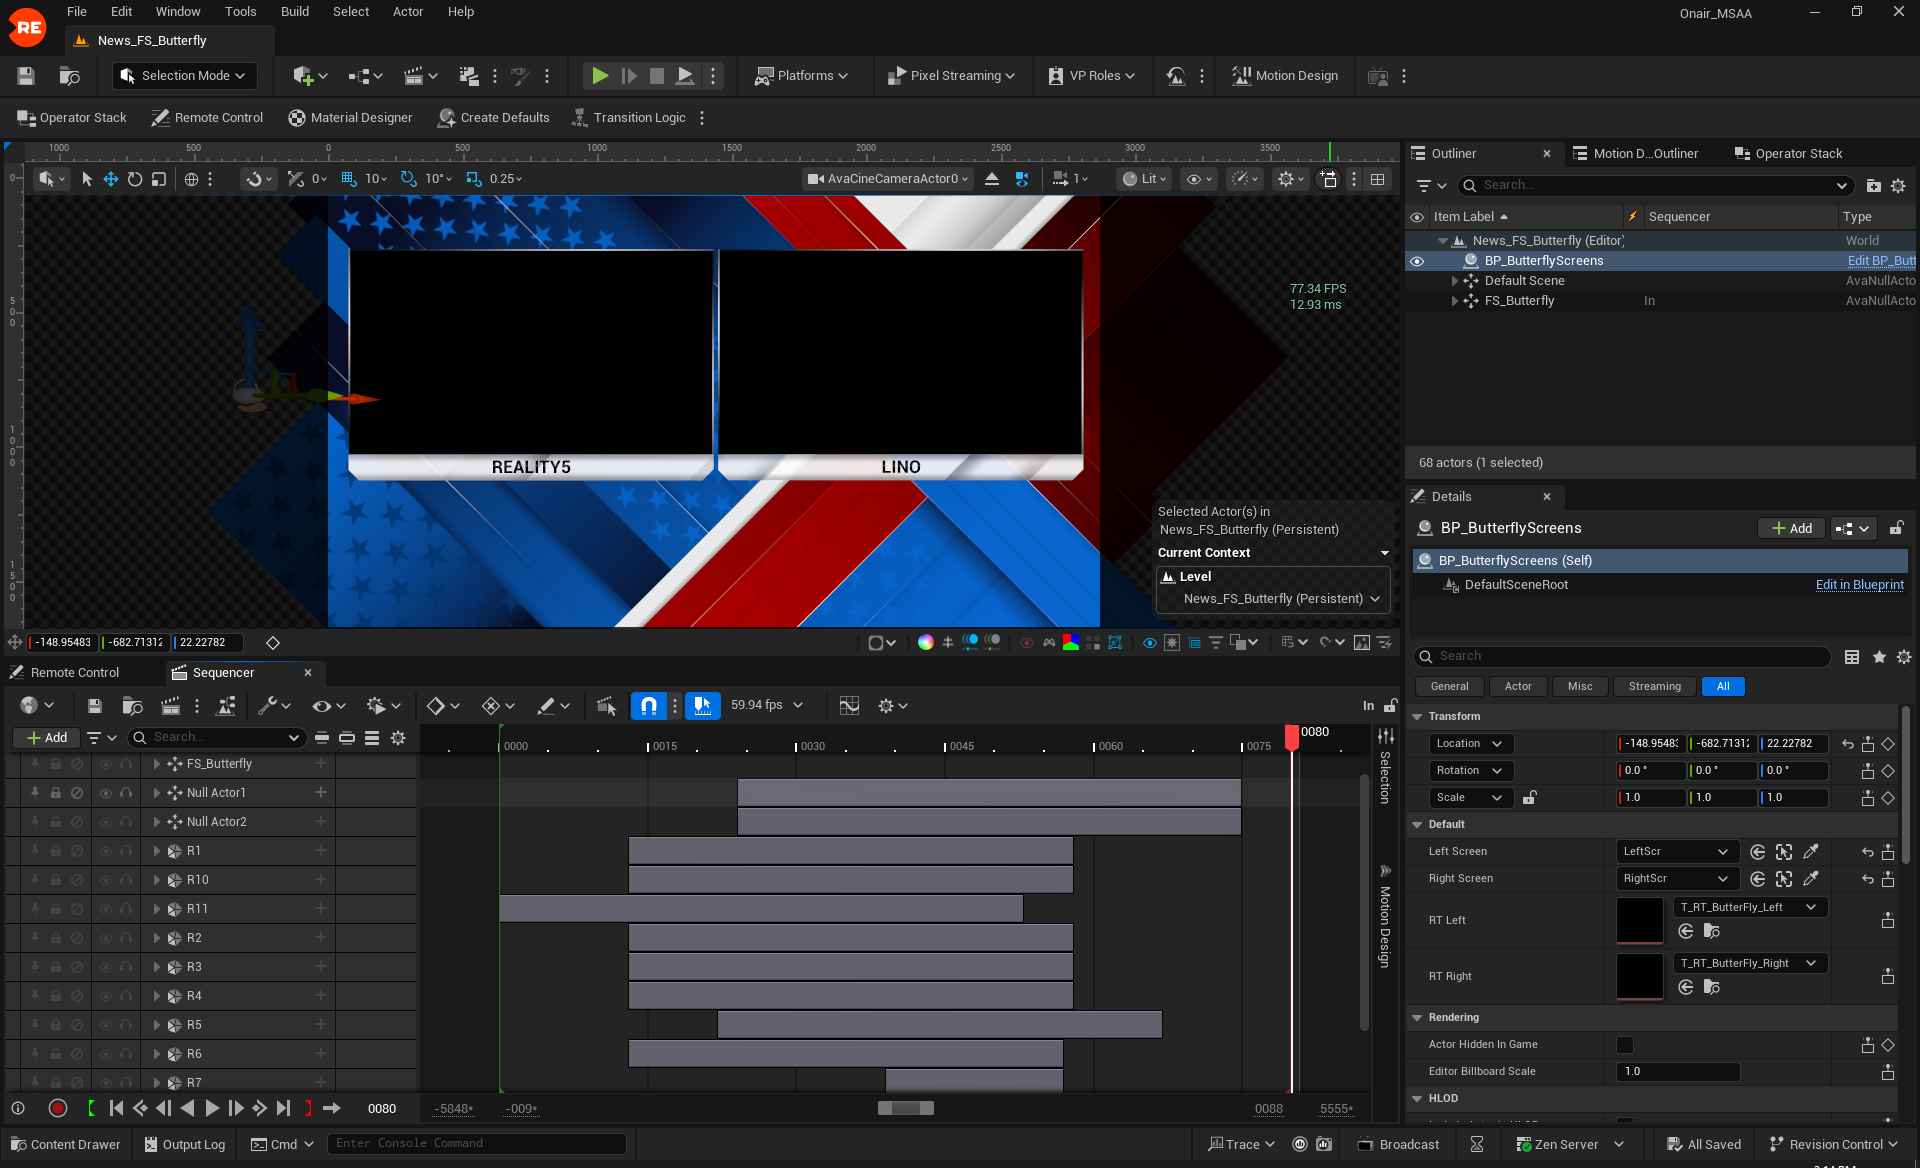
Each of these levels demonstrates different approaches to broadcast graphics.
-
The News folder includes:
- Full-screen graphics such as News_FS_Butterfly and News_FS_Window.
- A channel bug element.
- The LowerThird_News subfolder, which contains various lower-third templates such as News_LT_Live_Bug and News_LT_Logo.
You can experiment with these levels and freely use all assets inside them in your commercial productions.
info
- If there are levels you do not want to see in your Lino Rundown, move them into the rhignore folder.
- ZD_Default: A persistent level used by every other level. Any changes made here affect all projects.
- Launch_Level: The initial level loaded when launching a scene through Reality Hub. It contains a blueprint with all required Render Targets for the project.
Controlling On-air Graphics MSAA Examples with Reality Hub
note
In this example, we will use News_FS_WindowText.
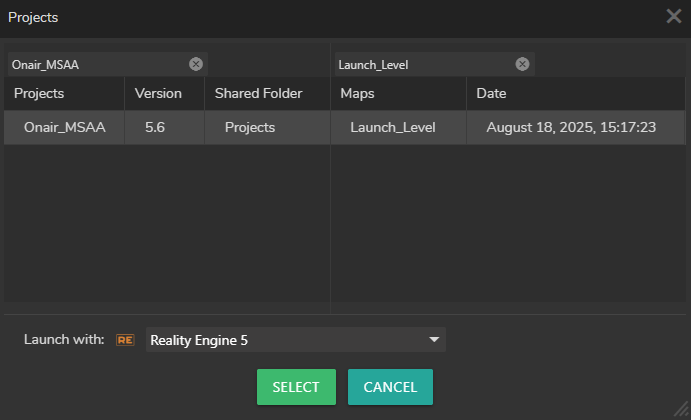
- Log in to Reality Hub, switch to the Launcher module, and select your project and map.
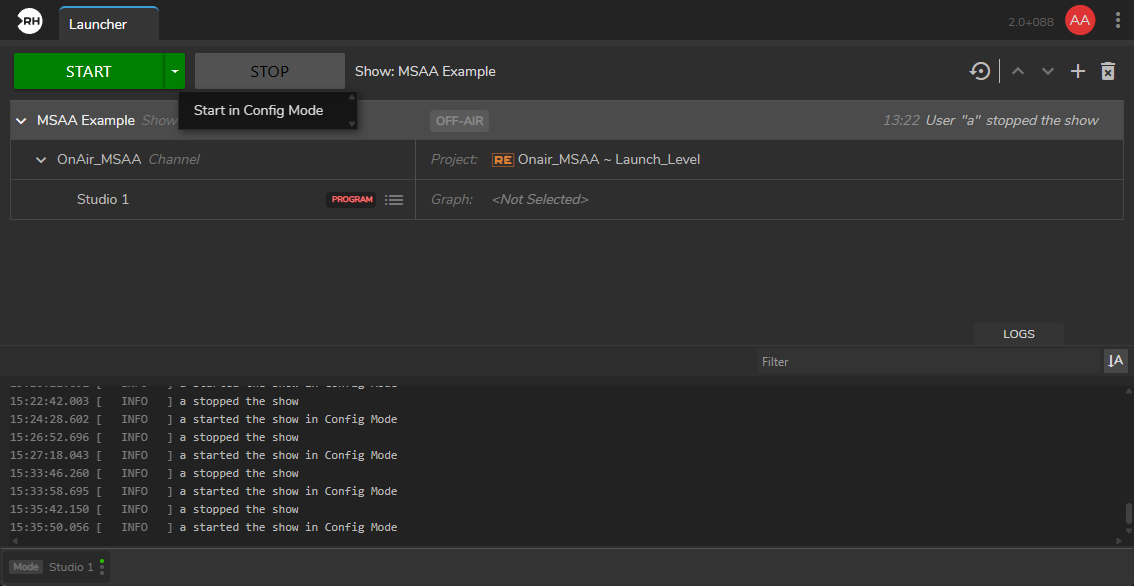
- Select your Show and click on the arrow dropdown button beside the Start button and select the Start the Config Mode to launch it.
- Switch to the Nodegraph module.
- Drag & drop the UE5 node into the Nodegraph canvas and select it.
- In the Nodes panel, select BP_MotionDesignIO property.
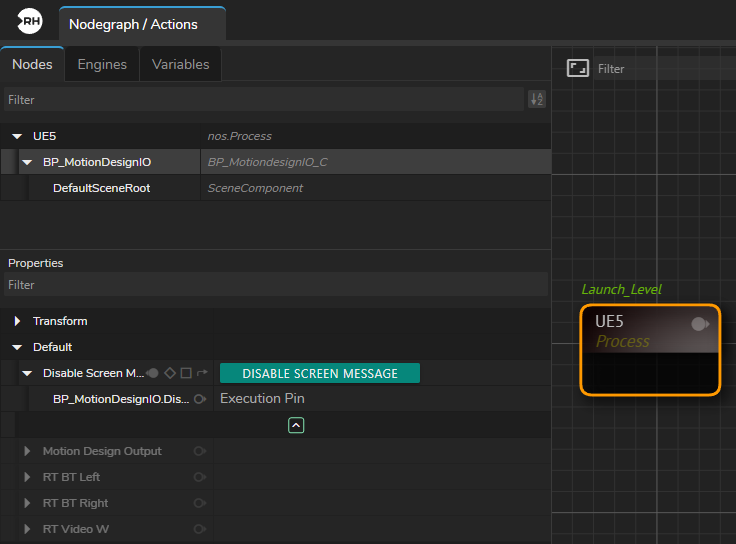
- In the Properties panel, expand the Default property group, then click the Advanced Property icon.
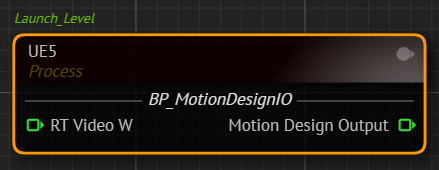
- Hover over Motion Design Output, right-click it, and select Show as Output from the Node Property Context Menu.
- Right-click the RT Video W property and select Show as Input from the context menu.
- Add a Read Video node to the canvas.
- Choose a video file in the Path property.
- Click Load File, then Play.
- You can verify the playback by activating the Advanced Preview Monitor on the Out pin of the Read Video node.
- Connect the Out pin of the Read Video node to the RT Video W input pin of the UE5 node.
- Add a Sink node to the canvas and connect the Motion Design Output pin of the UE5 node to the Sink node’s input.
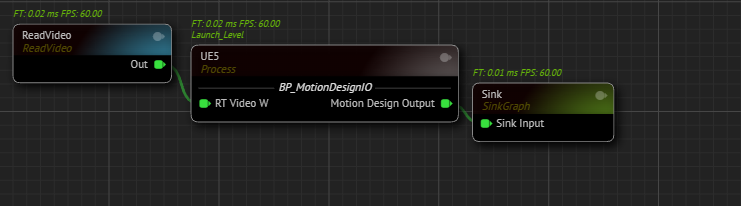
Your node network should look line in the image above.
- Switch to the Lino module and select News_FS_WindowText from the Templates panel.
- Drag and drop the News_FS_WindowText template into the Rundown area.
- Click the Program In/Out button.
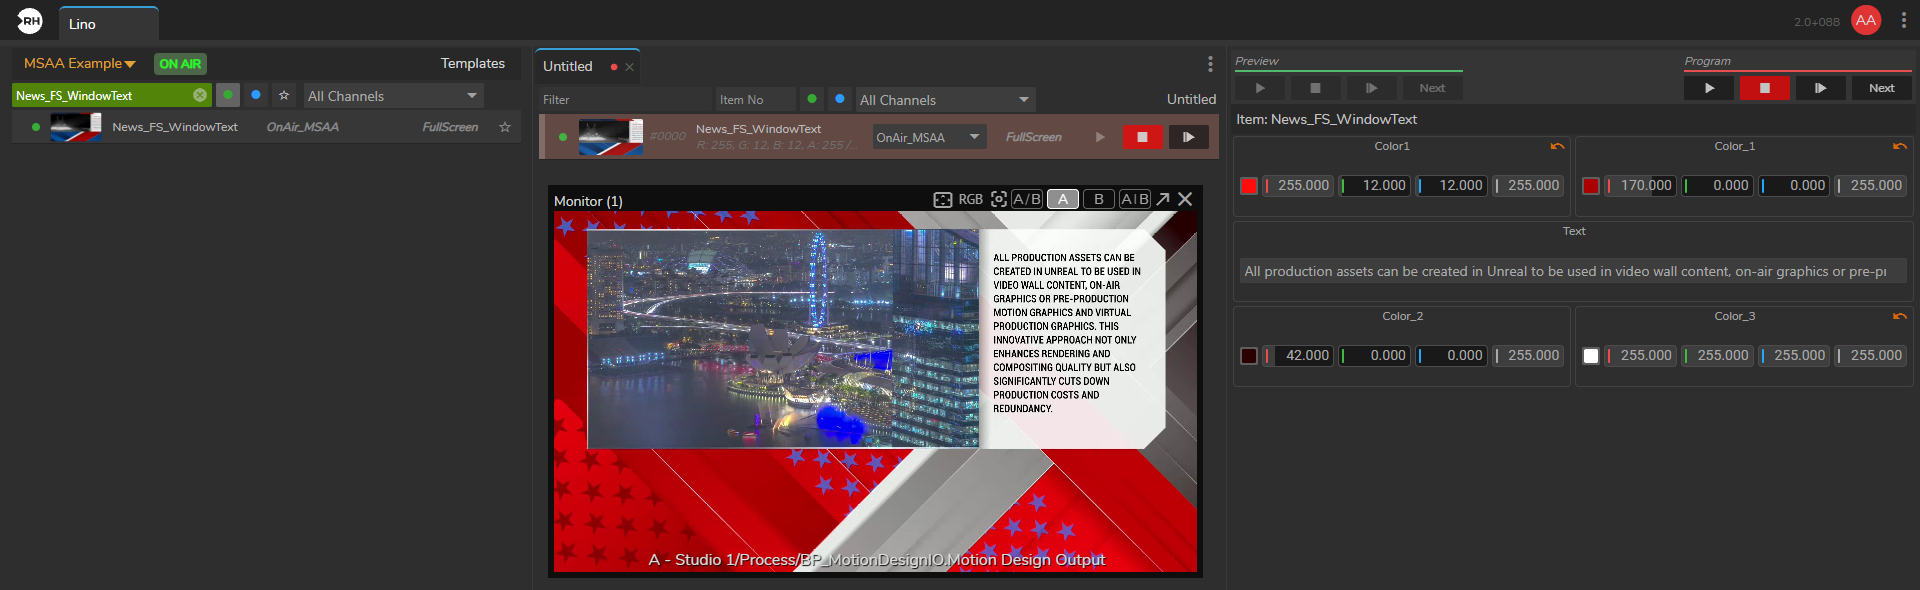
Result: The News_FS_WindowText template from the On-air Graphics MSAA Examples is now playing successfully.