Reducing Graph Complexity
Using Portal Pins
A Portal Pin is a feature that simplifies complex graph operations by allowing you to create a new node directly from an existing node's input or output pin. Portal Pin allows you to create more organized structure.
This feature is particularly useful in scenarios where certain nodes, such as a Tracking, need to be reused multiple times within a composition, leading to what is commonly known as Node spaghetti, can arise in a node-based application with numerous interconnected nodes.
Portal Pin Creation Process
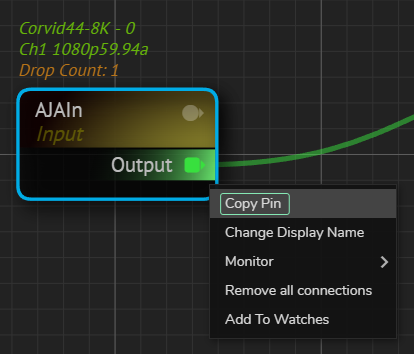
- Right-clicking on an existing node's input or output pin and select Copy Pin.
- Open the Node Creation menu by right clicking on the nodegraph canvas.
- Click on the Add Pin button as illustrated above.
Selecting this option generates a new node that functions either as an input or output pin, depending on the origin of the Portal Pin creation.
Portal Pin Types
- Input Portal Pin: If created from an input pin, the Portal Pin generates a new node that functions as an input, streamlining the connection process for that specific input type.
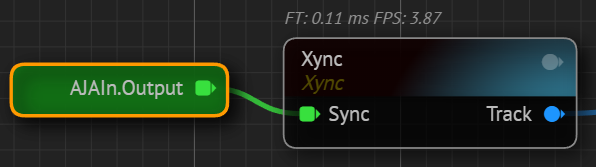
- Output Portal Pin: If created from an output pin, the Portal Pin generates a new node that functions as an output, allowing you to easily reproduce the output of a particular node throughout the composition.
Pin Visibility
Pin Visibility feature allows you to control the display of pins based on specific criteria, offering three distinct viewing modes. This is a handy feature when dealing large graph operations. It is also useful for optimized nodegraph view.
Functionality
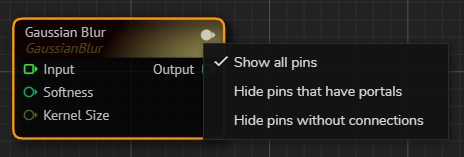
The Pin Visibility feature is accessed through a dedicated button located on each node. Clicking this button opens a context menu with the following options:
- Show All Pins: This is the default setting. When selected, all pins associated with the node are visible, regardless of their connection status or portal association.
- Hide Pins That Have Portals: When selected, any pin that is associated with a portal is hidden. Pins without portal connections remain visible.
- Hide Pins Without Connections: When selected, any pin that does not have an active connection is hidden. Pins with established connections remain visible.
These three options are mutually exclusive; selecting one automatically deselects any other active option. They provide alternative views of the node's pins based on different visibility conditions.
Rerouting
In Reality Hub terminology, rerouting refers to the process of changing and redirecting the flow of connections between nodes. This is done to optimize the layout of the nodegraph, enhance clarity, and facilitate a more organized structure.
Rerouting allows you to change the paths of connections without changing the underlying functionality of the nodes themselves.
You can create a Reroute by the following methods:
- Creating Reroute by Node Creation
- Creating Reroute on Nodes Connection
Creating Reroute by Node Creation
- Hoover your mouse over an output or input pin.
- Hold the left mouse button, drag and drop it on an empty space inside the canvas.
- Click on the Reroute button, as shown above.
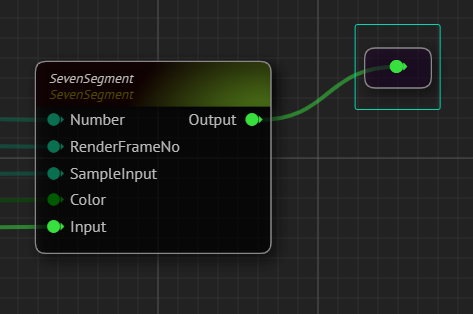
Your last action creates a reroute. Reroute node will serve exact same functions with the source pin; in our case it is the Output pin of the Seven Segment node, as illustrated above.
Creating Reroute on Node Connection

The example image above shows a node network.
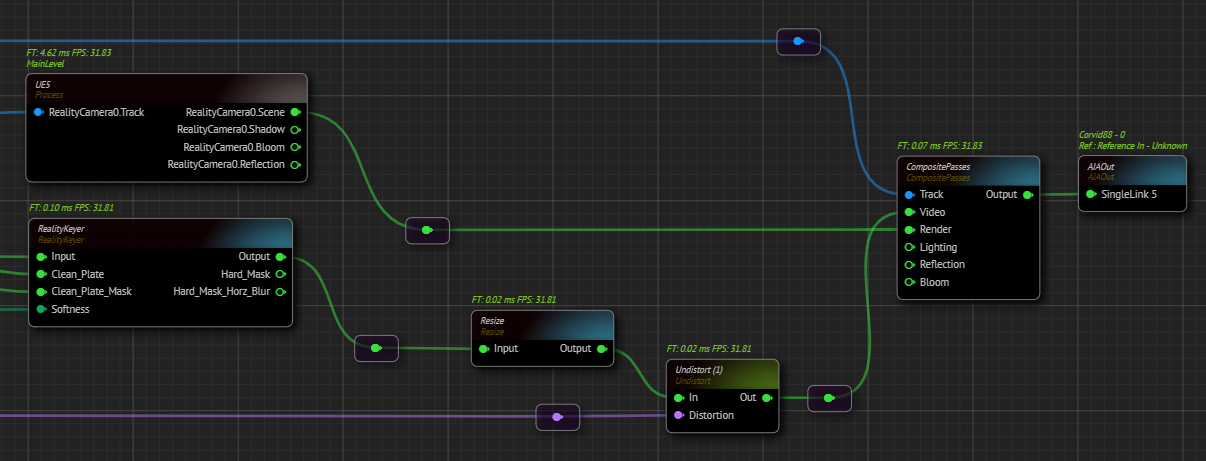
To enhance its clarity, you can add a reroute by double clicking on a node connection, then adjust the flow of connections, as illustrated above. Additionally, you can also add Node Comment to a node for more fluid node network.