Reinstalling and Upgrading OS
Upgrading EVO III OS takes approximately 5 minutes and requires just a few clicks; the process is almost entirely automated.
Please note that this OS distribution is customized for the EVO family hardwares. Attempting to install it on a different computer configuration may lead to unwanted results.
Before proceeding, it is highly recommended to back up your data, as the installation completely erases the EVO III hard drive. Each upgrade involves a fresh installation.
Requirements
Windows 11 is the reference platform for EVO III (standard) and EVO III Pro with full testing and benchmarking performed on version 25H2 to ensure maximum performance and reliability.
Steps
- Log in to your Zero Density Customer Account via the Zero Density Customer Portal.
- Download the EVOIIorEVOIII-24072026.iso file.
- Create a bootable USB flash drive with the ISO file using a tool of your choice, such as Rufus.
- Plug the USB into the EVO III computer and restart the system.

- As soon as you see the black screen, press
F11on your keyboard.
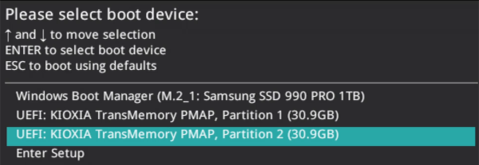
- Select the boot device and press
⏎ Enter.
In our example, we selected UEFI: KIOXIA TransMemory PMAP, Partition 2 (30.9 GB), as shown in the image above. Your screen may vary, as UEFI: KIOXIA TransMemory PMAP reflects the USB brand and may differ depending on the device you use.

- Press any key to boot from the ISO, as illustrated above.
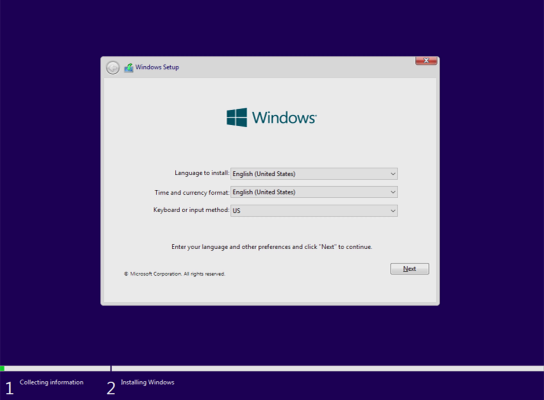
- Confirm Windows language, time, and keyboard settings by clicking Next.
It is highly recommended to use English (United States) as the language for installation.
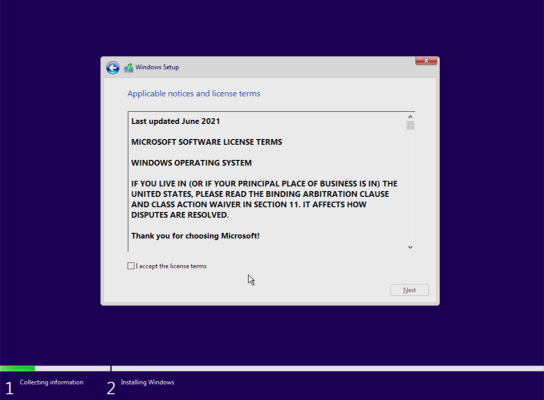
- Check the box to accept the license terms, then click Next.
The license terms you accept include the Microsoft Windows EULA and other related licenses.
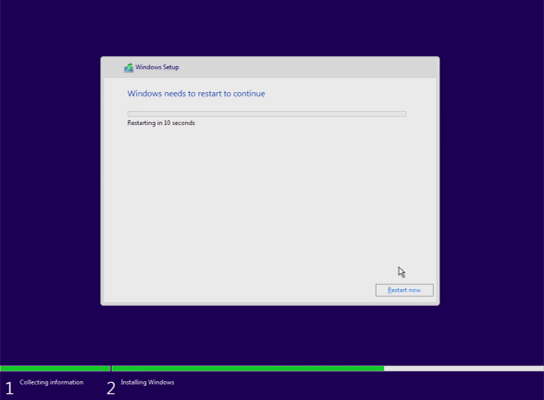
- Wait for the installation to finish, then click the Restart now button.
- During installation, accept all popup dialogs to allow the required EVO III scripts to install correctly.
Your system is now upgraded and ready to use.