New Launch Configuration
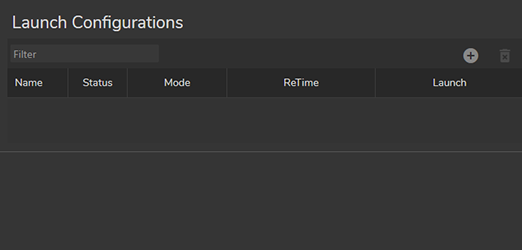
The image above shows the default Launcher interface.
To add a new Launch configuration:
- Click the + (Plus) button in the Launch Configurations section

- Define a specific Configuration Name in the Add a Launch Configuration popup window, and click Save
When you select the configuration, the Renderers section gets activated.
- Click the + (Plus) button inside the Renderer section and Add a Renderer

As the above image suggests, Reality Hub automatically adds a configuration-ready renderer.
To select an Engine for the renderer:
- Go to the Engine column and click Please Select
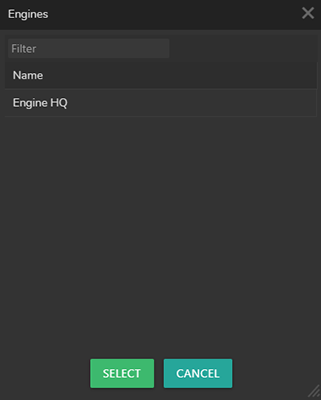
When you click on the Please select, the Engines window pops up, and it contains the names of Engine(s) and Groups, as shown in the image above.
To select a Project:
- Go to the Project column and click Please select
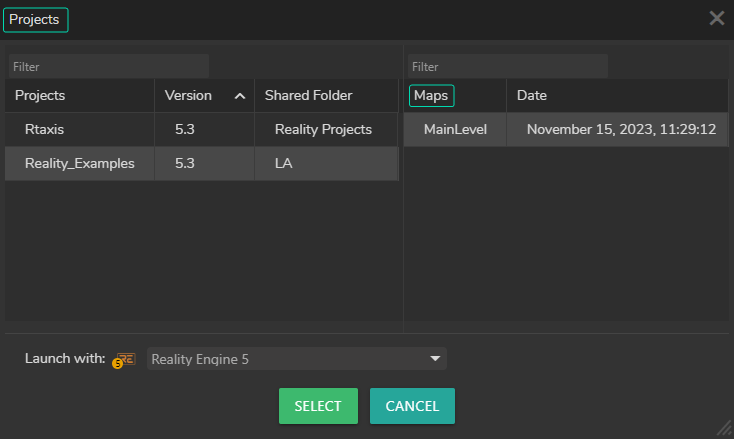
When you click on the Please select, the Projects window pops up, and it contains the names of Projects and Maps, as shown in the image above.
Selecting a Graph/UState/RGraph inside the Renderer Configuration is not mandatory for launching an Engine(s). Reality Hub can launch your Engine(s) without defining it.
You can add as many renderers as your setup requires.
Once you finish configuring renderers, it is essential to check the status colors of your renderers before proceeding to a live event.
After finishing all the steps mentioned above:
- Go to the Launch Configuration section and click the Launch button.

Engine(s) successfully launched.
Please also visit: