Utilizing Initial Keyframe
info
This section uses the MainLevel map of the RealityExamples project.
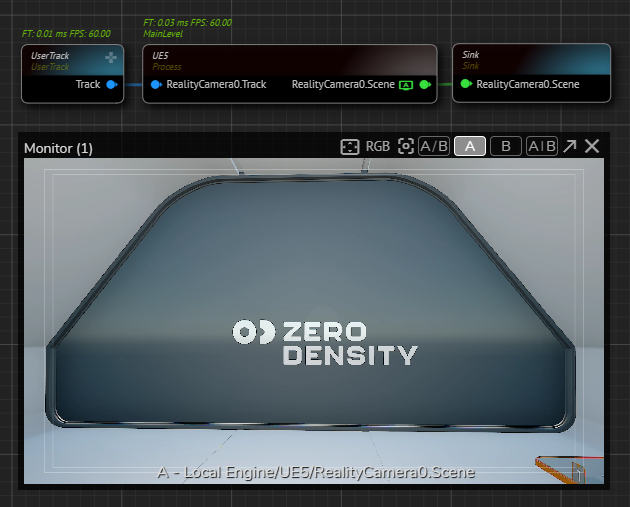
- Drag & drop the UE5 processing node into canvas.
- Create a Reality Camera actor.
- Create a Sink on RealityCamera0.Scene output pin of the UE5 node.
- Activate the APM on RealityCamera0.Scene output pin.
- Activate the Actions module, create a new action, rename it for better organizing.
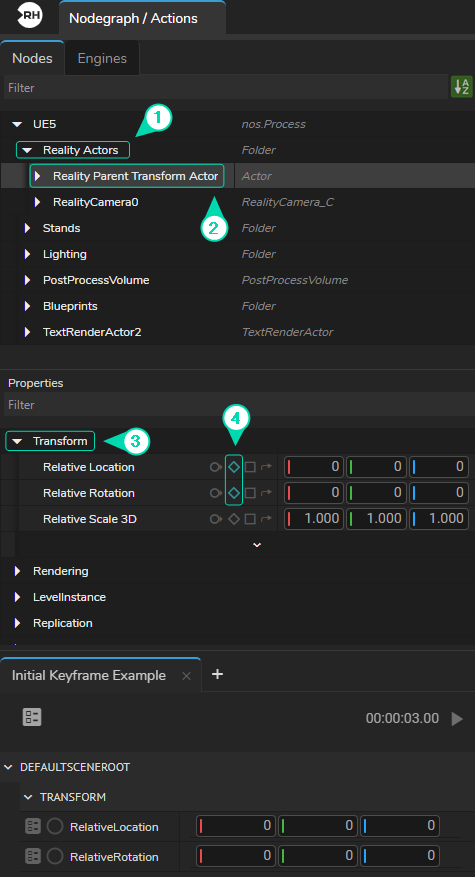
- Select the
UE5node, go to Nodes section, expand the Reality Actors, then select the Reality Parent Transform Actor. - Go to Properties section, expand the
Transformproperty group, click on Add Timeline button forRelative LocationandRelative Rotationproperties. See also Node Property Toolset.
- Right click on the node property menu circle of
Relative LocationandRelative Rotationand select the Add Keyframe from the context menu. - Scrub the Playhead to different time, add another keyframe
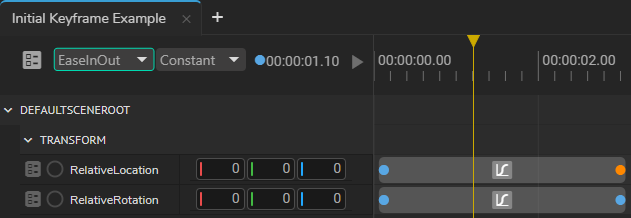
Relative LocationandRelative Rotation. - Select the second keyframe of
Relative LocationandRelative Rotation, change their interpolation type to EaseInOut, as illustrated above.
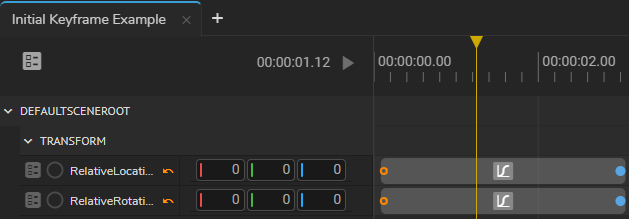
- Select the first keyframe of
Relative LocationandRelative Rotation, change their keyframe type from Constant to Initial, as shown in the image above. - Save the Action.
Playing animation in this state will not render anything.
To see the effect:
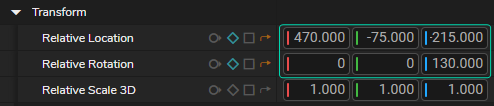
- Go to Properties panel, change the
Relative LocationandRelative Rotationsomething like shown on the image above.
Now, when you press the Action Timeline Play button, it captures your camera's latest position and rotation. It then animates this data with EaseInOut interpolation within the defined range of your Initial Keyframe's location. In other words, clicking the Play button will utilize the camera's last location and rotation, apply interpolation, and return it to the beginning point.