Utilizing ZD MOS Plugin
info
Before starting, make sure you have designed your Template Forms.
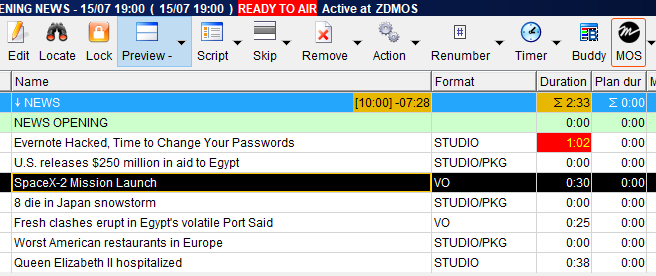
- Go to Octopus Menu, and select an item from the Rundows dropdown.
- Click on the MOS button as shown above.

- Activate the ZD MOS Plugin in the selected rundown as illustrated above. This action automatically adds Octopus rundown item to the Newsroom rundown.
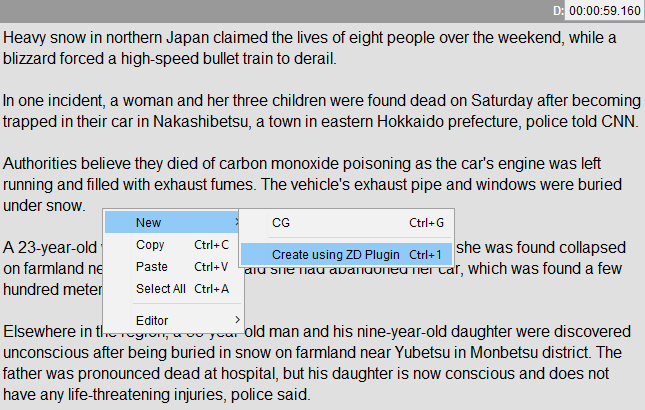
- Double-click on a MOS Rundown Item.
- Right-click inside the text field, go to New > Create Using ZD Plugin as illustrated above.
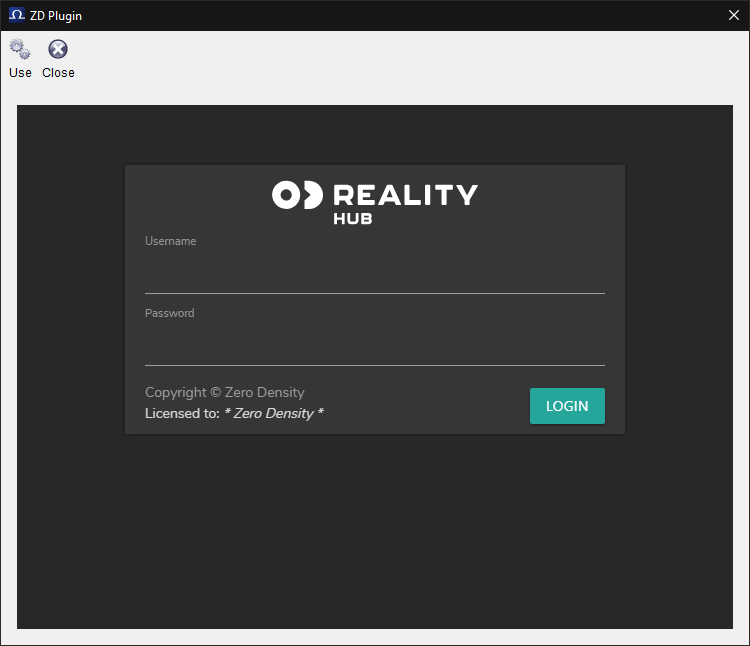
Using the Create Using ZD Plugin pops up new login screen, as shown above.
- Provide the MOS user details and login. See also Advanced User Management
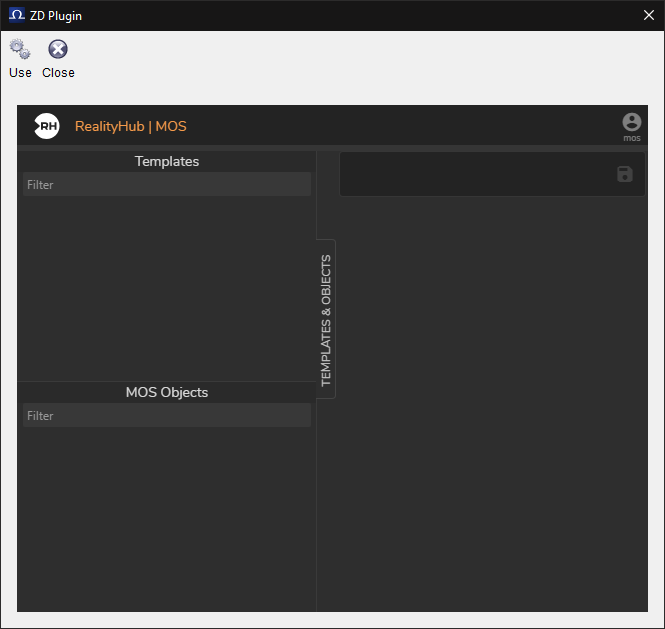
After logging inn, Reality Hub MOS Window inside the MOS User Interface as visualized above.
Now:
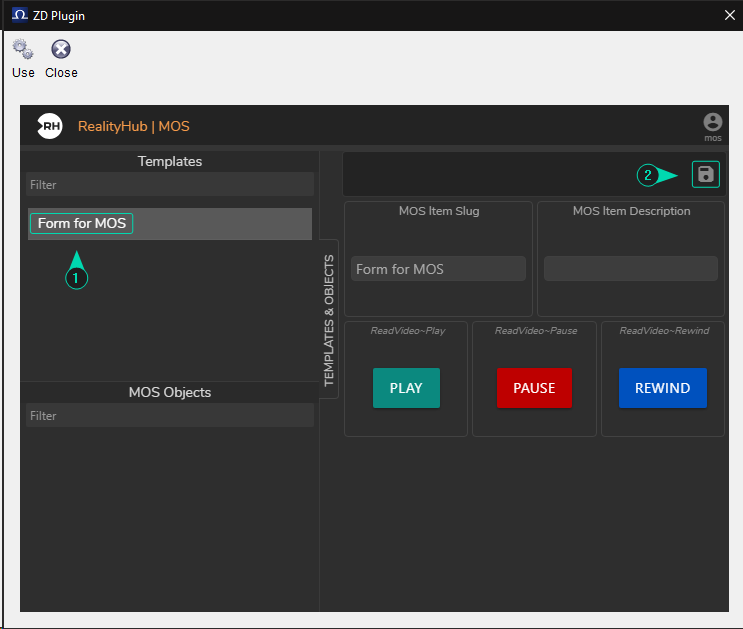
- Select your Template Form, optionally you can modify it.
- Click on the Save button as displayed above.
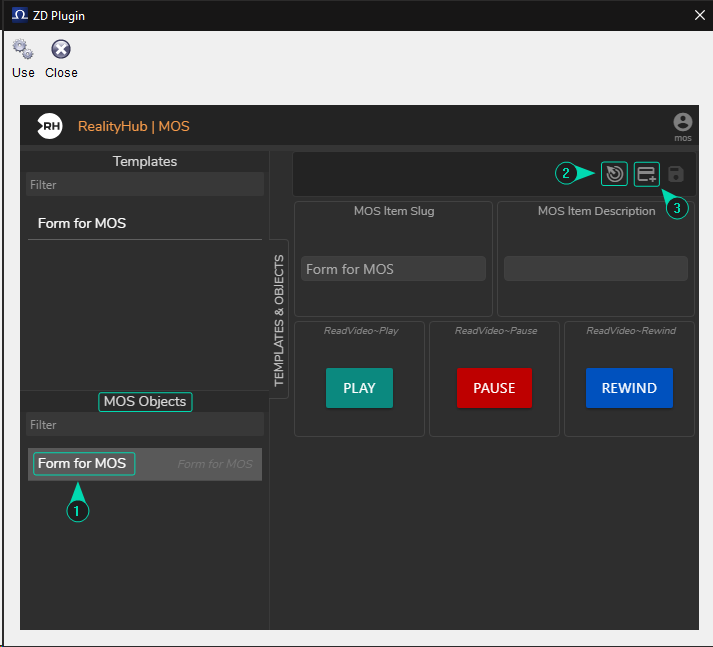
Your last action (Saving) creates the following conditions as illustrated above:
- Adds a MOS Object to its own section.
- The Drag to Story button gets activated.
- Activates the Add MOS Item to the Story button.
info
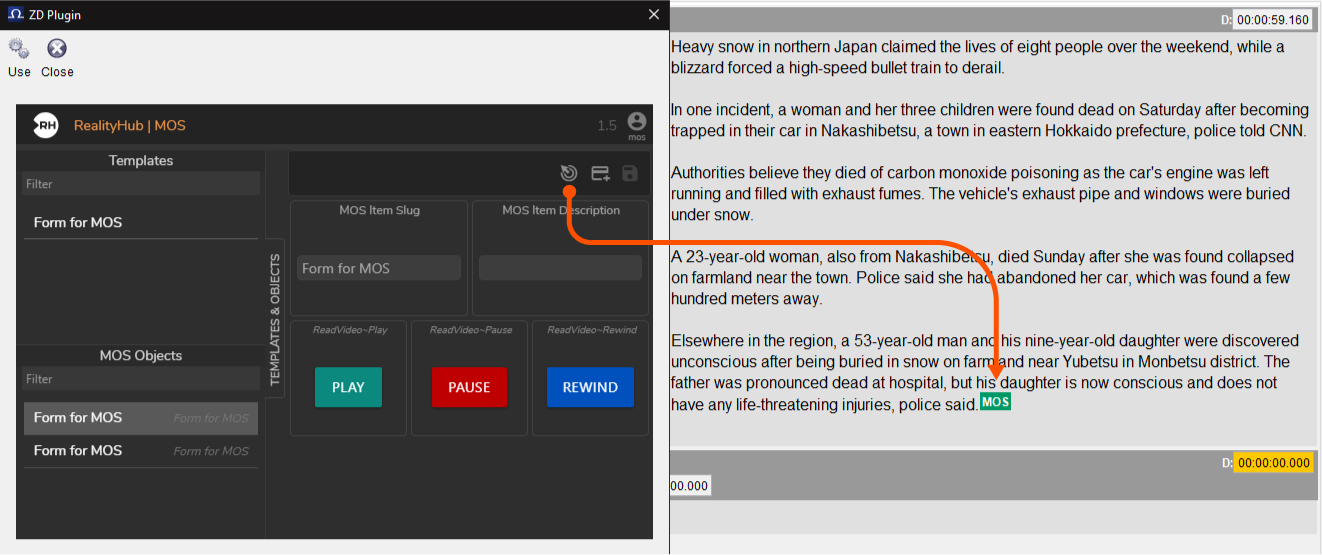
Let's say you change the Template Form based on the selected MOS Object. In such a scenario, the Drag button will disappear. This means that in case of an unsaved Template Form change, the Drag button will not appear until you press the Save button.
Now:
- Click on the Add MOS Item to the Story button.
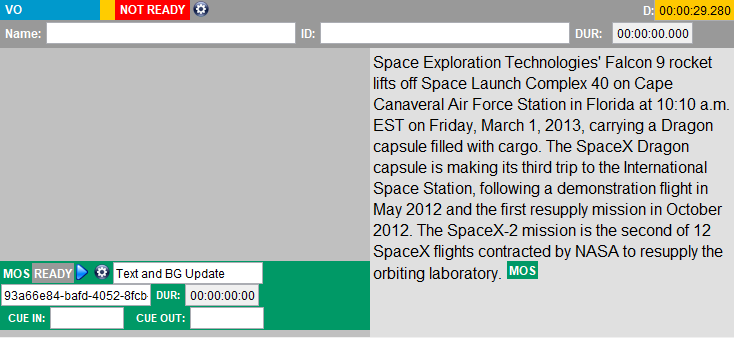
Adding a MOS Item to your Story turns its status into green, as displayed above.
- Close the Octopus ZD Plugin and switch to Reality Hub User Interface.
- Go to Main Menu > Windows > Newsroom
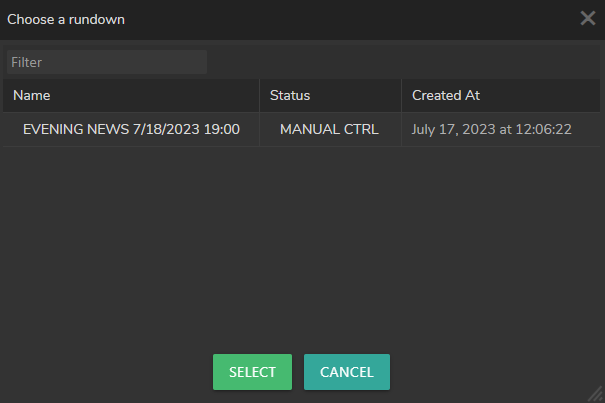
- Click on the Open Rundown button.
- Select the MOS Rundown item in the Choose a Rundown window as shown above.

Now Reality Hub Template Form is integrated into Octopus and is ready to air.
See also Form Builder