New Launch Configuration
In this section, we will create a launch configuration for a studio that includes Video Walls, Overlay Graphics, and a Virtual Studio. This setup includes 8 engines with the following distribution and roles:
| Channel Name | Engine Name | Engine Role |
|---|---|---|
| Virtual Studio | Camera 1 | Program Engine |
| Camera 2 | Program Engine | |
| Camera 3 | Program Engine | |
| VS Preview | Preview Engine | |
| Overlays | Overlays Key + Fill | Program Engine |
| Overlays HDMI | Preview Engine | |
| Video Wall | Video Wall | Program Engine |
| Video Wall | Preview Engine |
Preparations
note
Before adding a new launch configuration, it is essential that you finalize your Host settings.
Adding a new launch configuration requires you to create Channels and add Engines to the Channels you created. To do this:
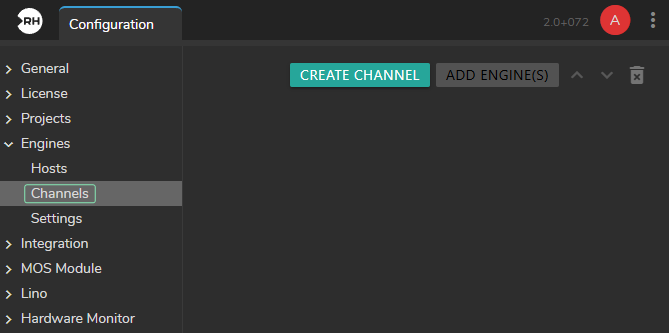
- Go to Main Menu > Configuration, navigate to Channels configuration, and click on the Create Channel button.

- Enter a new Channel name and click OK.
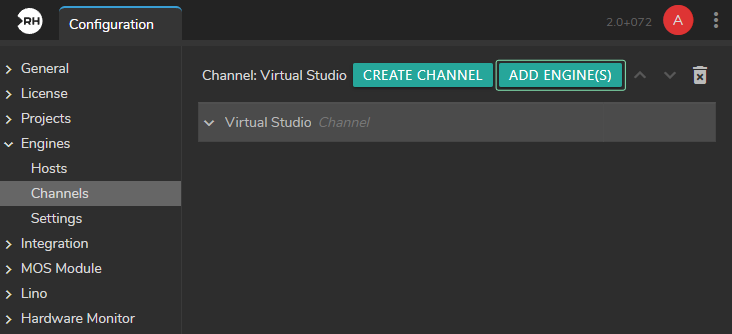
- Click on the Add Engine(s) button.
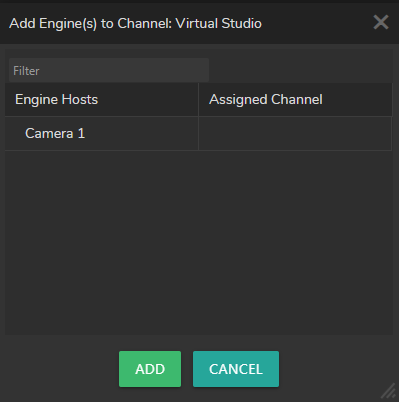
- Select the Engine and click on the Add button. This will add your Engine to your Show.

- The first Engine is successfully added to the Show.
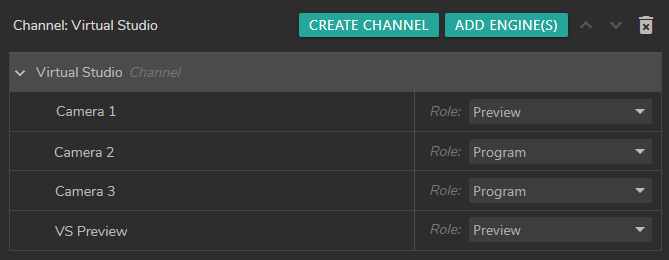
- Add other Engines and define their roles as required for your setup.
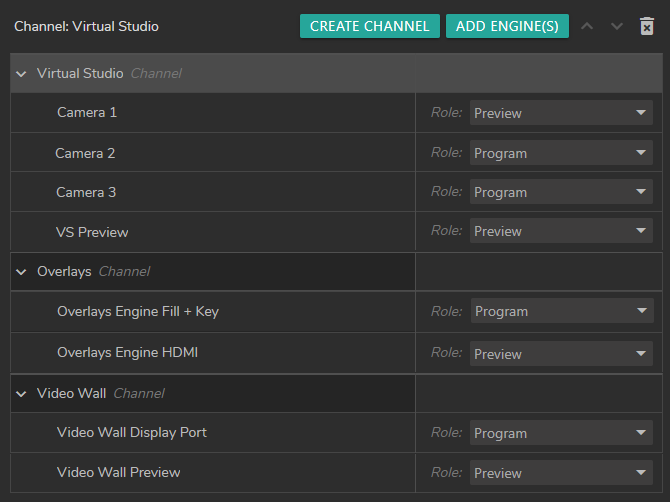
- Repeat the same process for your remaining Channels. Now your Channels configuration is successfully done.
Adding Show
- Switch to the Launcher module.

- Click on the Create Show button.
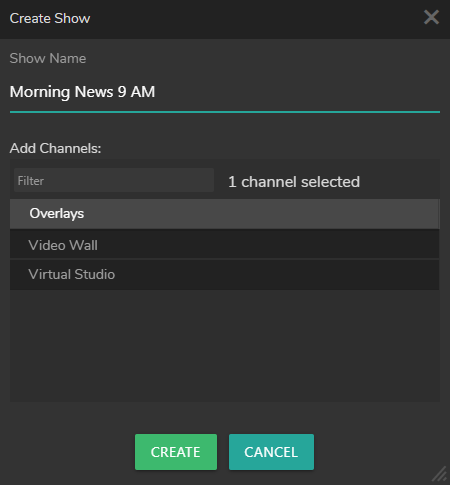
- Enter a Show name, select Channels, then click on the Create button.
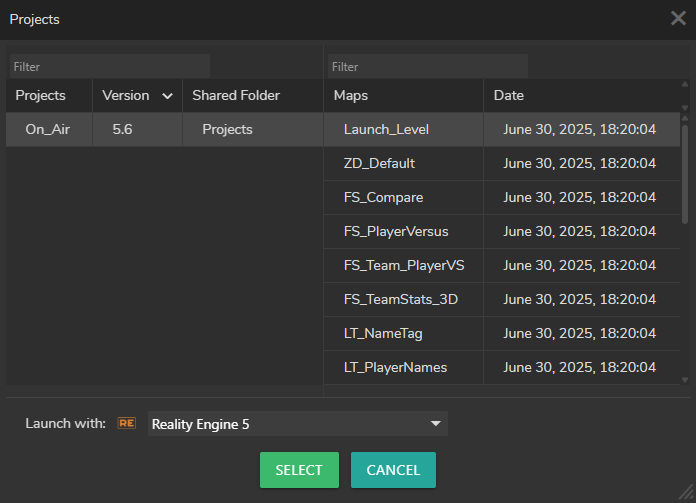
- Select your project and map, then click the Select button.
Launching

- Select the Show and click on the Launch button.
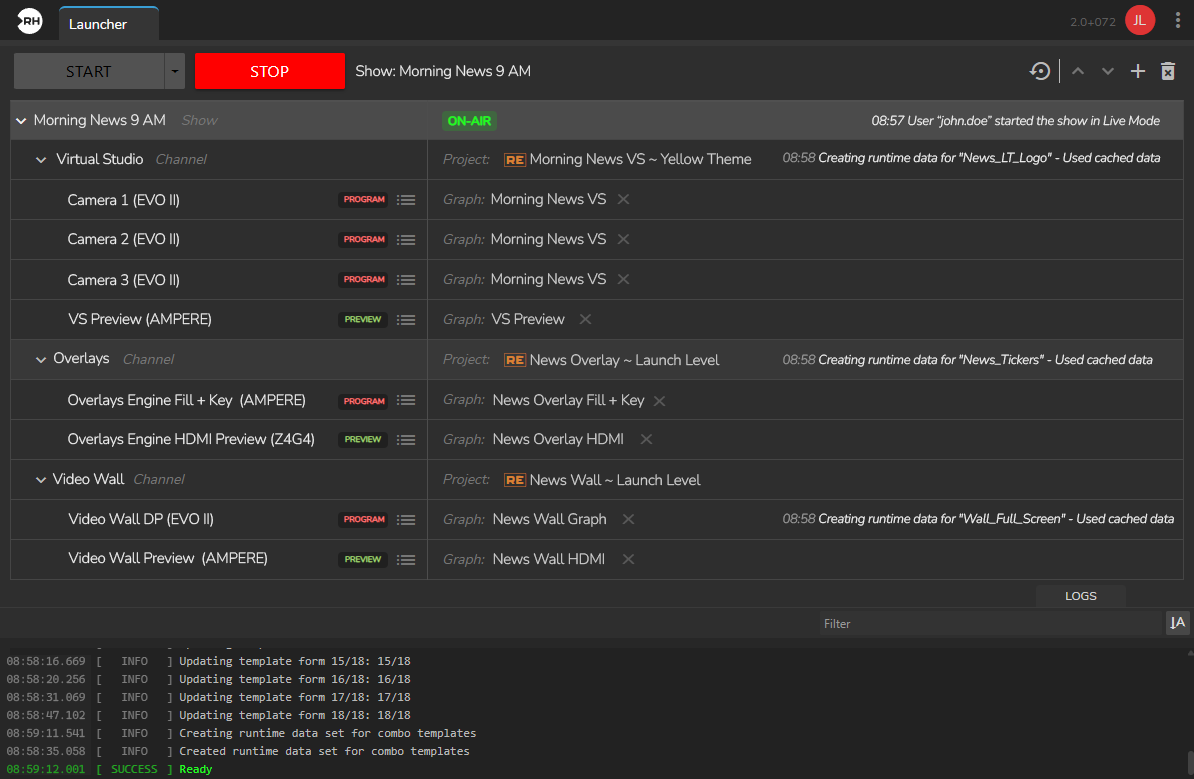
Your Show is successfully launched.