Switch to the Level Editor interface, then create an Actor Blueprint by right-clicking on the Content Browser and selecting Create Basic Asset > Blueprint Class from the options that appear.
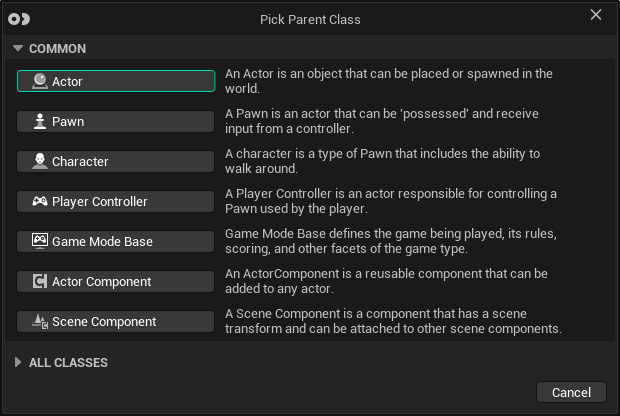
Picking Parent Class
Choose the Actor from the Pick Parent Class window, as demonstrated above.
Modify the name of the newly created Blueprint. It's often recommended for better scene organization to prefix with "BP_". (In this tutorial, we've named our Blueprint "BP_PlaneWall".)
Double-click on the "BP_PlaneWall" blueprint that was just created to access the Blueprint Editor page.
Add Basic Shape to Blueprint
Navigate to the Viewport tab and add the "Static Mesh Component" intended for use as a virtual screen. To do so, click "Add" in the Components window located on the left side. Next, select "Plane" under the common group, or alternatively, you can search for it by typing "Plane" in the search bar.
Blueprint Component
Rename the static mesh "Plane" to your preference. In this example, let's rename it to "Virtual Screen".
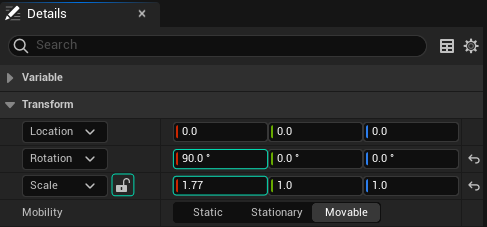
Changint Transform
With the Static Mesh selected, access the Transform values under the Details tab on the right side. Adjust the X value of Rotation to 90 degrees.
In our example, to display in 16:9 aspect ratio, unlock the Scale section using the padlock icon. Modify the X value of the scale to 1.77 to ensure the video displays at the correct scale.
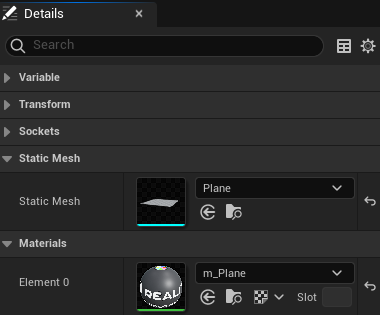
Material Selection
Switch to the Blueprint Editor Viewport tab. Go to Materials property group, and select the material we created in previous section, m_Plane, as shown above.
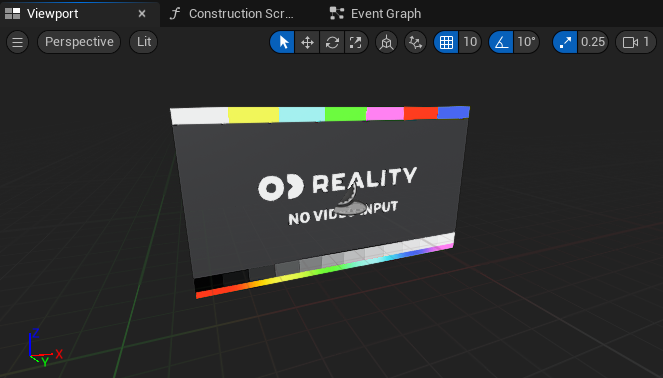
Blueprint Viewport
After selecting our material, we should see the material we applied on the static mesh in the Viewport tab, as shown above.