Animating Property
Reality Hub’s approach to animating is unique but easy to understand.
This section will be animating Reality Parent Transform Actor's Relative Rotation and Relative Location properties, located under Transform property group.
- Add
UserTrack,UE5nodes to the canvas. - Connect the
Trackoutput pin of theUserTracknode intoRealityCamera0.Trackinput pin of theUE5node. - Create a
Sinknode onRealityCamera0.Trackoutput pin of theUE5node. See Sink Pin. - Activate the APM on
RealityCamera0.Scene.

Your Graph should look like the image above.
Now:
- Activate the Actions module; then click on the New Action button.
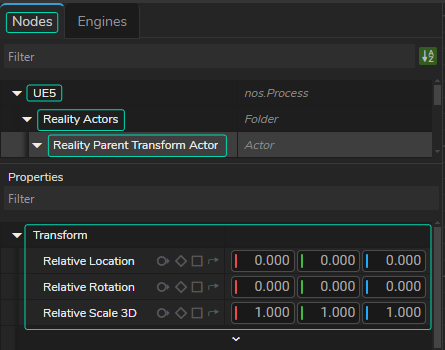
- Select the
UE5Node, go to Node Details Panel, expand the UE5 > Reality Actor > Reality Parent Transform Actor folders, as illustrated above.
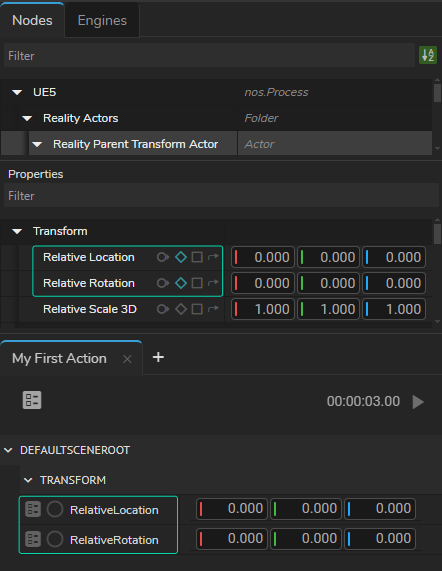
- Go to
Relative Locationproperty, click on the Add Timeline button in the Node Property Toolset. - Do the same for
Relative Rotationproperty.
As the above image illustrates that Relative Location and Relative Rotation properties are now subject to the Actions module and are ready to be animated.
Now:
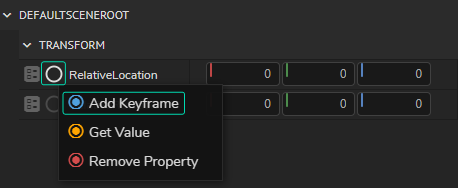
When you hover your mouse over Relative Location, the Node Property Menu Circle turns white; this indicates that the property/function can be triggered/animated.
- Right click on the Node Property Menu Circle of
Relative Locationand select the Add Keyframe, as shown in the image above. - Repeat the same process for the
Relative Rotation.
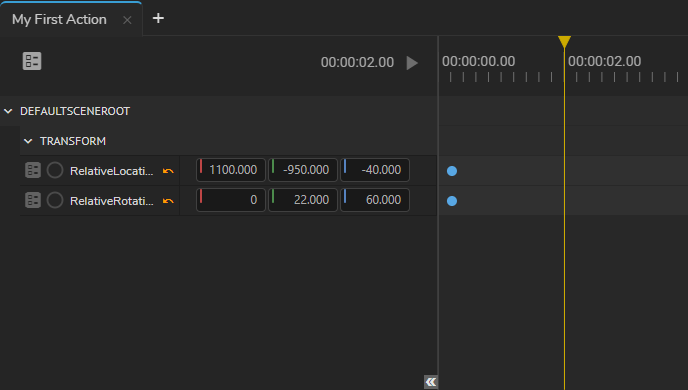
- Scrub the Playhead to the second 2.
- Change the
Relative LocationandRelative Rotationproperty values similar to the one illustrated above. - Right click on the
Relative Locationand add the second keyframe. Repeat the process for theRelative Rotationproperty.
info
Make sure that you deselect the keyframe before adding another one to a different property.
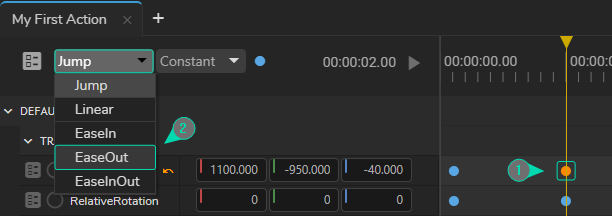
- Select the second keyframe of
Relative Location, change its interpolation type from Jump to EaseOut. Repeat the same process for theRelative Rotationproperty.
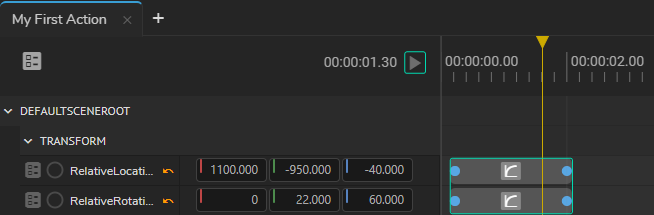
As the above image shows now our animations are completed.
- Click on the Action Play button.