Changing Screen Inputs
Preliminary Information
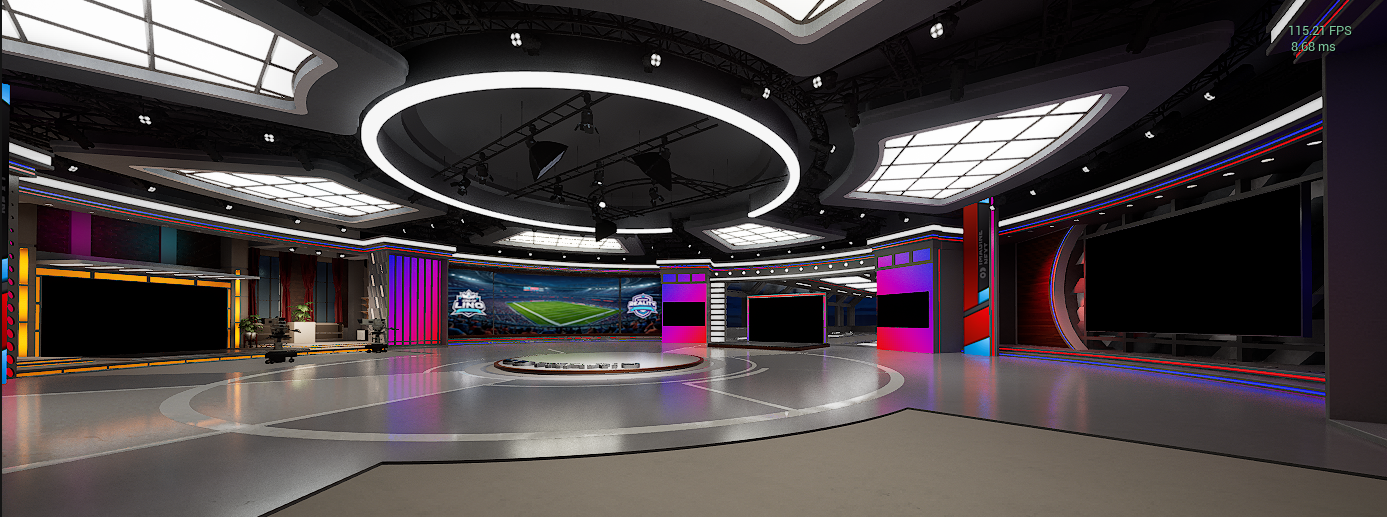
The Virtual Studio Examples scene contains five different screens controlled by the BP_VirtualRouter blueprint.
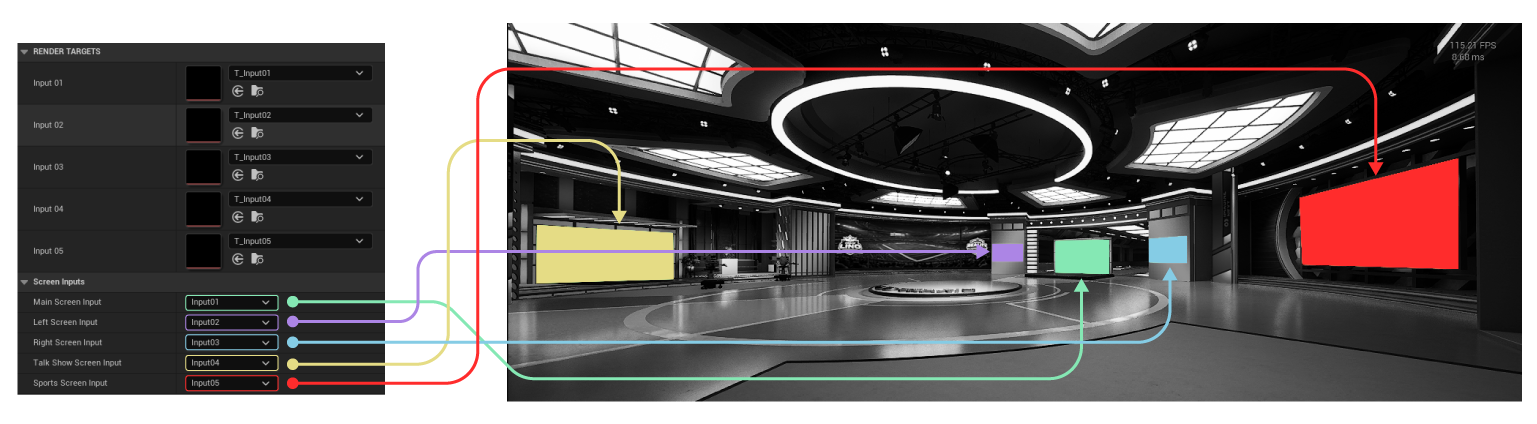
When editing the BP_VirtualRouter, open the Details Panel, expand the Screen Inputs group, and adjust its parameters according to your setup.
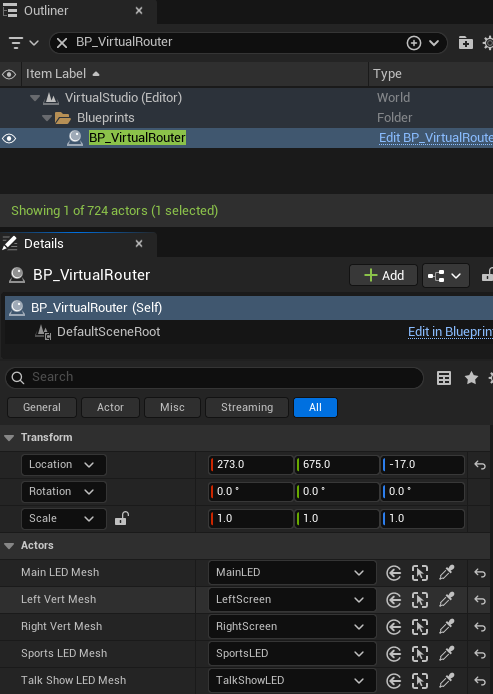
In this example, the input names are matched with the corresponding actors listed in the World Outliner.
info
You can assign one or multiple screens to the same input, depending on your requirements.
Creating a Graph with Reality Hub
- Select the UE5 node and open the Nodes Panel.
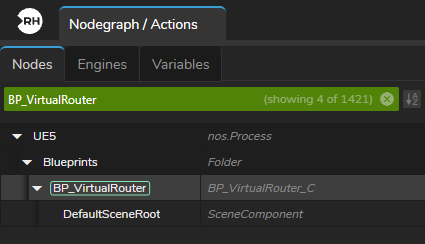
- In the Search Filter box, type
BP_VirtualRouter.

- In the Properties Panel, expand the Render Targets group and click the Advanced Property icon.
- Hover over the Input 1 property, right-click, and select Show as Input from the context menu.
- Repeat the same process for Input 2 and Input 3.
- Add your source nodes and connect them to the exposed inputs. In this example, we use one image and two videos, so we add one ReadImage node and two ReadVideo nodes to the canvas.
info
Any texture source (e.g., AJAIn) can be connected to the exposed inputs.
- Add your tracking source. In this example, we use the UserTrack node.
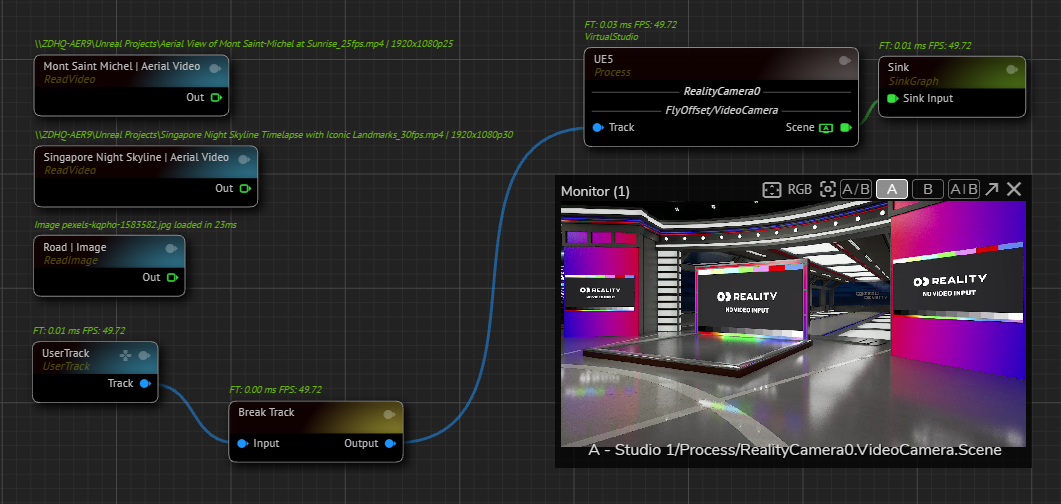
- Activate APM on the Scene output pin of the UE5 node.
- Connect your source outputs to the exposed inputs (Input 1, 2, and 3).
- Select the UE5 node, open the Properties Panel, and expand the Screen Inputs group.

- Assign your inputs to the desired screens using the dropdown menus.
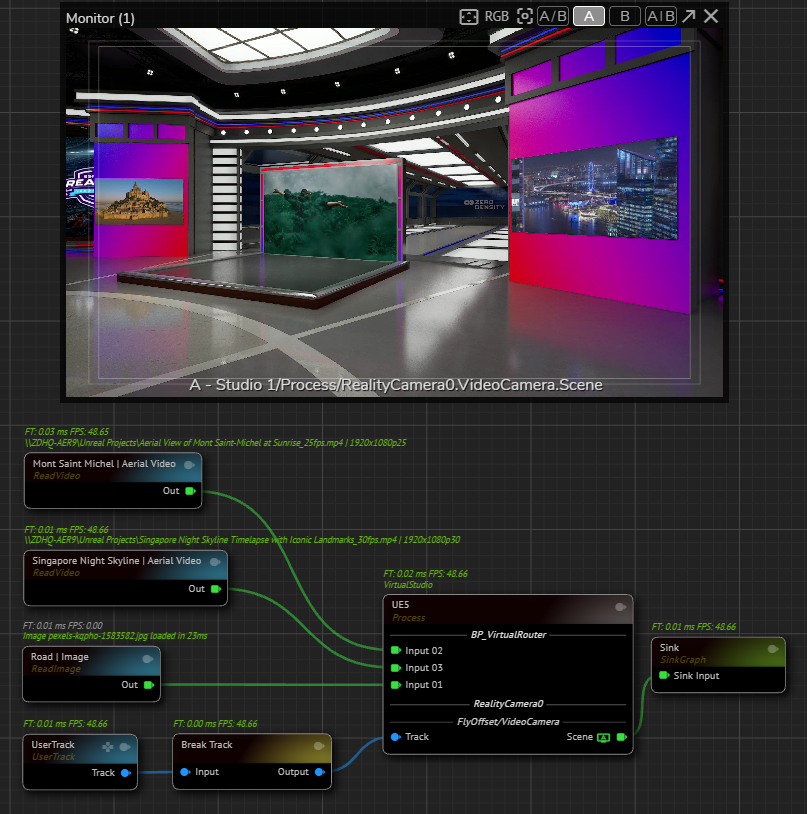
You have successfully changed the screen inputs to display the content of your choice.