Launching VS Examples Project
Creating a Project
- Launch the Reality Editor.
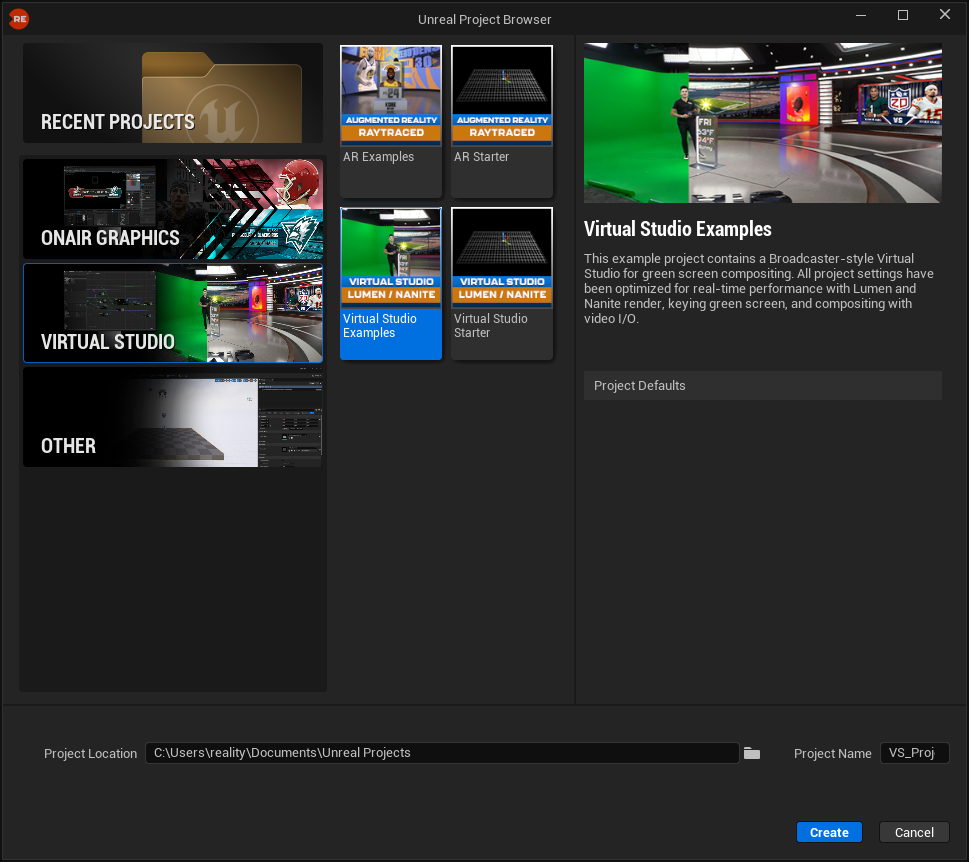
- From the left menu, navigate to Virtual Studio.
- Select Virtual Studio Examples, rename your project for better organization, and click Create.
You can experiment with these levels and freely use all assets inside them in your commercial productions.
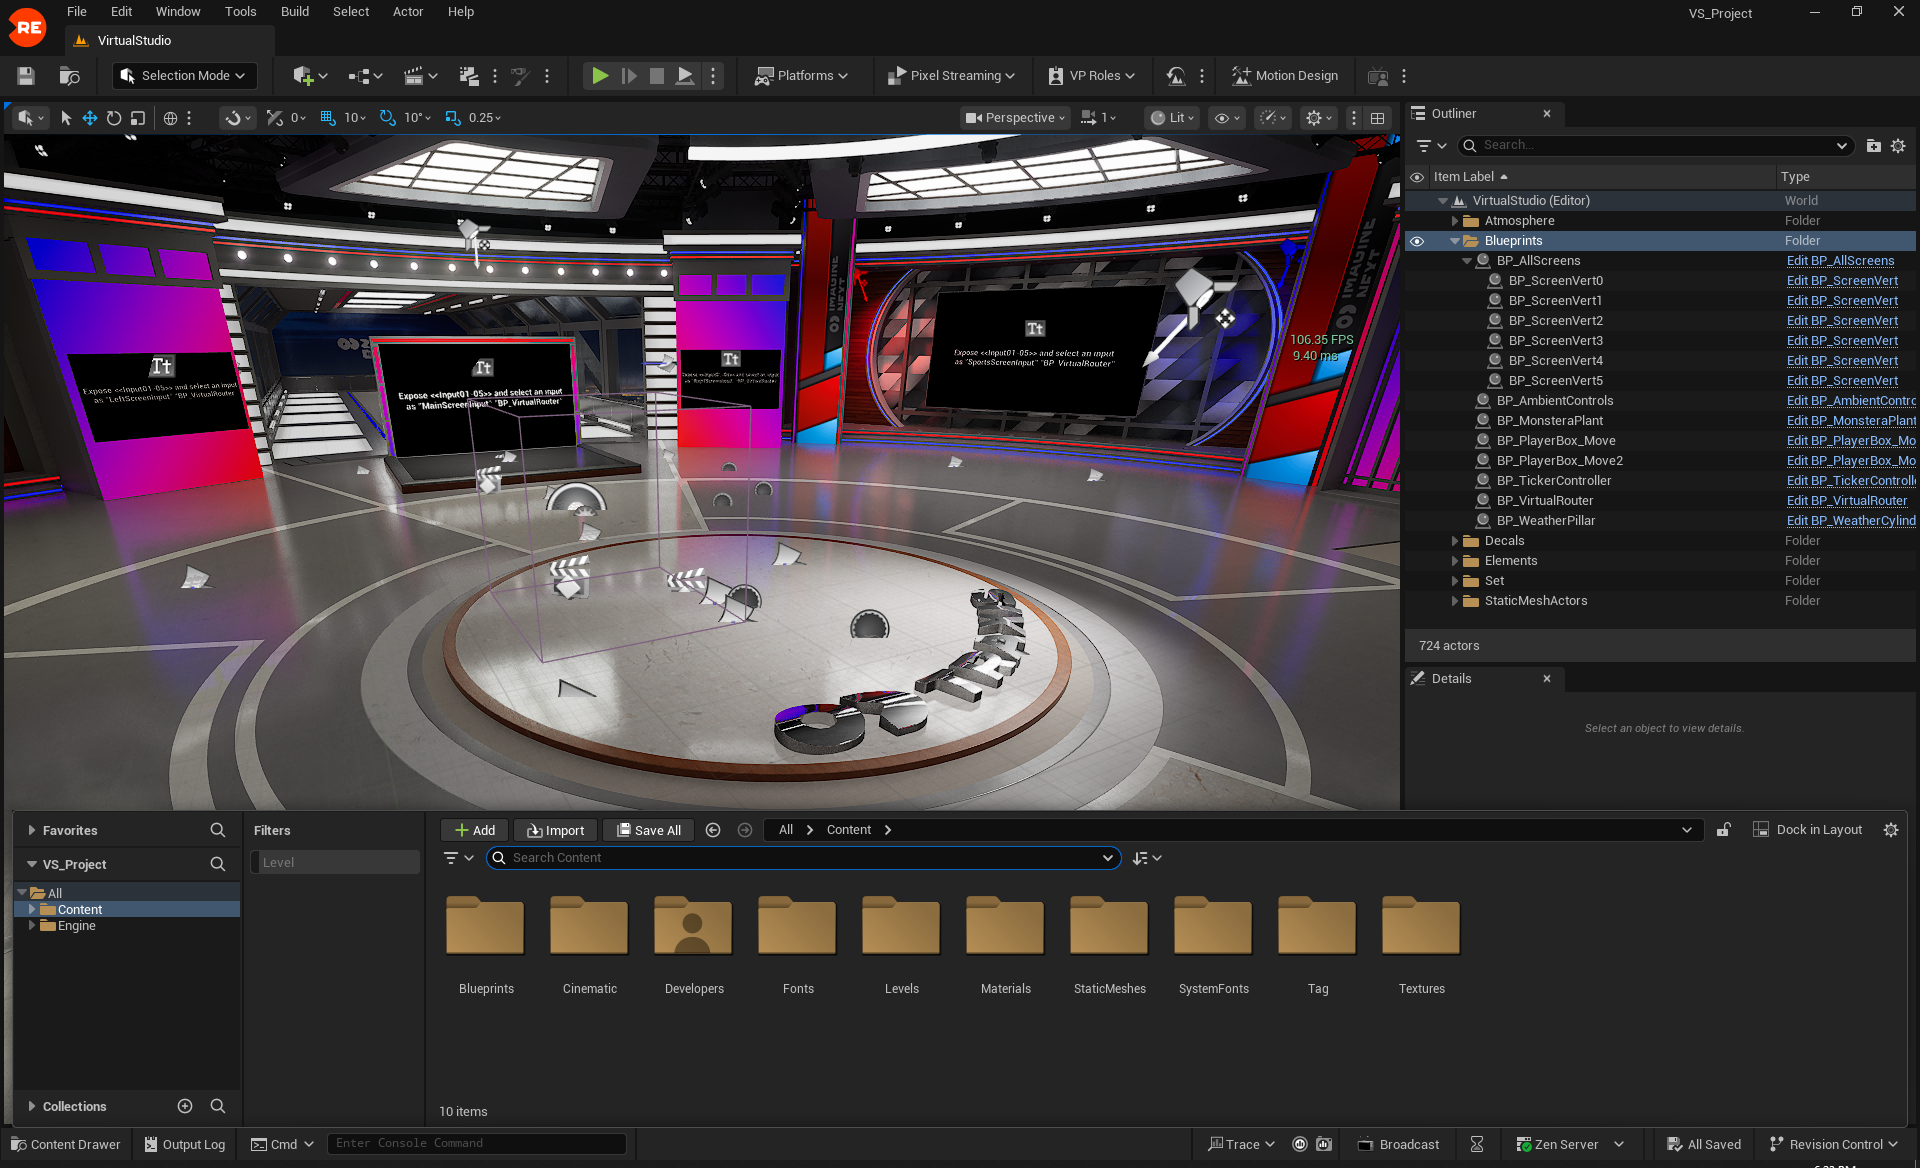
Verifying Project Settings
Although the following settings are already configured in your Virtual Studio Example project, it would be a good practice to go to Project Settings and verify the following before going live:
- Dynamic Global Illumination and Reflection Method is set to Lumen.
- Use Hardware Ray Tracing when available setting is disabled.
- High Quality Translucency Reflections is enabled.
- MegaLights is disabled.
- Shadow Map Method is set to Shadow Map.
- Generate Mesh Distance Field is enabled and it is set to 0.2.
- Nanite is enabled.
- Anti-Aliasing Method is set to Temporal Anti-Aliasing (TAA).
Creating Graph with Reality Hub
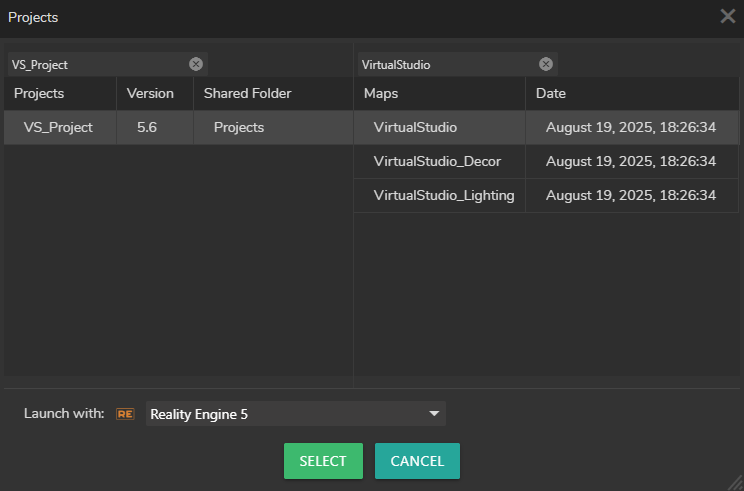
- Log in to Reality Hub, switch to the Launcher module, and select your project and map.
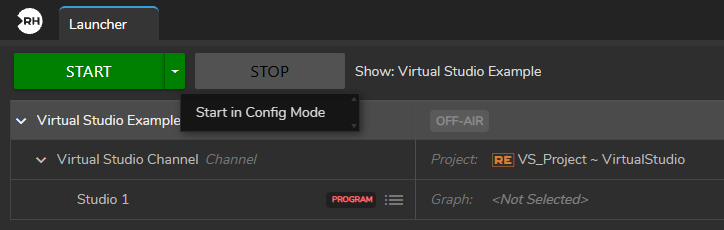
- Select your Show and click on the arrow dropdown button beside the Start button and select the Start the Config Mode to launch it.
- Switch to the Nodegraph module.
- Drag & drop the UE5 node into the Nodegraph canvas and select it.
- In the Nodes panel, select the UE5 folder and navigate to Properties.
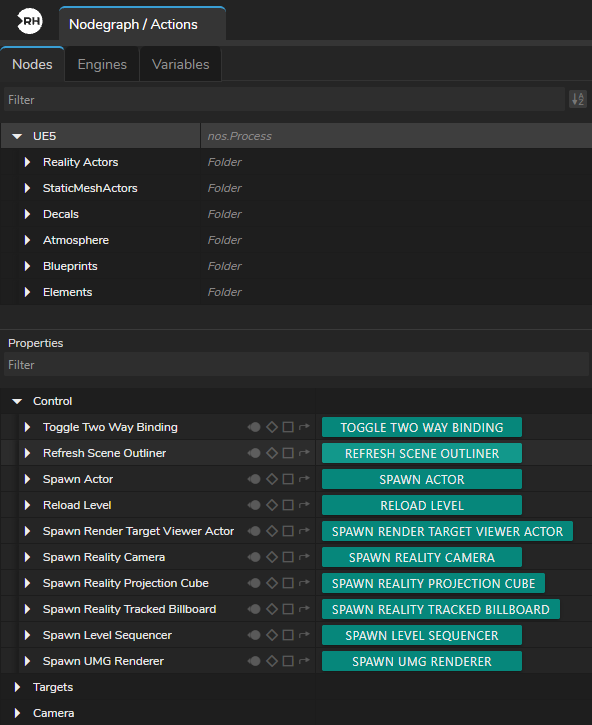
- In the Properties panel, expand the Control property group, then click the Spawn Reality Camera button.
- Create the node network as shown in the image above.
- Activate the Advanced Preview Monitor on the Scene output pin of the UE5 node.
Our scene is ready. In the text chapter we will be changing screen inputs.