Utilizing Custom Cyclorama Mesh
Overview
This tutorial outlines a method for painting textures directly onto a 3D mesh within Blender. This approach utilizes Blender's built-in Texture Paint mode and UV unwrapping tools to create and apply textures onto a mesh.
Preparation
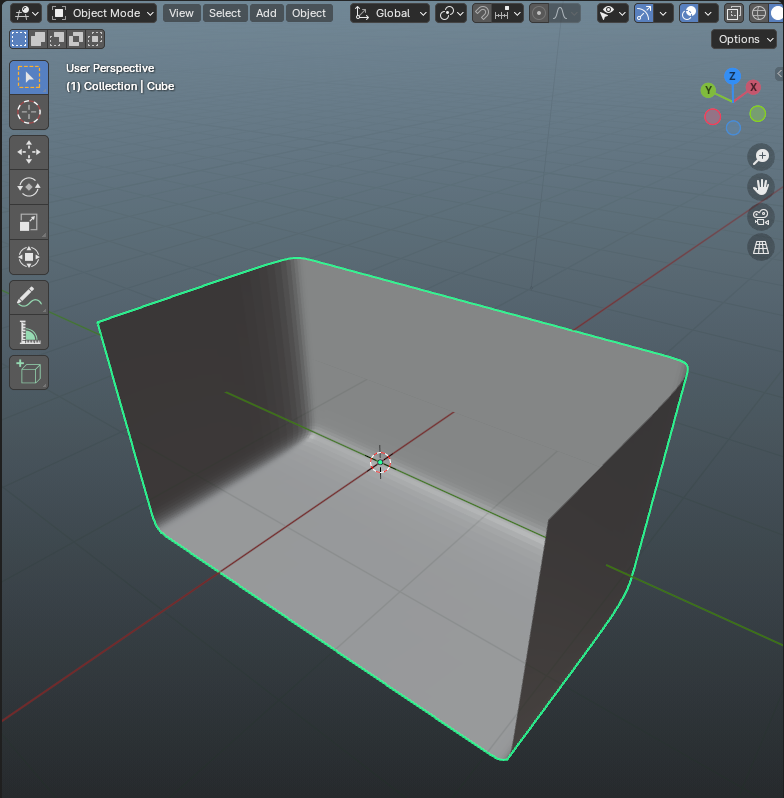
- Prepare your cyclorama mesh according to your settings and ensure that the mesh does not have existing seams.
UV Unwrapping
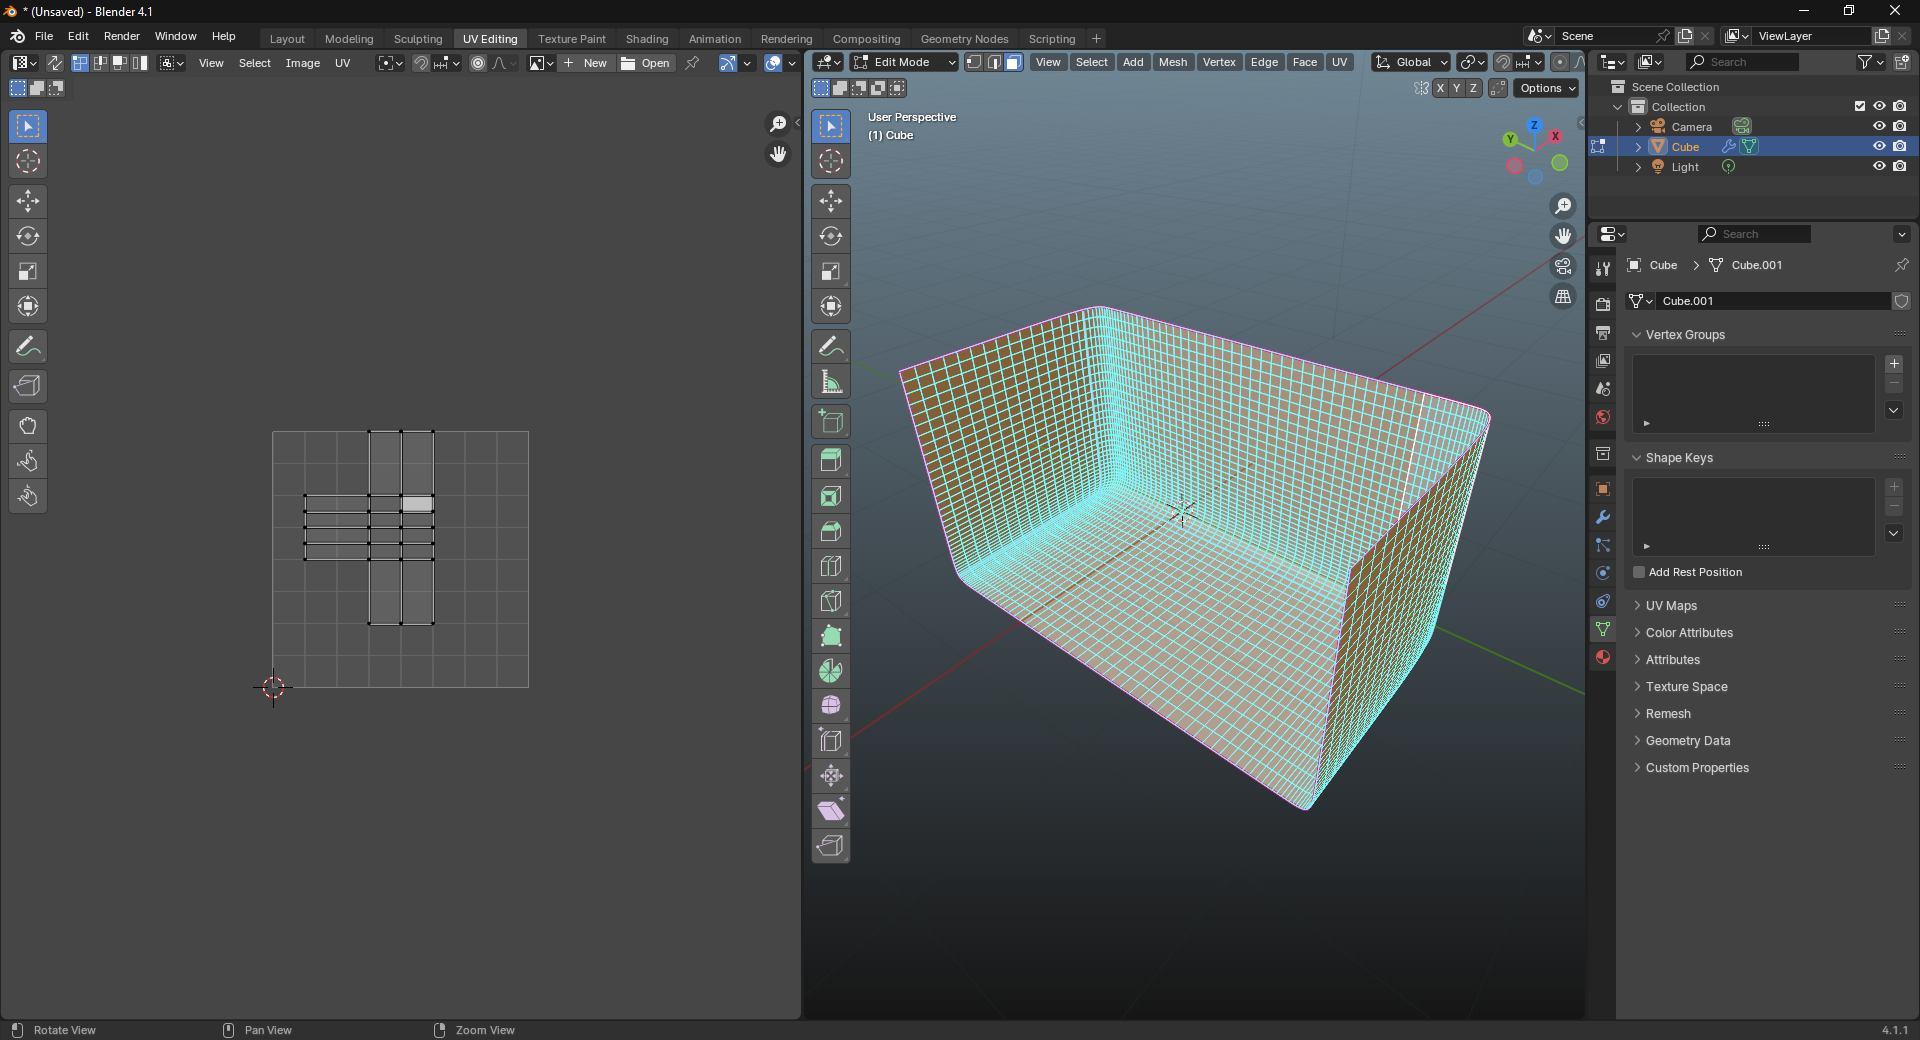
- Navigate to the UV Editing workspace.
- Select the mesh and enter Edit Mode.
- Select all faces.
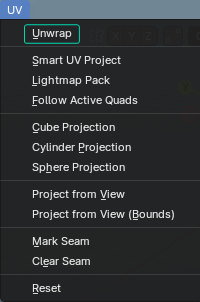
- Open the UV menu and select Unwrap to create a UV map.
Initiating Texture Painting
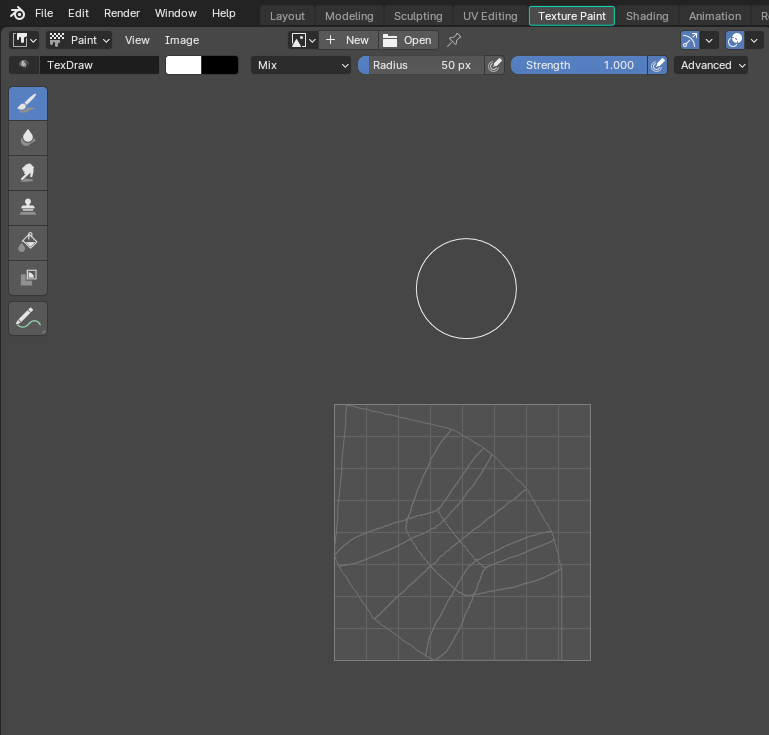
- Switch to the Texture Paint workspace.
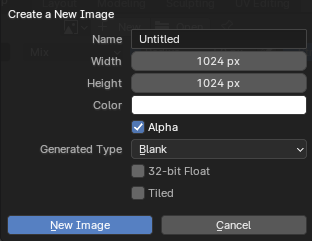
- Add a new texture, ensuring the background color is set to White.
Assigning Material
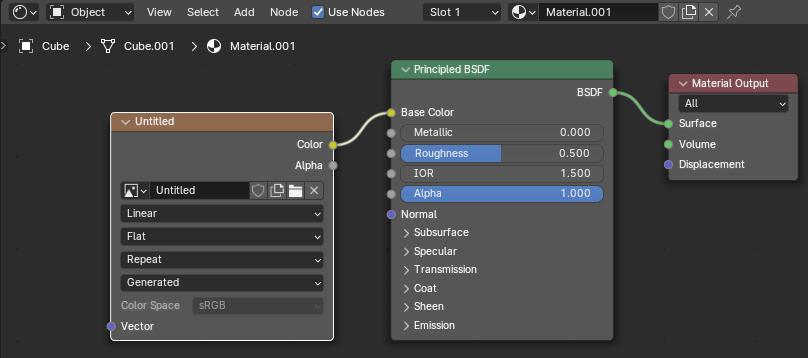
- Switch to the Shading Workspace.
- Create a new Principled BSDF material.
- Create a new Image Texture.
- Select the Image Texture, click on the Browse Image button, assign the painted texture to Image Texture node.
- Connect the Color output of the Image Texture to Base Color of the Principled BSDF material.
Texture Painting Process
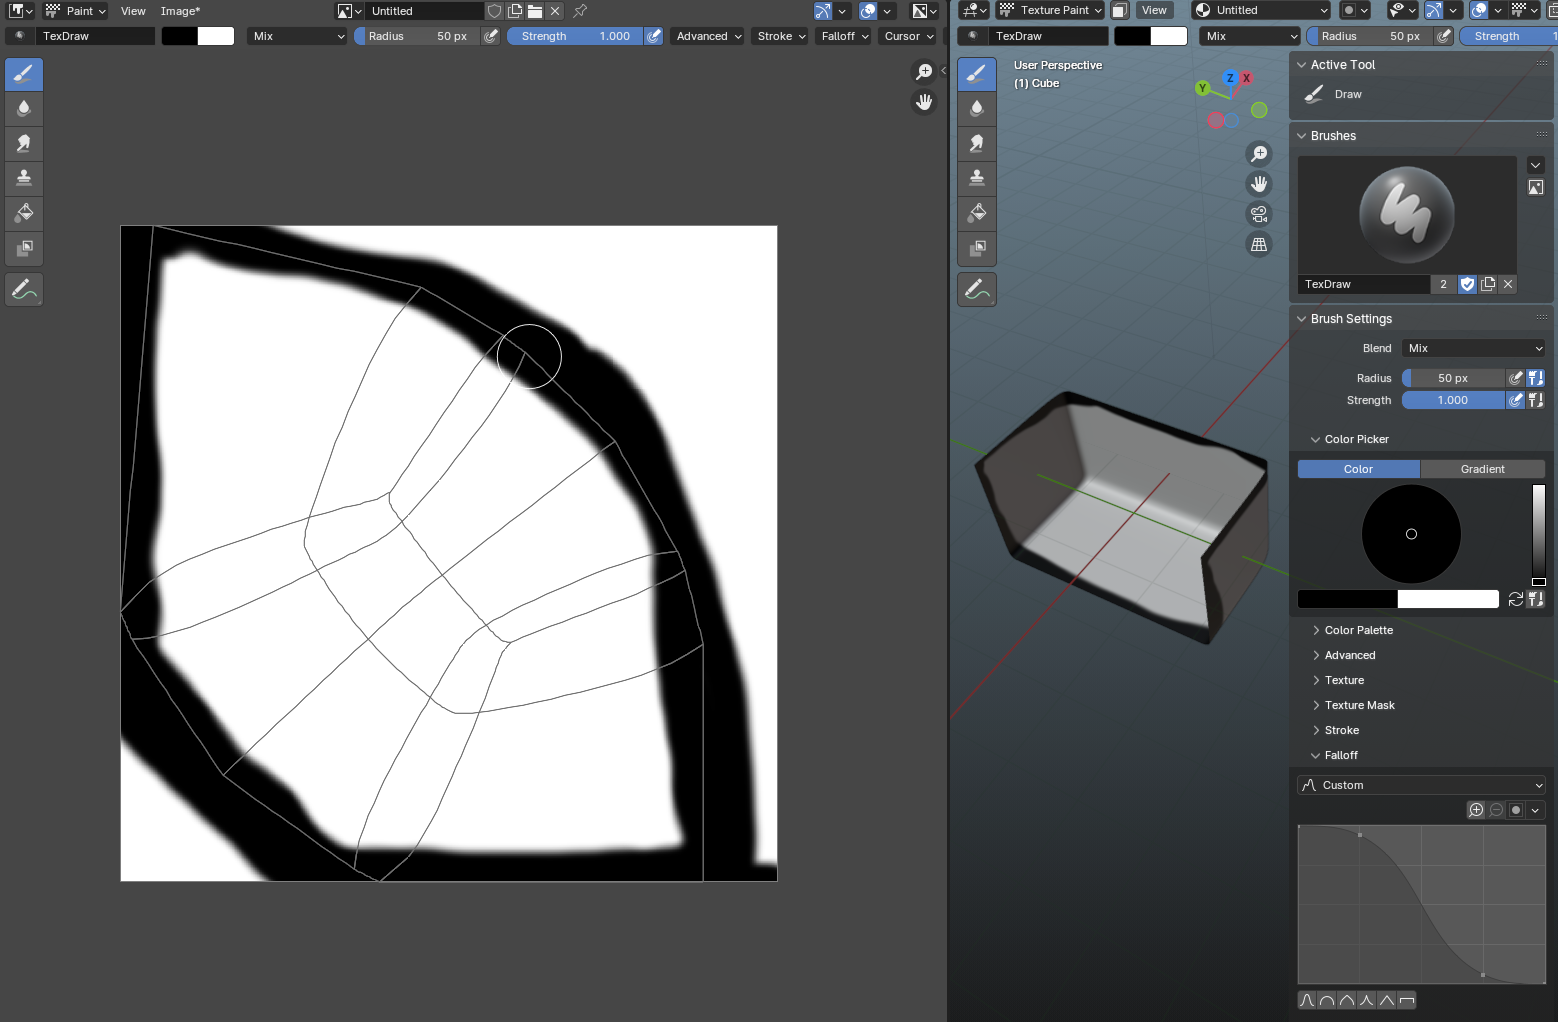
- Switch to the Texture Painting Workspace.
- Paint the outside edges of the cyclorama mesh in Black color (0, 0, 0)
- Save the painted texture as *.png.
Exporting
- Switch to Object Mode and select the cyclorama object.
- Go to File > Export > FBX.
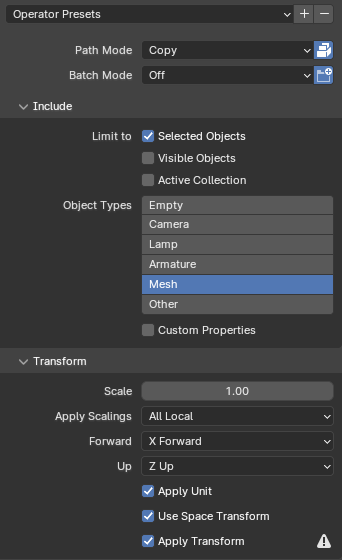
- Change the Path Mode to Copy.
- Click on the Path Mode button to include texture you painted.
- Click on the Limit to checkbox and enable Selected Object
- Select the Mesh as Object Types.
- Go to Transform property group, change the Forward to +X direction.
- Change the Up to +Z Up direction
info
Select Apply Transform option if you change the scale of your mesh.
- Click on the Export FBX button.
info
The FBX file must be in a Project folder for Reality Hub to access it.
Texture Painting with Autodesk Maya
You can employ approximately the same method to create painted texture.
To do that:
- Create your 3D mesh and unwrap its UVs.
- Assign a default Maya material to the mesh such as Lambert, change its color to pure white.
- Change the Diffuse property of the Lamber to 1.000.
- Switch the Set menu to Rendering.
- Go to Texturing > 3D Paint Tool.
- Click on the Tool Settings.
- Click on the Assign/Edit File Textures.
- Change the Size X and Size Z properties to 2048.
- Change the Image Format to JPEG (jpg).
- Click on the Assign/Edit File Textures button.
- Paint the outer edges with black.
- Export the FXB.
Using Custom Mesh with Cyclorama Node
- Login to Reality Hub interface, launch your project.
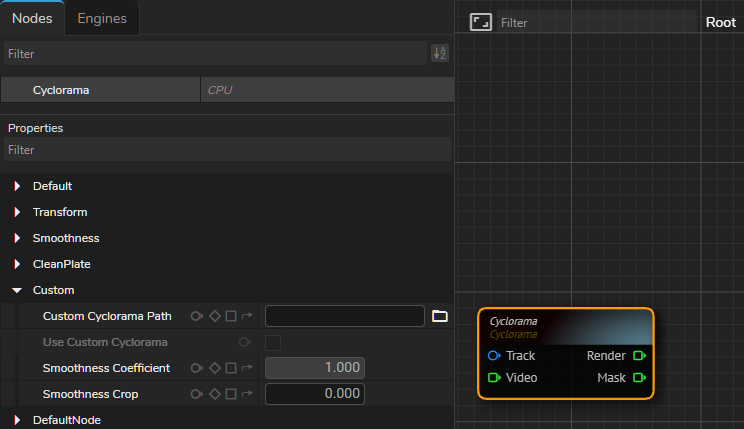
- Add a Cyclorama node.
- Expand the Custom property group.
- Navigate to the cyclorama mesh you exported, select it.
info
Re-scan the folders in Reality Hub to ensure the exported FBX mesh is recognized.
- Click on the Use Custom Cyclorama checkbox.
Details
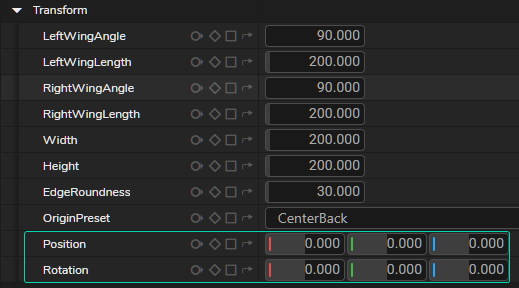
- Using custom cyclorama disable all transform properties of the cyclorama except for Position and Rotation since all related data comes from FXB file.
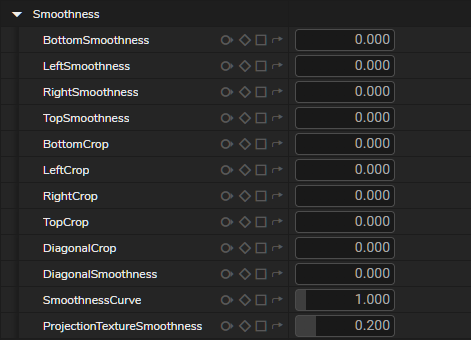
- Using custom cyclorama disable all Smoothness properties since all related data comes from FXB file.
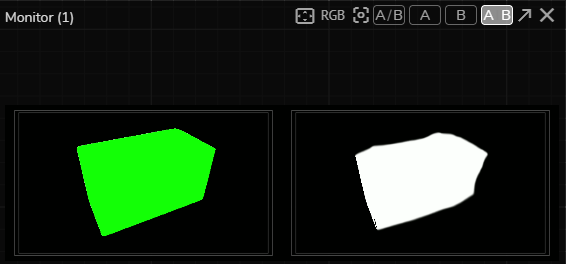
You can utilize the Advanced Preview Monitor to examine the actual FBX geometry (on the left) and smoothness (on the right), as illustrated above.