New Launch Configuration
This section shows how to create a launch configuration for a Tracked Virtual Studio scenario with three studio/broadcast cameras. This example uses four engines: three program engines (bound to cameras) and one preview engine for AR-type graphics. You can reuse this setup with the Virtual Studio example project included in Reality Projects.
Preparations
Host Settings
Before adding a new launch configuration, it is essential that you finalize your Engine Configurations.
Process

- When you enable the Launcher module, it looks like in the image above. Click on the Create Show button.
- When you open the Launcher module, you will see the screen shown above. Click Create Show.
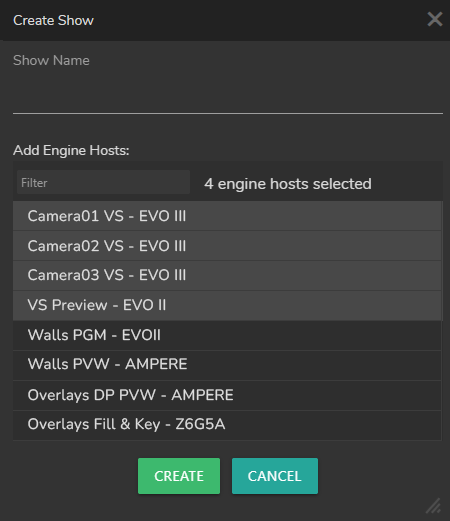
- The Create Show panel automatically selects all available engines. In this example, 8 engines are suitable for the Show and 4 engines are unavailable, as shown above.
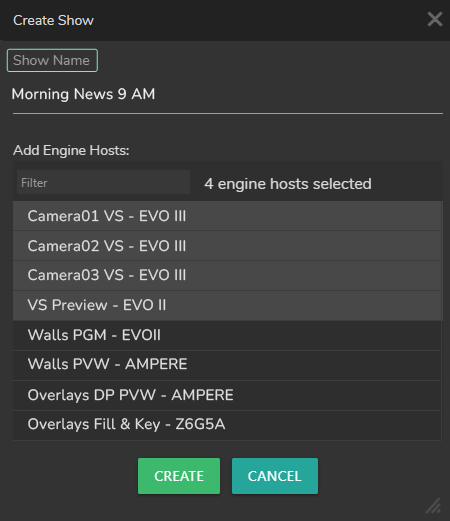
- Enter a name for your Show, select the engines that will render your scenes, and click Create.

- Your Show is created, as shown above.
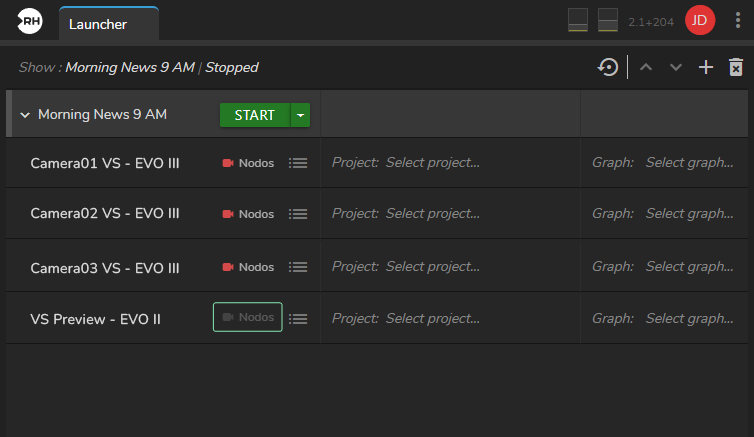
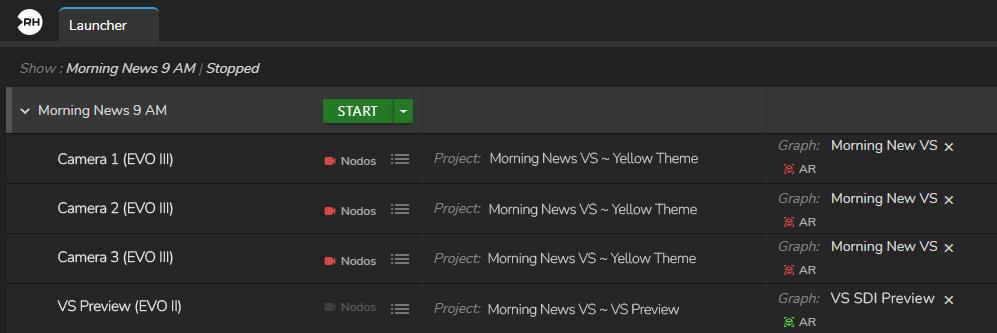
At this stage, disable the Nodos Channel for the VS Preview (EVO II) engine, as shown above. You can preview Nodos Channels through Dynamic Channels.
- Click Select project.
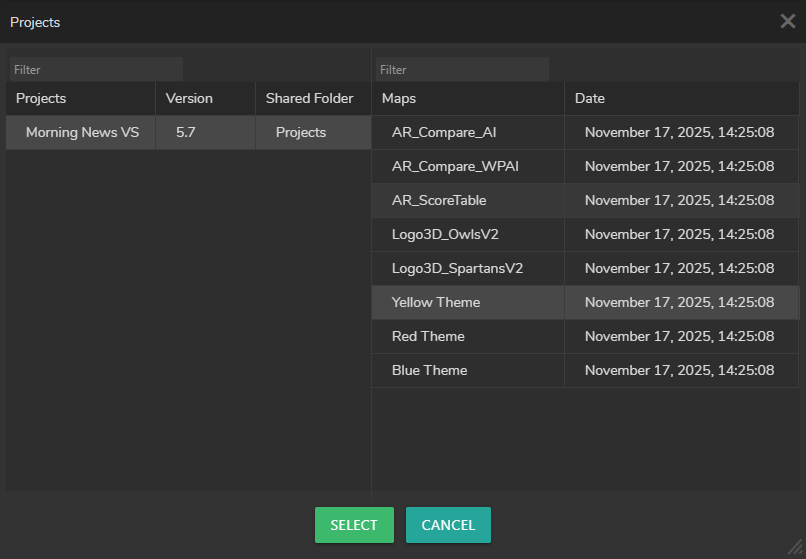
- Select your Project and, optionally, select its associated map, as shown above.
info
You can start your Show without assigning a Graph.
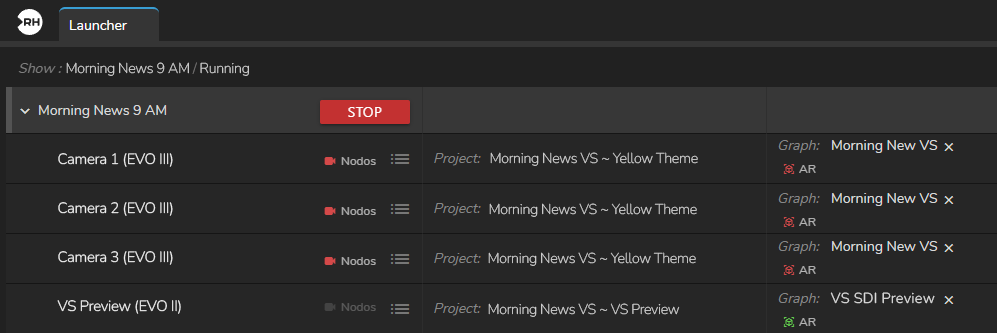
- Click Start.
Your Show starts successfully, as shown above.