Device Transform (PTZ)
PTZ cameras do not have built-in location tracking. Therefore, their position in studio space must be manually defined.
First Approach – Less Accurate
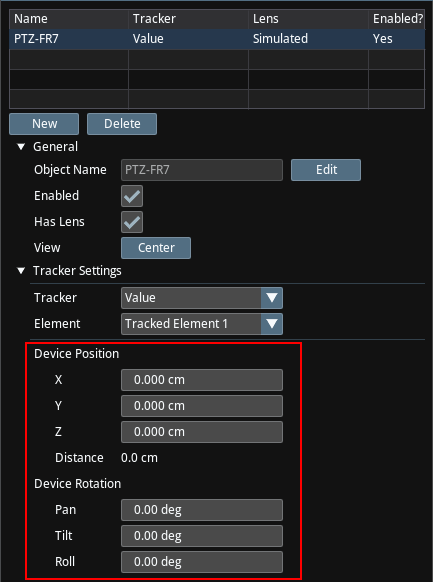
A simple method is to manually measure the X, Y, and Z coordinates of the PTZ camera and enter them under Device Position and Device Rotation.
While this provides a reasonable approximation, it is often difficult to measure pan, tilt, and roll angles accurately.
Second Approach – More Accurate
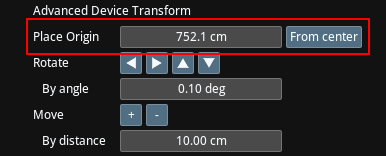
A more precise method relies on the distance between the studio origin (on the ground) and the pivot point of the PTZ camera.
- Fix the camera position: Place the PTZ camera in its final position and avoid moving it afterward.
- Measure pivot-to-origin distance: Measure the distance from the camera’s pivot point to the studio origin on the ground as accurately as possible.
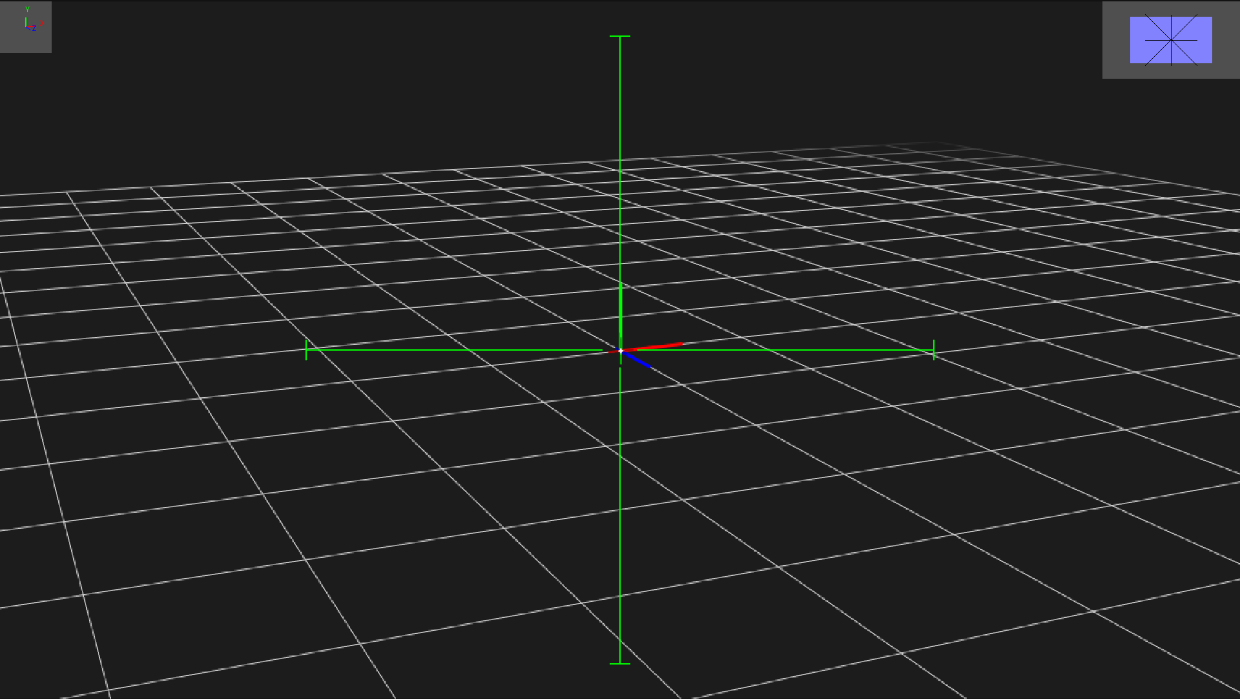
- Align using CrossHair: In Traxis Hub, activate the CrossHair and use the camera’s PTZ controls to center the origin point (0, 0, 0) in the exact center of the camera image.
- Enter placement data: Input the measured distance into the Place Origin box and click From Center.
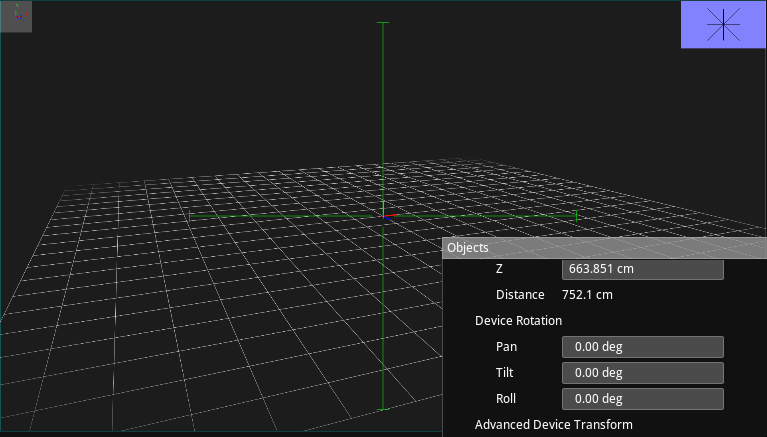
- Confirm grid position: The studio grid should now move to align with the origin.
- Check coordinate values: Review the X, Y, and Z values. The Y coordinate should represent the height of the camera pivot above the studio floor.
- Validate height consistency: If the measured pivot height matches the Y value, setup is complete.

- Adjust values if needed: If the values differ, enter the measured pivot height manually into the Y coordinate of Device Position. Then, use the Advanced Placement Tools to adjust the virtual origin to match the real studio origin.

- Refine rotation alignment: When the origins overlap, fine-tune alignment using Device Rotation (Pan, Tilt, Roll) controls to match the virtual grid with the physical studio coordinates.
- Iterate until accurate: Repeat position and rotation adjustments until the virtual and physical setups are fully aligned.