TrackBody
Physical Markers
As OptiTrack has built-in marker detection, you will use OptiTrack markers for lens profiling.
Usually there are a few spare markers in studios with OptiTrack installation. If this is not the case, the markers on the OptiTrack Ground Plane and the OptiTrack Calibration Wand can be used as markers. Each set contains three markers, but you are interested in one of them only.
Marker Selection
The extra 2 markers in the wand and plane can be taped shut so that they don't distract. However, it can also help to have multiple markers.
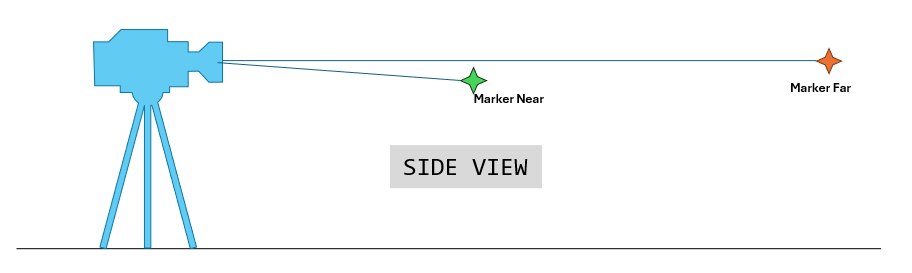
Placement
- Place the Near marker set close (e.g., less than 2 meters) and the Far marker far away (e.g., more than 8 meters).
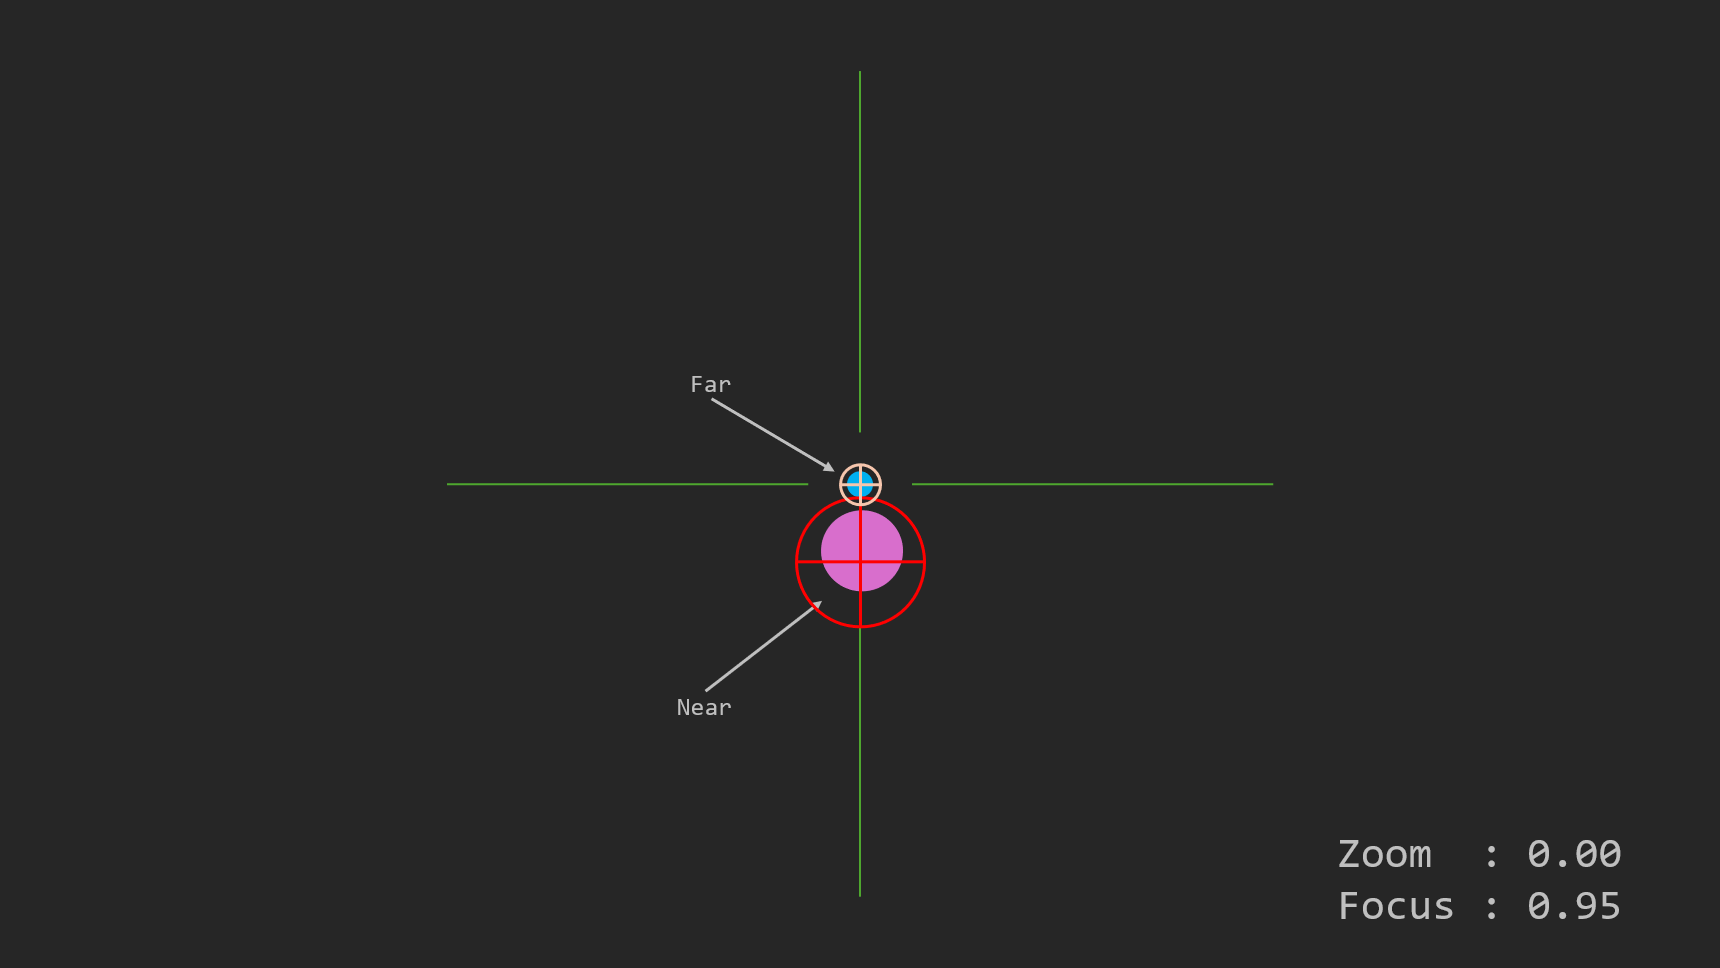
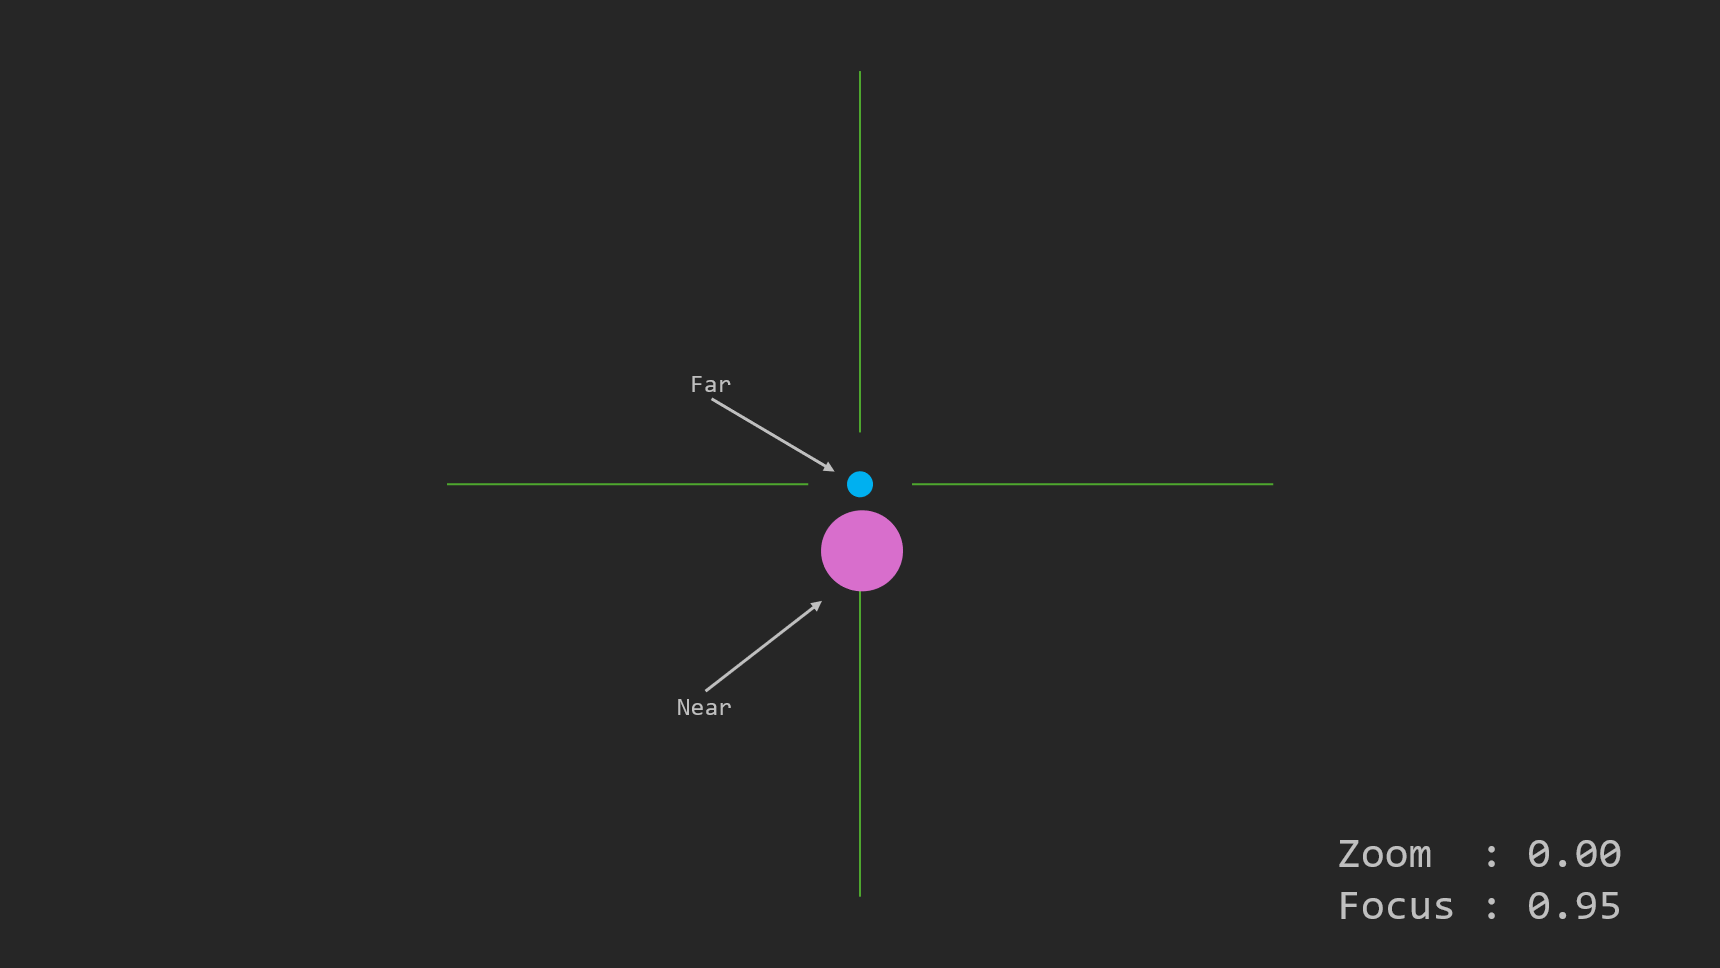
- Keep the Far marker at the very center of the image, and the Near marker just slightly below that.
Check the video on Traxis Hub—it should appear like this:
Virtual Markers
Traxis Hub will draw the markers as received from Motive; therefore, virtual marker placement isn't necessary here.
- In the Render Settings panel, enable rendering of markers. The far virtual marker should be centered on the far physical marker, but the near virtual marker could be somewhat off. If the far virtual marker isn't centered, go back one step and fix the TrackBody offsets.