Installation and Configuration
As soon as you create Reality Hub Weather Module Graphics through the Reality Editor, the module will also be added to your Project folder. Practically, no installation required.
Configuration
- Navigate to the Unreal Projects folder and find your Reality Hub Weather Module Graphics.
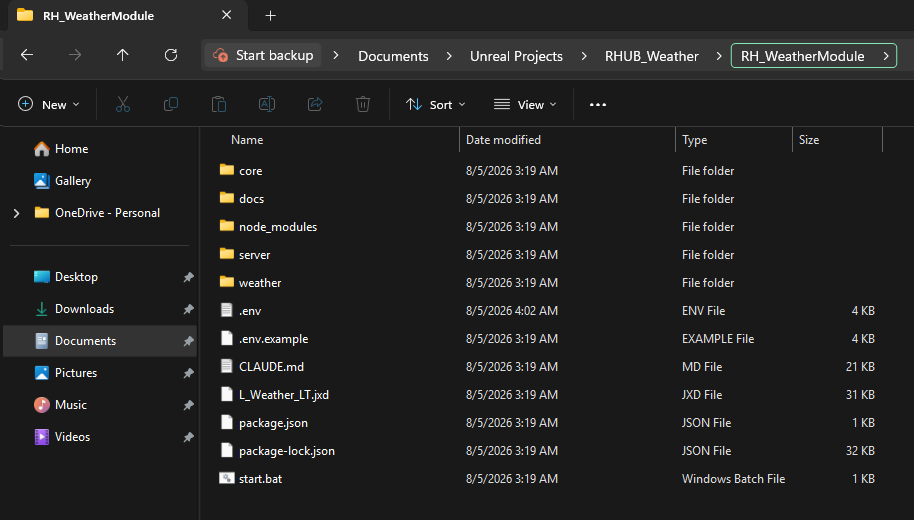
- Open the RH_WeatherModule folder.
- Right click on the
.envfile and open it with a texct editor of your choice such as Nodepad.

At this point, only area you need to modify will be Reality Hub API Key, Reality Hub Host and Reality Hub Port, as illustrated above.
Custom Module with Reality Hub Server
Reality Hub Server and the module run on the same computer configuration. This is also the recommended workflow.
- Open the
.envfile with a text editor. - Set your API key.
- Keep the default host and port unless you changed them during Reality Hub installation:
REALITY_HUB_API_KEY=rh_XXXXXXXXXXXXXXXXXXXXXXXXXXXXXX
REALITY_HUB_HOST=127.0.0.1
REALITY_HUB_PORT=80
Custom Module on Reality Hub Client
In such a scenario Reality Hub Server is on another computer configuration, and you run the module on your own computer which is the computer you also reach the server as client:
- Set your API key in the
.envfile. - Change your Reality Hub Host to Reality Hub Server Ip adress. (for example
192.168.1.10). - Tell the Hub how to reach you: find your machine’s IPv4 address with
ipconfig, then setMODULE_SERVER_URL=http://<YOUR-MACHINE-IP>:5003/.
Open the Panel in Reality Hub
If the module runs on the Reality Hub Server, remote operators can open the panel in Reality Hub without installing anything on their own machines. Their browser reaches the module directly.
Preparing Show
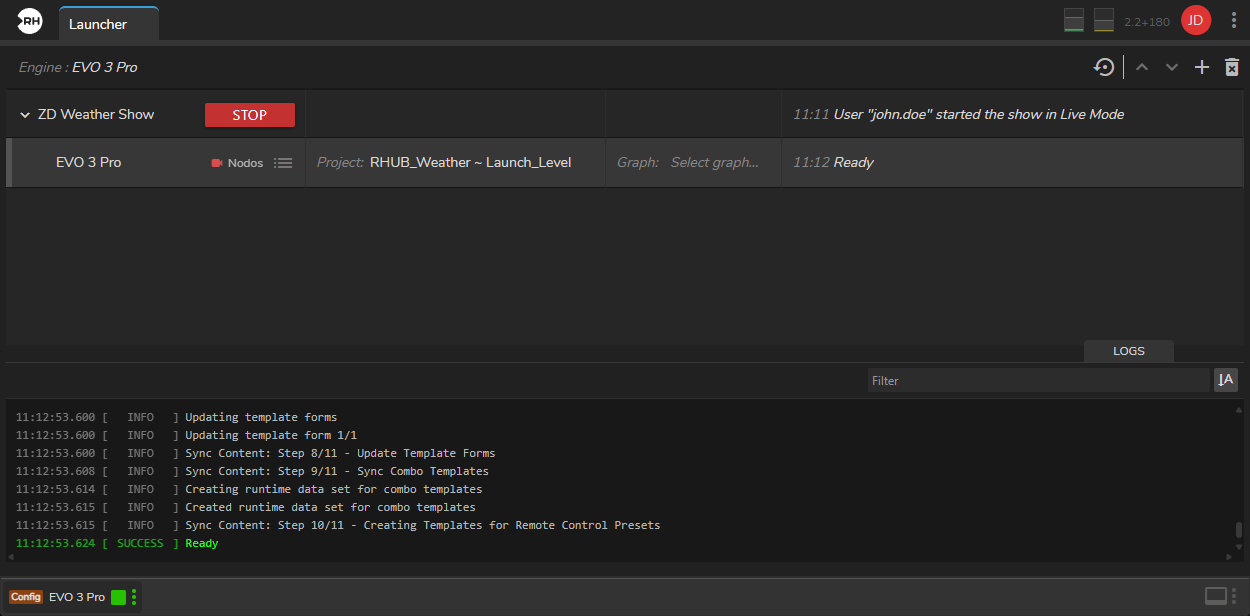
- Launch your Show.
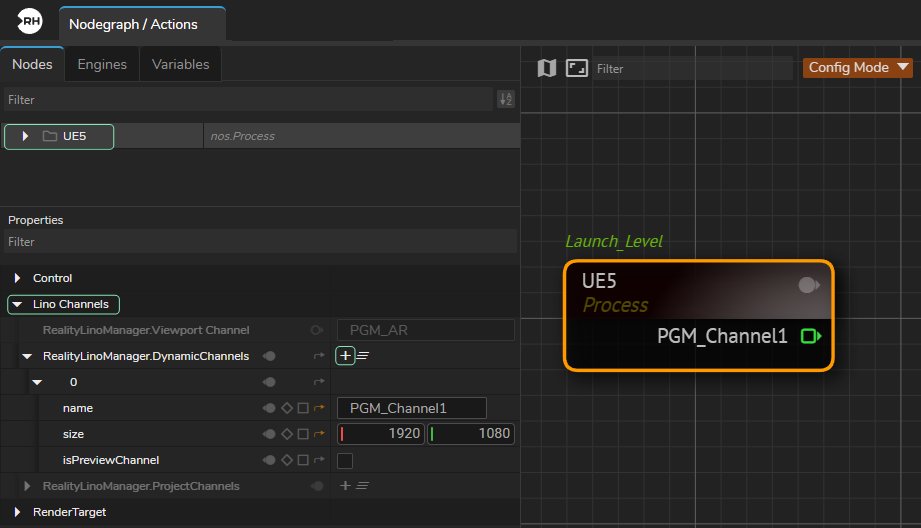
- Switch to the Nodegraph/Action Module.
- Add the UE5 processing node to the canvas.
- Select the UE5 node, open the Nodes outliner and select the UE5 folder.
- Go to Properties panel, expand the Lino Channels, and create a Dynamic Channel by clicking on the + icon, as shown above.
- Activate the Advanced Preview Monitor on the PGM_Channel1.
At this point, you can connect your targeted output to the PGM_Channel1 such as as AJA Out, DeckLink Out or AJA Out (IP Video).
Connect to Your Show

In the Toolbar, open the Advanced setup drawer if it is collapsed.
- Choose your Show. This populates the Engines list and Rundown dropdown.
- Select Engines. All engines are checked by default. Leave them as “all engines” unless you need a subset. At least one engine must stay checked.
- Choose your Rundown.
- Click on Load Templates.
Once connected, the Connect & Sync button show a quiet ✓ Synced look. That means the current selection already matches what the Hub is running.