Reality Hub Weather Module Graphics
Reality Hub Weather Module Graphics is designed to work with ZD Weather, a Reality Hub Custom Module for on-air weather graphics. You are free to use and modify all assets within this project for your own productions.
Creating a Project
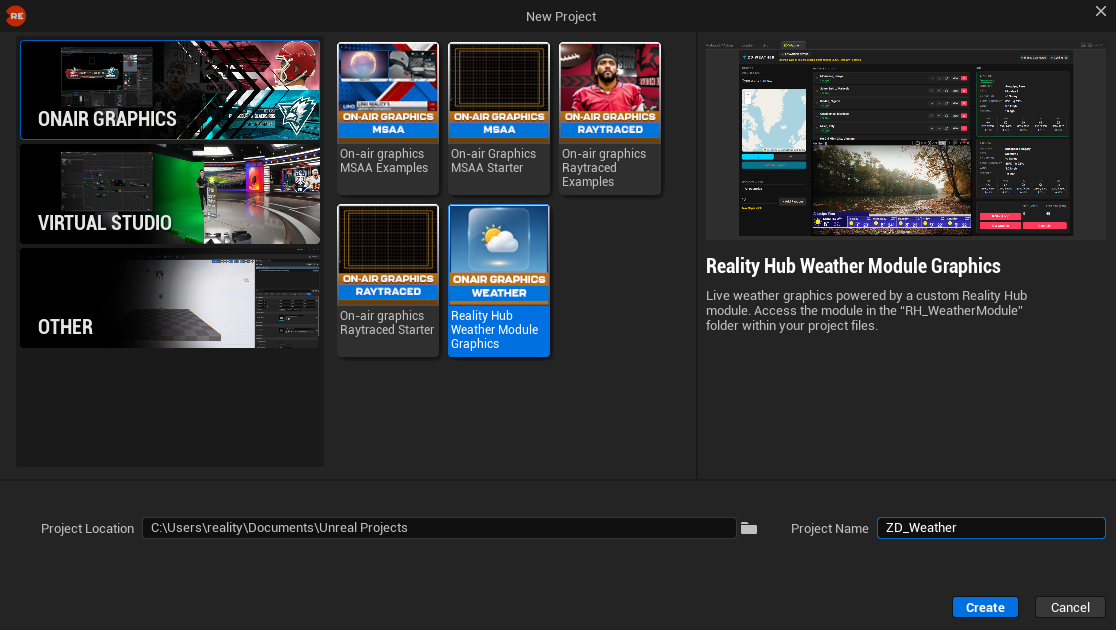
- Launch the Reality Editor.
- From the left menu, navigate to On-air Graphics.
- Select Reality Hub Weather Module Graphics, rename your project for better organization, and click Create.
Exploring the Weather Level
Once the project is open, open the Content Drawer.
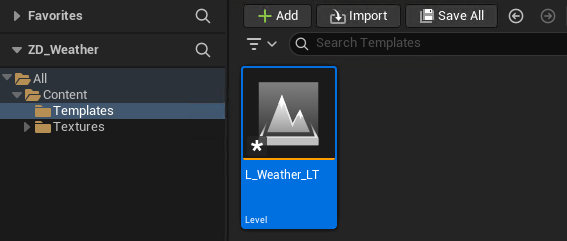
- In the left menu, expand All > Content and select Templates.
- Double-click the
L_Weather_LTlevel to open it.
You can now inspect the weather lower-third template in the viewport. To review animations and timing:
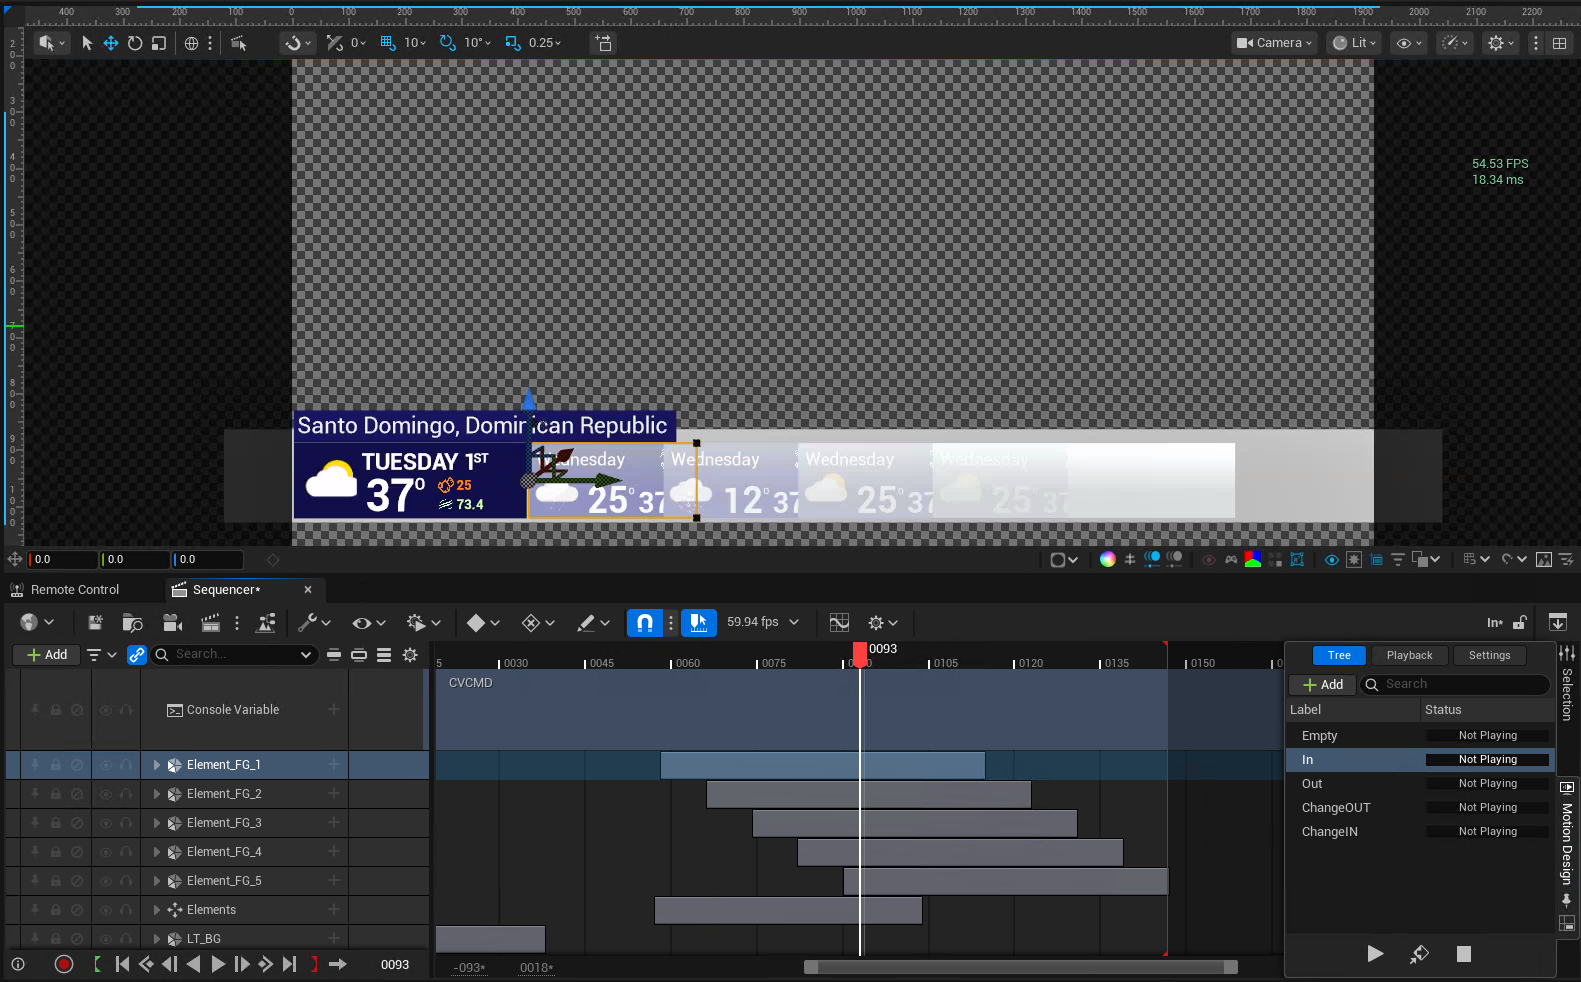
- Open the Sequencer and examine the animation tracks, such as the forecast element layers and In / Out states in the Tree panel.
To review the properties exposed for live control:
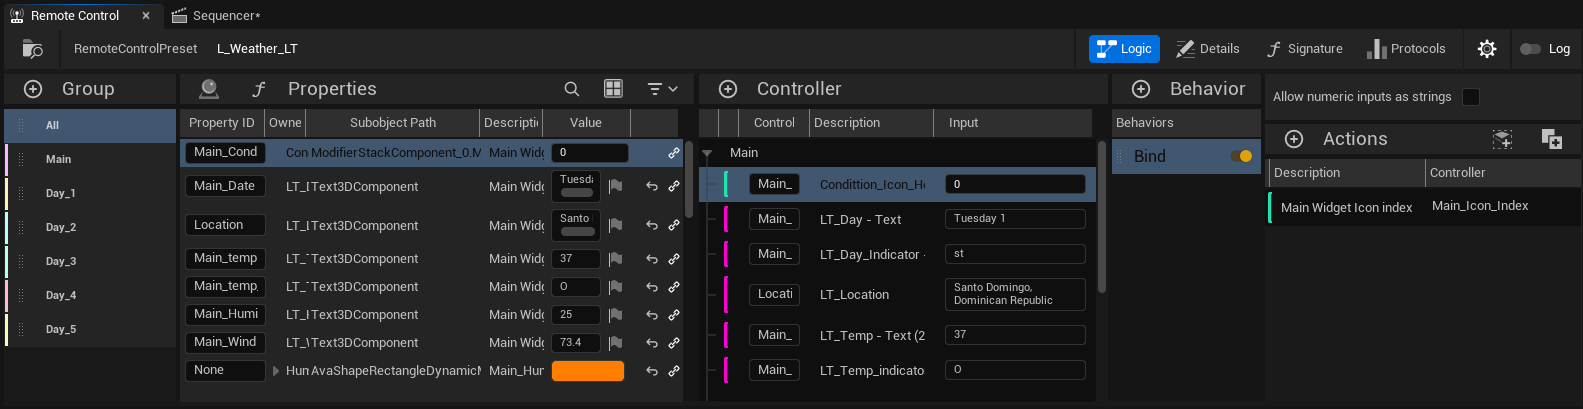
- Open the Remote Control preset for
L_Weather_LT. - Inspect the exposed properties, controllers, and bindings used to drive location, temperature, humidity, wind, and forecast day data.
ZD Weather Module in the Project Folder
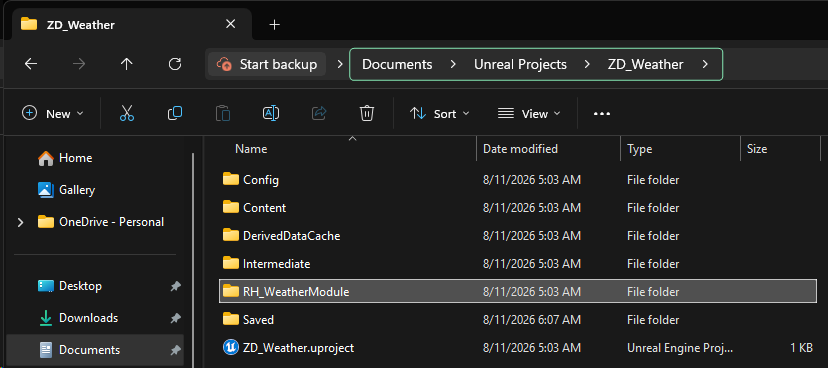
When you create Reality Hub Weather Module Graphics, the ZD Weather Custom Module is also added inside your project folder as RH_WeatherModule, as shown below.
For configuration and on-air operation, see Installation and Configuration and Operating ZD Weather.