Prepare the Traxis Continuous Calibration Kit
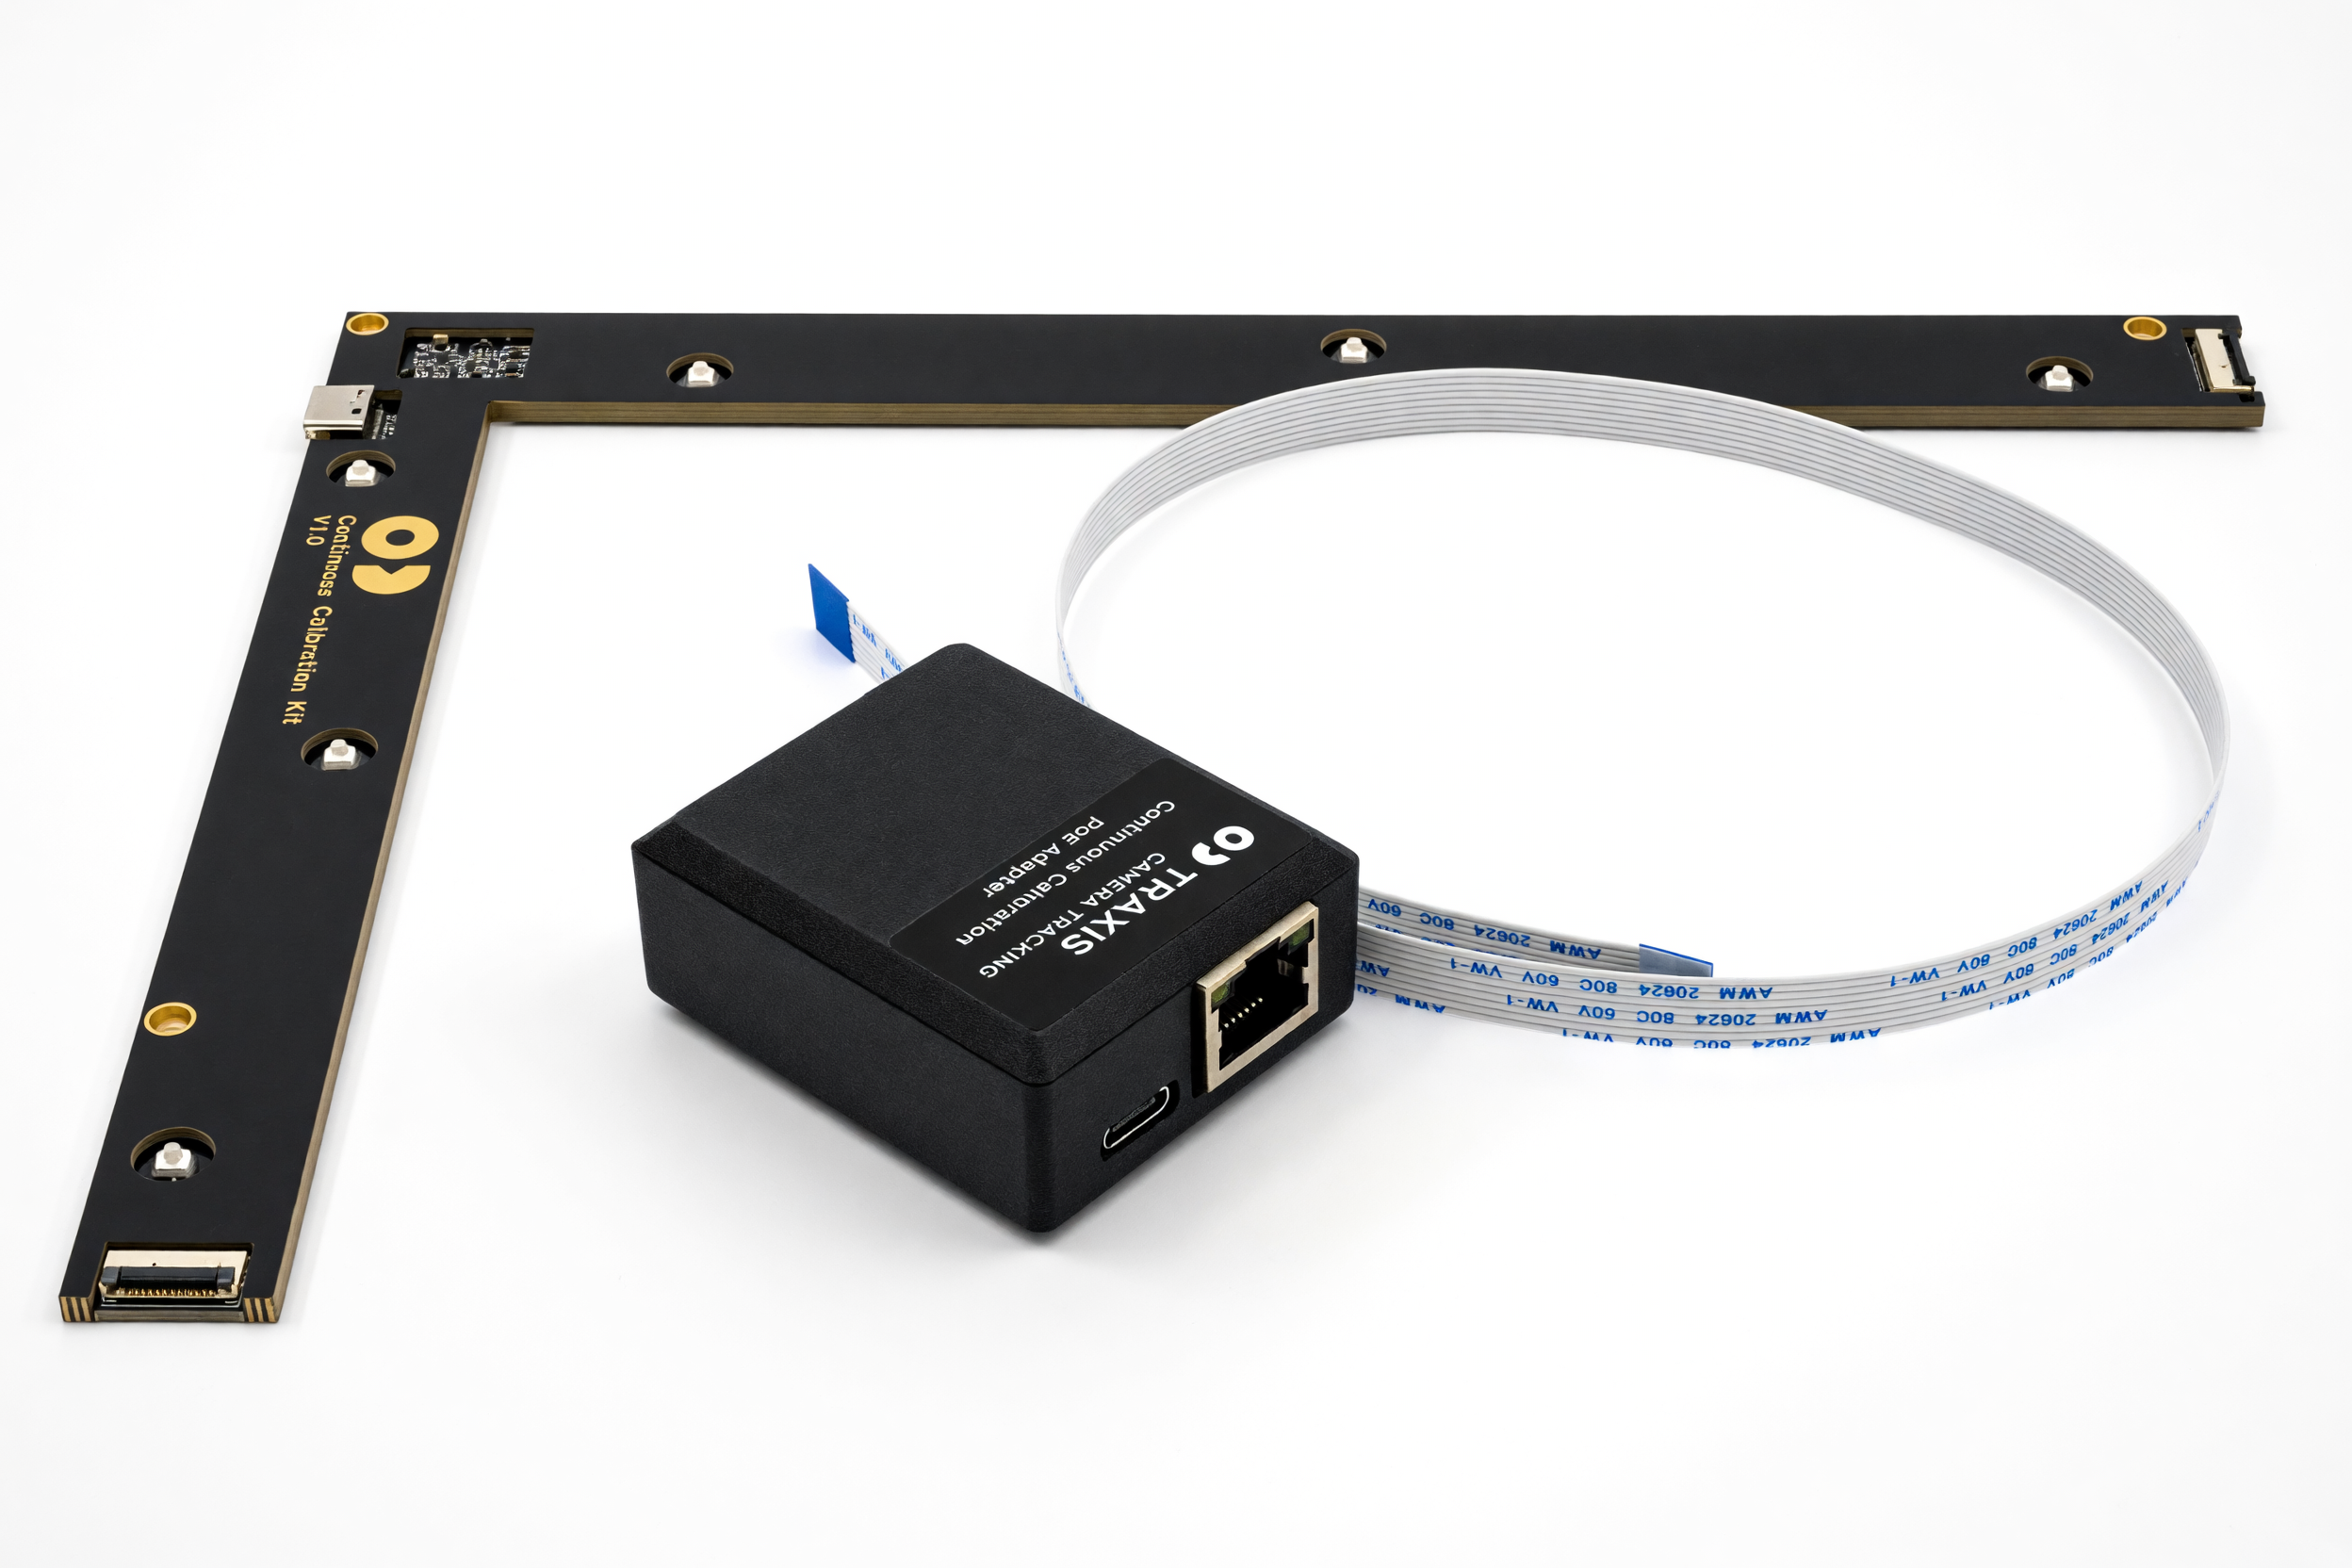
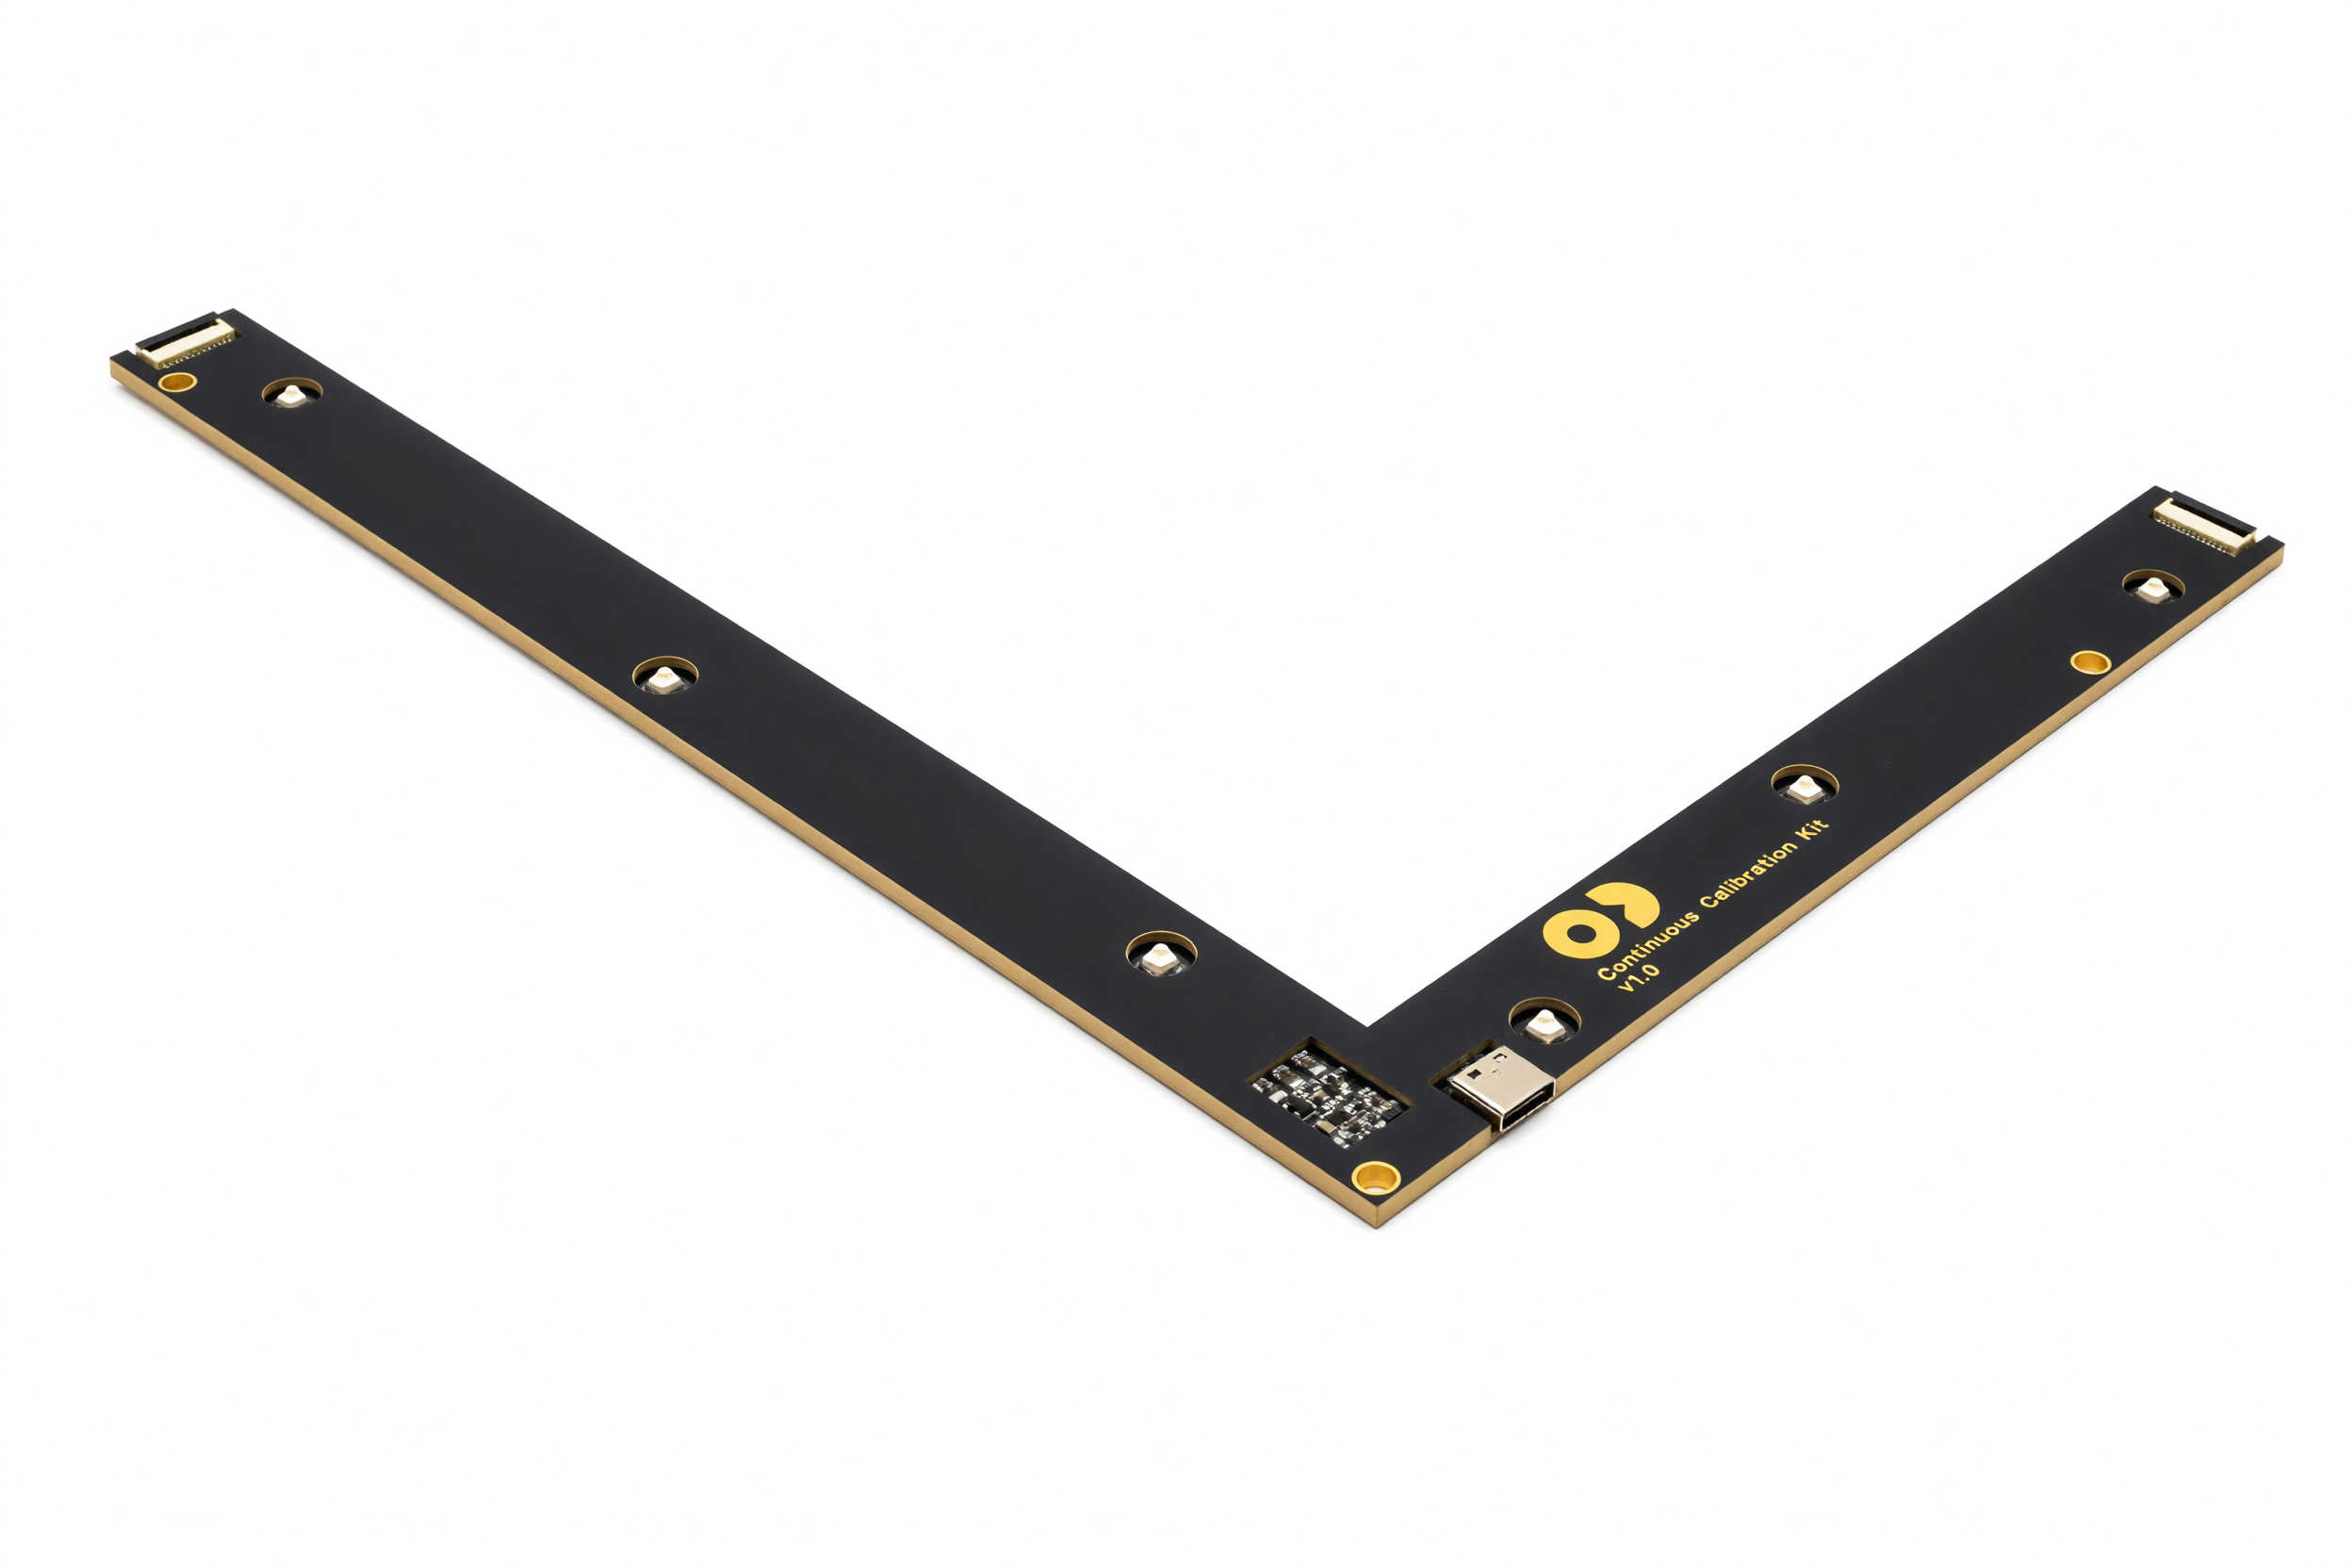
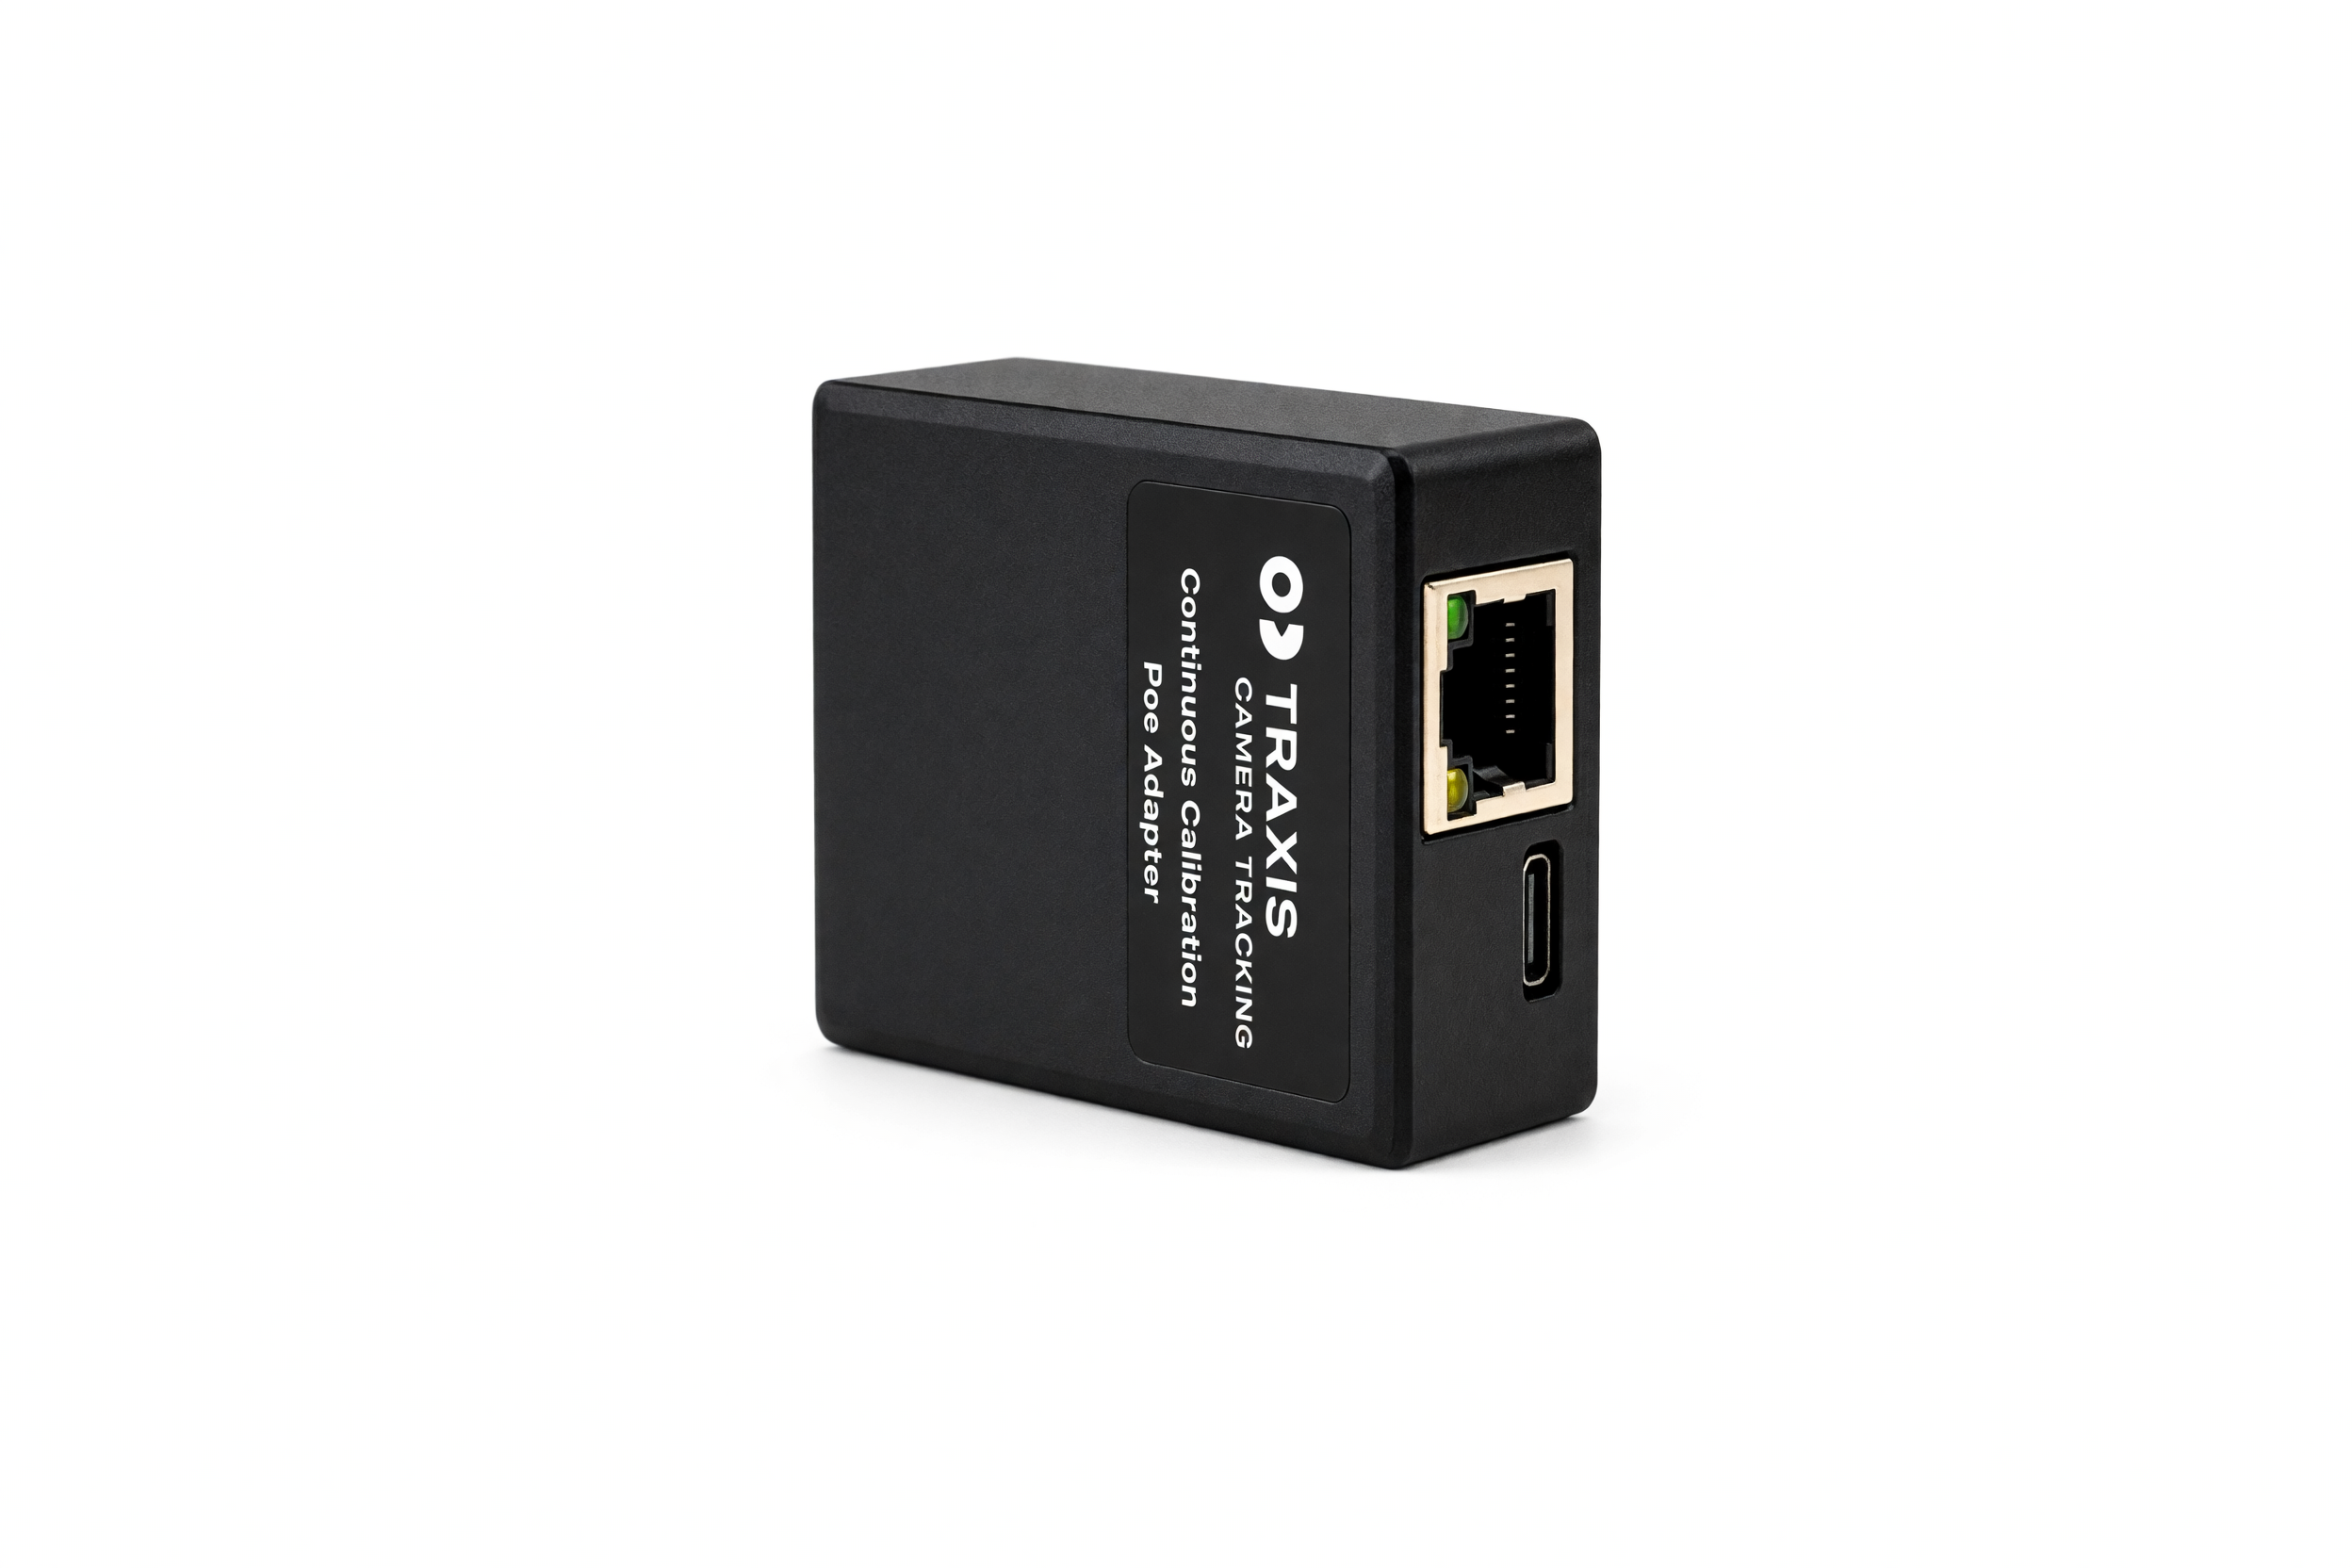
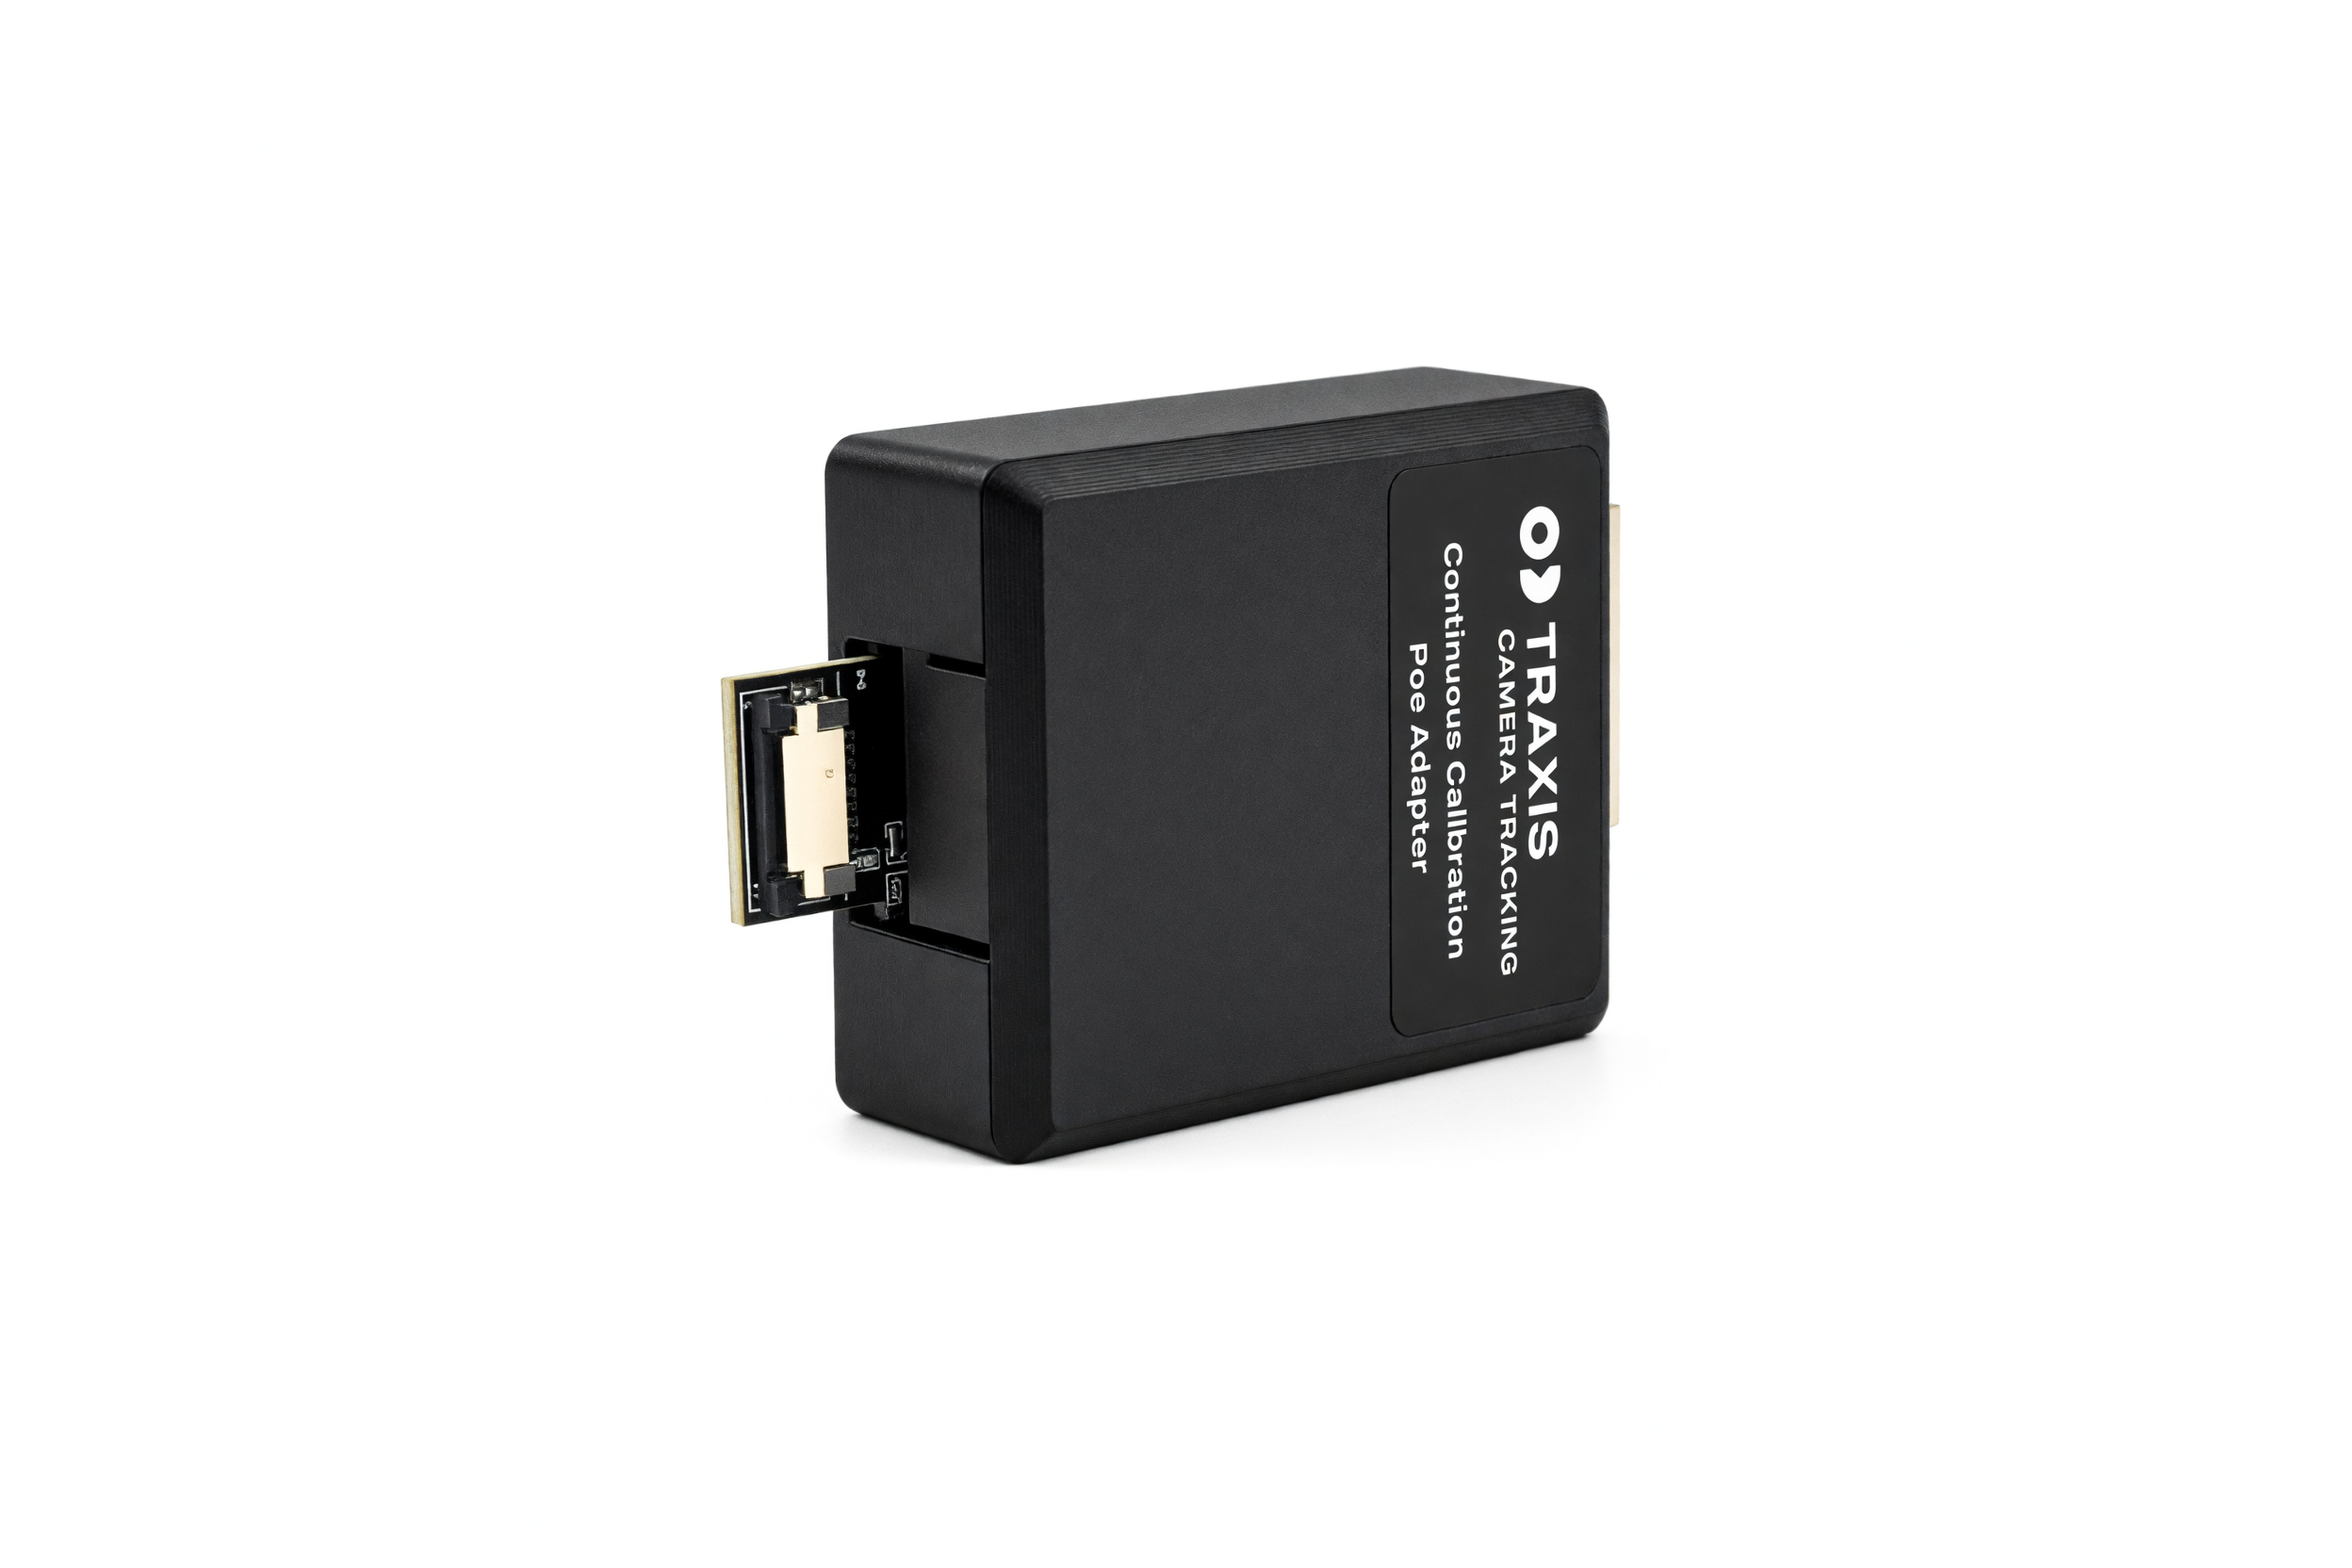
The kit includes an L-shaped bar with six infrared LEDs, a separate black power supply, and a white ribbon cable. The small white components on the bar are the IR LEDs.
Connect and Position the Kit
- Identify the six-LED L-shaped bar, the power supply, and the white ribbon cable.
- Connect the white ribbon cable between the power supply output and the bar. This cable supplies power to the LEDs.
- Connect power to the supply through its USB-C input or PoE input.
- Secure the bar at its intended reference location. Keep it fixed during tracking.
- Route the cable so it does not pull the bar out of position.
- Check that Motive reconstructs and tracks the intended LED points.
- Select those points and assign them as anchors. Follow the anchor assignment steps. Powering the LEDs does not assign anchors automatically.
important
This bar uses powered IR LEDs without Active IDs. Active ID labeling and the Bumped Cameras > Active Markers option do not make it an Active Tag assembly. The tracked points are anchor markers when the bar is fixed and the points are assigned as anchors in Motive.